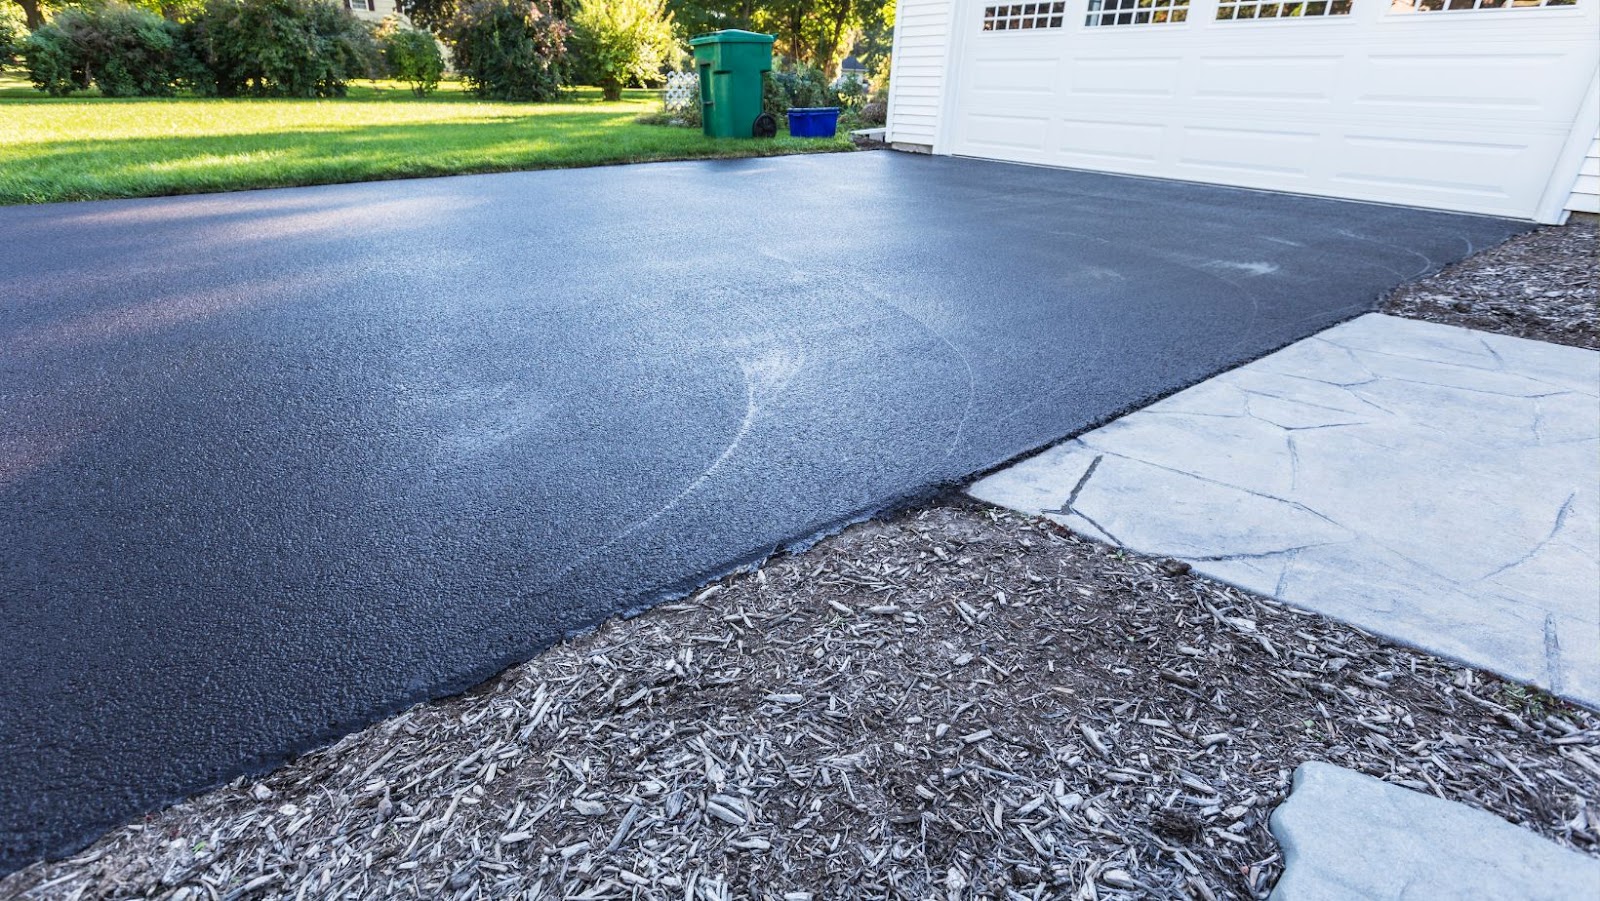
Sealing your driveway can have many benefits, from improving the overall appearance of your property to increasing the longevity of your driveway. It adds a layer of protection to keep out moisture and help prevent cracks and potholes from forming. Sealing your driveway also helps reduce the amount of time needed to clean it and protect it from the elements. Additionally, it helps create a smooth surface that is comfortable to drive on. Let’s take a closer look at the benefits of sealing a driveway.
Increased curb appeal
Sealing your driveway can increase the curb appeal of your home and provide extra protection from wear and tear. Sealing a driveway not only enhances the look of your property, but also helps to protect the pavement from the elements. Sealing will fill in small cracks and help prevent larger cracks from forming. It will also provide protection against water damage, ultraviolet rays and oil drippings. Further, sealing your driveway can help it last longer as it adds a layer of protection between it and external elements – helping to keep out dirt and other substances that can erode the asphalt over time. With increased curb appeal, you’ll be more likely to enjoy spending time outdoors on a beautiful patio or entertaining friends and family in style.
Enhanced durability
Sealing a driveway can greatly increase its durability over time. Sealing helps to protect the surface of the driveway by forming a protective layer which helps to repel water and protect against minor cracking. This protective barrier also resists oil and grease stains, preventing them from settling into the surface of the driveway.
The sealant also serves to fill in small cracks and pockets in the pavement, making it harder for rainfall or melting snow to penetrate through to the underlying material. As a result, when snow or ice starts to melt during heavy winter storms or cold temperatures, it is less likely that significant damage will occur as potholes, cracks and other potentially hazardous conditions are less likely to form. The covering may also add flexibility, enabling your driveway’s surface to expand and contract more easily as temperatures change throughout the year.
Additionally, sealing can extend the life of your driveway by several years. How long after sealing you can drive on your driveway depends on many factors such as humidity and temperature levels during application, but most homeowners can typically start driving on their newly sealed driveways within five days after initially applying it, regardless of weather conditions.
Improved safety
Sealing your driveway not only improves its appearance but helps keep it safe by reducing the risk of slipping and tripping. Using a high-quality sealer not only helps to protect your driveway, but also significantly increases traction on the surface. This prevents accidents from happening due to poor traction and contact with the pavement, particularly during snow and wet weather conditions. Furthermore, application of sealer can fill cracks that grow naturally with time due to shrinkage of the asphalt or oxidation. Having a smooth and crack-free driveway help eliminate tripping hazards and makes sure everyone’s safety is maintained when driving on it or walking across it.
Preparing the Driveway for Sealing
Before you decide to seal your driveway, it is important to prepare the surface properly. This involves cleaning the driveway to remove any dirt and debris and repairing any cracks or holes in the surface. Once the driveway is cleaned and prepped, you can then start the process of sealing. It is important to understand how long after sealing the driveway that you can drive on it in order to ensure the proper protection of your driveway.
Cleaning the driveway
Once you have determined that you would like to seal your driveway, the first step is making sure it has been adequately cleaned. This is important for two reasons: (1) to make sure there will be good adhesion between the sealer and the concrete, and (2) to prevent dirt and debris from being sealed onto the surface.
It is best to start with a pressure washer. If a pressure washer is not available, you can use a stiff bristle brush and an ordinary garden hose, but this may leave dirt behind and reduce the effectiveness of the sealing process. Make sure to take extra care when cleaning in and around seams, edges, cracks, or any other areas where water stagnates as these areas can contain algae growth which will need special attention before sealing takes place. After cleaning it is important that all surfaces are completely dry before you begin sealing. If water remains on or in any area moisture trapped beneath the sealer could cause bubbling or other issues down the road.
Repairing any cracks
If you have any cracks, holes, or irregularities in your driveway, it’s important to prepare them for sealing by repairing them first. This can include filling small cracks with a concrete patching compound, or using patching tape for larger cracks. Because the sealant offers only a thin layer of protection to the asphalt surface below, it’s critical that any cracks are filled thoroughly to prevent moisture and debris from reaching and damaging the driveway underneath. In addition, it’s also important to clean the entire driveway and remove any dirt, debris and vegetation that may have taken root in crevices as this could inhibit proper adhesion of the sealant. After all repairs are made and debris is removed, let your driveway dry completely before applying sealant. Depending on local conditions such as temperature, humidity and weather patterns, this may take anywhere between 24-48 hours before proceeding with sealing.
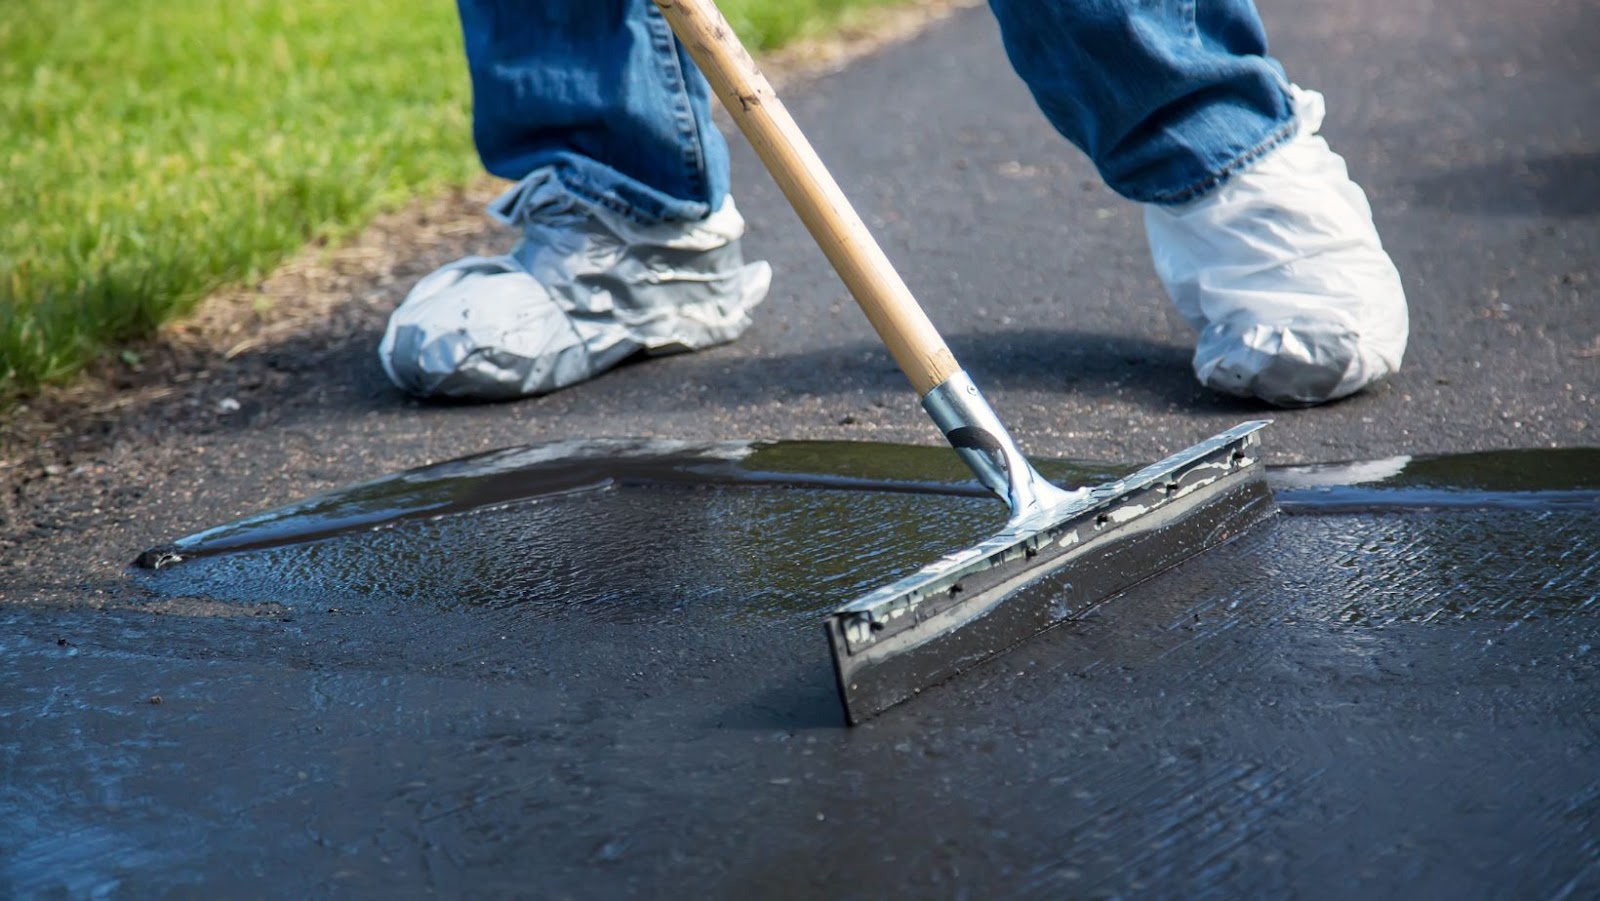
Applying a sealer
Applying a sealer is the best way to protect the pavement of your driveway and restore its color. Once it is properly applied, sealers will help to fill in small cracks and keep water from penetrating the surface, which can cause further damage. To get started on sealing your driveway, here is what you need to do:
1. Prepare the area – Start by clearing away all debris from your driveway and make sure it is free of dirt, leaves, tree sap and other material that may interfere with proper adhesion. You may want to pressure wash the surface first if you are dealing with a particularly large buildup of material.
2. Apply a primer – Primer helps ensure that the sealer will adhere correctly and provides better protection against wear and tear. Apply primer according to manufacturer instructions before beginning on sealer applications.
3. Apply sealant – The type of driveway sealing product you choose will determine how much you will have to apply; some are heavier than others so make sure you read product labeling carefully before purchasing one or selecting one for rental or purchase at a store (like Home Depot). If using an asphalt-based emulsion sealer, it should be diluted 50 percent with water before use; this should be done at least six hours prior to application in order to allow time for proper curing of the asphalt material in solution. Use a squeegee or brush to apply evenly across the entire surface; using two coats will give best results but additional coats are acceptable depending on environmental conditions in your particular area. Additionally, heated asphalt can be used for areas with persistent winter ice issues – these require more complex preparations but also provide superior protection in freezing climates.
4. Let sit overnight – Sealers need time to “settle” before being driven over; most manufacturers recommend waiting until 24 hours after application has been completed before driving over them, however you can still walk on them within 8-12 hours after application as long as no precipitation has fallen since then (check local weather for forecasts). Once set properly it should put up with traffic for many years since no additional work is usually required unless heavy traffic manifests itself over extended periods of time or certain global environmental conditions occur (such as flooding).
How long after sealing driveway can i drive on it
Sealing your driveway can be a great way to protect it from the elements and make it look brand new. Depending on the type of sealant you use, it can also make your driveway last much longer, but it’s also important to know how long you should wait before driving on it. In this article, we’ll cover the different types of sealants available and answer the question of how long after sealing you should wait.
Allow the sealer to dry completely
After sealing your driveway, it’s important to allow the sealer to dry completely before driving on it. The amount of time this takes will depend on several factors, including the air temperature, humidity level, and the type of sealer you’re using.
For asphalt-based sealers, you should generally wait at least 24-48 hours (depending on weather conditions) before driving on your newly sealed driveway. Oil-based sealers typically require a longer drying period – anywhere from 12 to 24 hours. It’s always best to consult the manufacturer’s guidelines before beginning the driveway sealing process to ensure that you allow enough time for the sealer to properly dry and cure.
It’s important not to be tempted to drive on your sealed driveway too soon as doing so can cause tire marks and other damage. To prevent dents or other issues with your pavement after sealing, make sure that vehicles are only driven slowly and carefully until it has fully cured.
Wait at least 24 hours
Sealing your driveway offers a great way to protect and extend the life of your asphalt or concrete surface. It also helps make cleaning spilled oil, gasoline or de-icing salt much easier. Generally, it is recommended that you wait at least 24 hours before driving on a newly sealed driveway. The exact length of time may vary depending on airflow and the temperature when the sealer was applied, but keeping vehicle traffic off the newly sealed surface can help ensure it adheres properly and lasts longer.
After sealing is complete, stay off your driveway as much as possible for at least 24 hours to allow adequate drying time; however, you can usually walk on the sealer after only 6-8 hours. Keep in mind that temperatures must remain above 50° F during application and should remain this way for approximately 48 hours after application in order to achieve proper curing and extended wear from the newly applied product. Sealing should also be avoided when rain is predicted within 24 to 48 hours following application time for best adherence results.
Check the sealer manufacturer’s instructions
The type of sealer used plays a critical role in determining how long after sealing you can drive on it. Each manufacturer has different requirements for time before driving, such as 6-12 hours, or until completely dry – usually between 24 and 72 hours. Even though the driveway may look dry, the sealer can take longer to cure before it is safe to drive on.
Each sealant has its own instructions, so be sure to check the product label closely before applying it. Apply a small section and wait for the specified amount of time to pass before applying the remainder of the sealant. Any areas that have already been sealed should be given 24 hours or more to cure before driving on them.
In addition, do not apply sealer when temperatures are too low and humidity is too high as this can cause a slippery surface which is dangerous when wet and causes difficulty in walking once the sealer has dried. Temperatures should ideally be above 50 degrees Fahrenheit (10 degrees Celsius) during application with lower temperatures acceptable for nighttime applications as long as temperatures rise above freezing during the curing period. Also, make sure to avoid heavy rains and puddles that could ruin your sealing job if water seeps in before the curing process is complete.
Maintenance After Sealing
Sealing your driveway is an important part of keeping it in top condition, but you also need to know what to do after sealing it to ensure it continues to look great. Fortunately, this isn’t too difficult to maintain. After sealing the driveway, it is important to wait until it is completely dry before you drive on it again. This article will cover exactly how long after sealing you can drive on your driveway.
Clean the driveway regularly
In order to maintain the condition of your sealed driveway, it’s important to clean it regularly. Regular cleaning removes debris and contaminants that can mean difficult stains, discoloring and other problems. To clean your sealed driveway use a mild detergent and warm water, followed by a good rinse with a garden hose.
It is recommended that you clean your driveway twice a year—once in the spring and again in the fall to ensure that it remains in top condition. If there is evidence of oil or gas spills, treat them immediately with absorbent pads or materials before washing off the rest of your driveway.
Once you’ve finished cleaning, allow two hours for the seal coat to dry before walking on it with shoes or driving on it with a vehicle. Be aware that after sealing your driveway may appear darker due to excess coating applied during application; this should go away in a few days as weather changes bring light exposure and further drying takes place.
Repair any new cracks immediately
After the driveway sealer has been applied, it is essential to repair any new or existing cracks as soon as possible. It is recommended that you check for new or worsening cracks every three months after sealing your driveway. Cracks can be fixed with either a patching material or a sealant, depending on the size and depth of the crack. Patching compounds can be purchased from most home improvement stores and are used to fill in smaller gaps and cracks in driveways. Sealants are particularly useful for larger or deeper cracks in your driveway and should be applied according to package directions. Both patching compounds and sealants should be allowed to fully cure before driving on them to ensure their effectiveness in preventing further weathering damage.
Re-seal the driveway every two to three years
Although your newly sealed driveway may appear perfect, the sealcoat is only topically waterproof and requires re-sealing every two to three years for best protection. With regular maintenance and sealing every two to three years, you can maintain the water-resistance of your driveway.
It is important to give the sealant enough time to cure completely before driving on it. Most sealers require from 8 to 24 hours of drying time before you can use the surface; however, you should always check the manufacturers’ instructions for precise details. A quick test is to run a few drops of water over the sealed area–if they form beads or creep slowly, then it’s not ready yet and must air dry further.
The benefits that result from consistent maintenance are worth investing in as sealing a driveway with quality products can extend its life by 20+ years. Without it, you may find more cracks in asphalt driveways or your concrete will begin showing wear and tear much sooner due to being exposed to hazardous weather conditions such as snow and ice storms during winter months or heavy rainfalls during early spring/summer months. Re-sealing also helps preserve color swirls and patterns because it prevents fading caused by intense UV rays which can occur quickly if left unprotected.