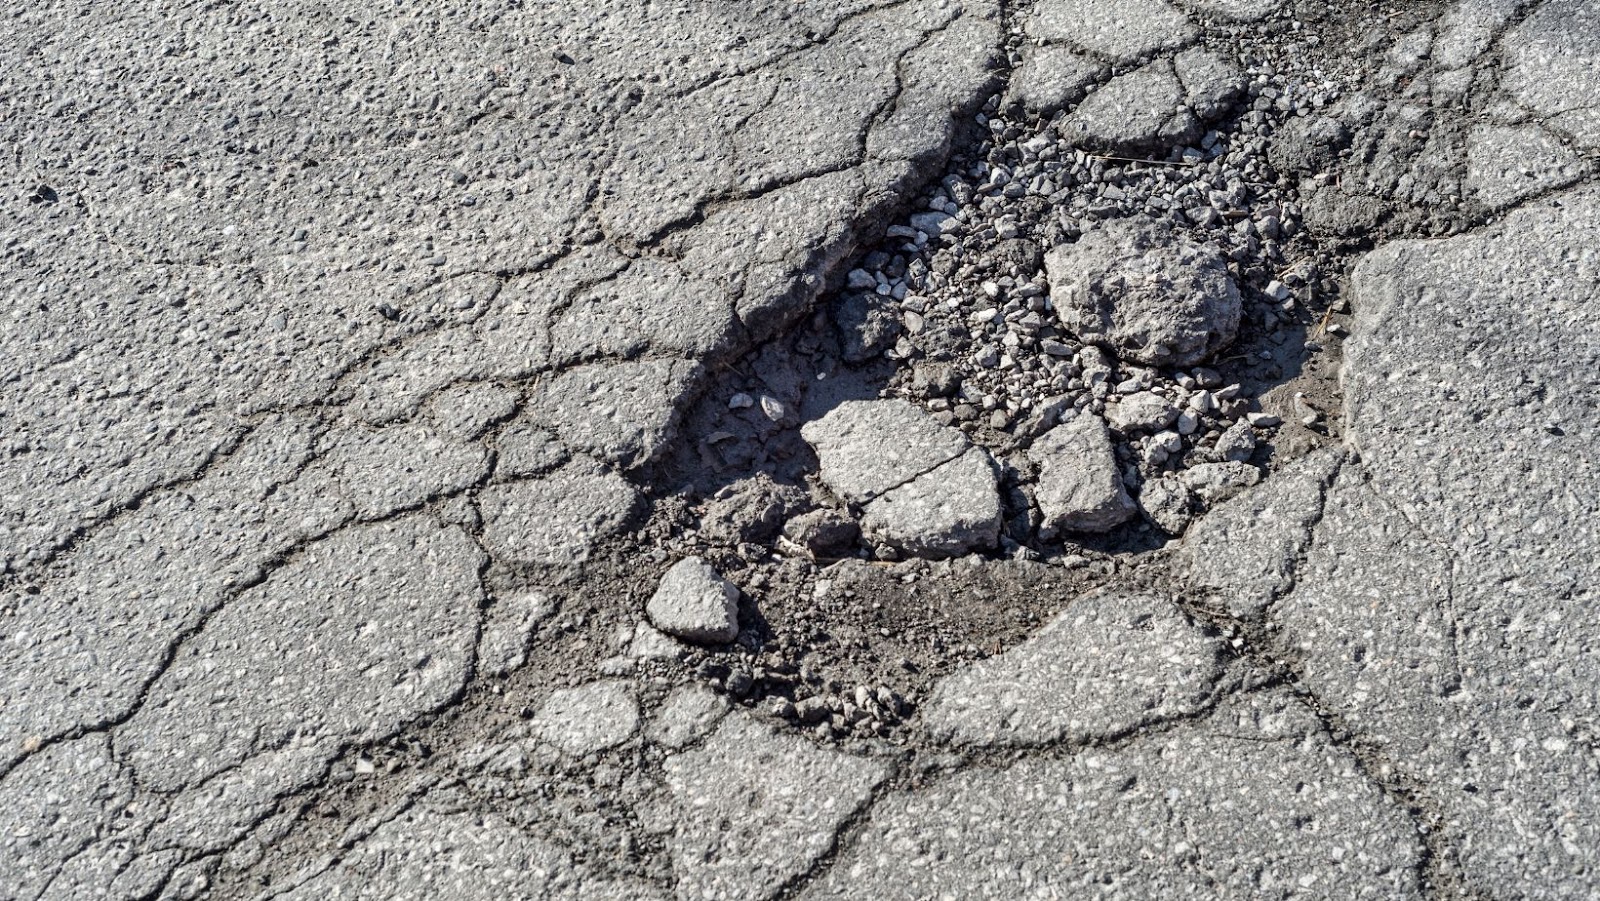
Before you take any action to fix the potholes in your gravel driveway, you need to assess the damage. Look at where the potholes are located and how deep they are. Check for any signs of erosion around the edges of the potholes. Make sure to also look for any other damage such as cracks in the gravel surface. Once you have determined the extent of the damage, you can then plan the best way to fix the potholes.
Inspect the potholes
Once you’ve identified and marked the location of your potholes, it’s time to inspect them. This step can help you determine which type of repair you may need — quick-fix (such as patching the hole) or a more permanent repair (such as regrading the entire driveway).
Start by visually inspecting each pothole. Make sure to check for cracks, missing gravel, and any other signs of damage. Also, check to make sure that the edges of the pothole are clean and even — this will be important later when you go down to repair it.
If needed, you can also use a spade to probe around the edges for deeper cracks and areas that may need extra work and fill. Dig out any loose gravel in the areas surrounding the pothole until there is solid ground underneath; this will help secure your repairs in place once completed. Finally, take note of any aspects or angles of the repair area that may require extra attention during repairs — such as whether it slopes to one side more than another. Making these observations now allows you to better prepare your supplies and methodology for fixing your gravel driveway’s potholes in an efficient manner!
Determine the size and depth of the potholes
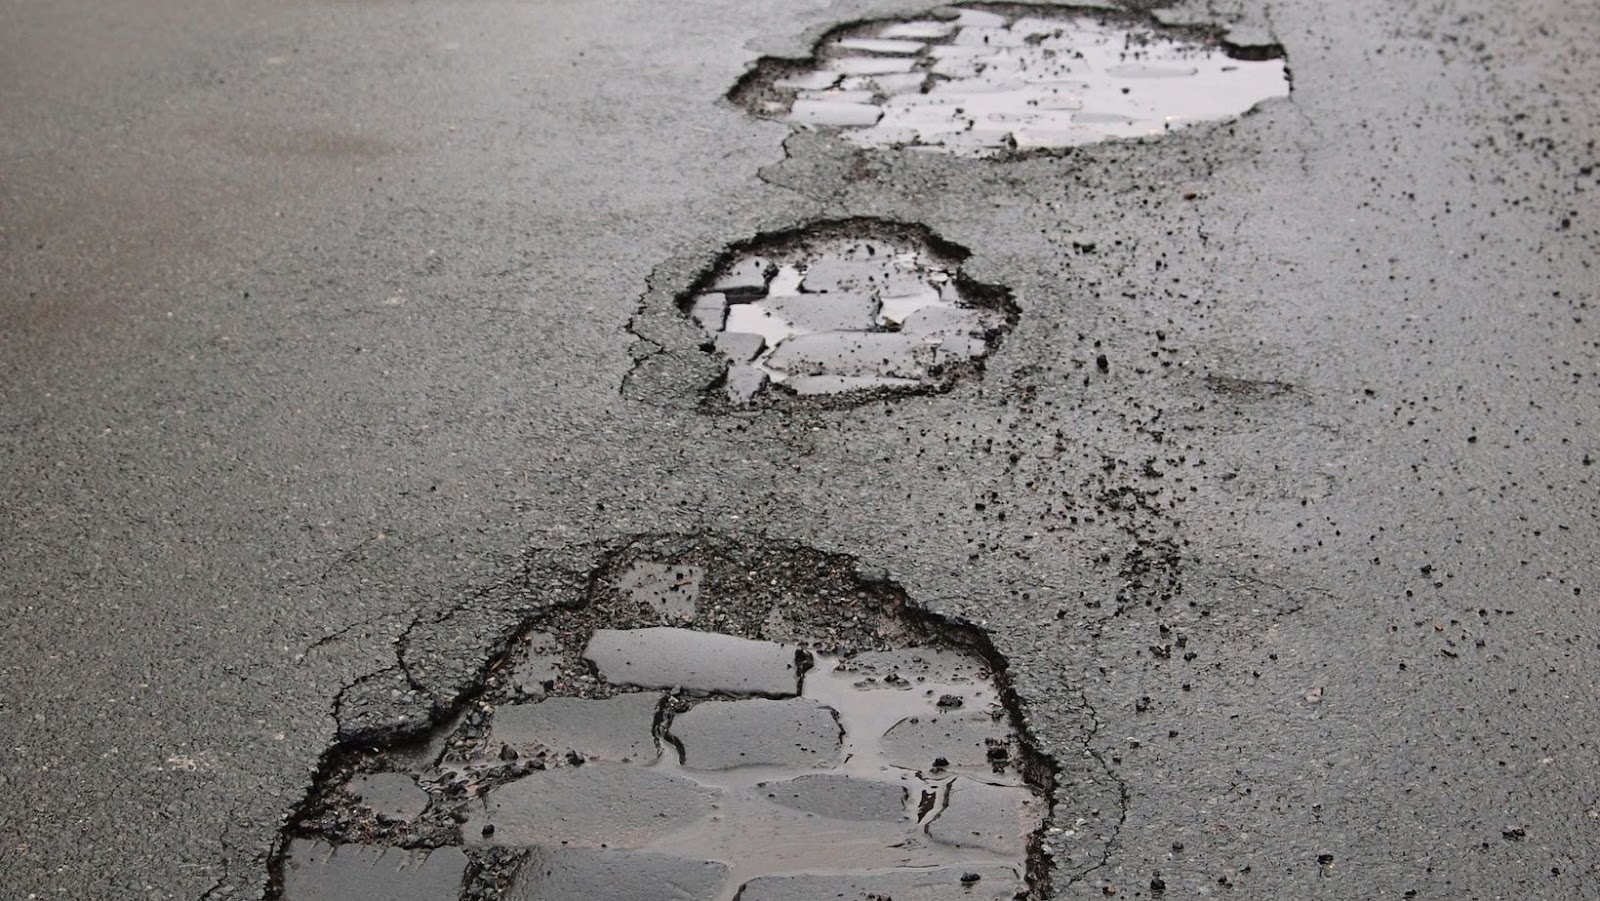
Before attempting to fix a pothole in your gravel driveway, it is important to assess the size and depth of the damage. In some cases, you may be able to simplify the job by filling small cracks or shallow spots with additional gravel instead of completely patching the area. If you decide to patch your pothole, you will need to choose a material that is best suited for the job.
For smaller potholes (height lower than 10 cm and diameter below 2 meters), use an appropriate blend of pea gravel, sand or crusher fines with a bituminous binder such as asphalt emulsion or cutback adhesive. For larger potholes (which are typically over 20 cm deep), you may need more complex materials such as cold mix asphalt. In both cases, it’s important not to use building sand as it will not bind with pre-made solutions and may leave gaps between stones that fill up with water and invite further damage.
Once you have selected your materials, prepare the area for repair by brushing away any loose surface material around the edges of each hole and offering additional compaction if necessary— this will help ensure a durable repair as well as reducing water infiltration into the holes where dust and other material reside deep within them. Once this has been done properly, add sufficient filler until all potholes are completely filled. Tamp down slightly when done and allow at least 24 hours before traveling over the filled surface intentionally!
Prepare the Driveway
The first step in fixing potholes in your gravel driveway is to properly prepare the area. You will need to make sure that the area surrounding the pothole is clean and level. This will ensure that the repair material can adequately fill the pothole and bond to the gravel. To do this, use a flat spade or trowel to remove any debris, dirt, or weeds that may be in the pothole. After the area is clear, use a rake or hoe to level the area and ensure that the surface is even.
Remove the gravel from the potholes
The first step in fixing potholes in your gravel driveway is to remove the gravel from the pothole. This can be done by simply shoveling the gravel out of the hole and into a wheelbarrow or garden cart for disposal. If there is a large accumulation of gravel and dirt, use a flat-pointed spade or a steel-bladed tool to loosen it up so it can be easily scooped away. Once you have removed all of the existing material, make sure the area is clear and level before replacing it with new material.
Level the area with a shovel
For potholes in a gravel driveway, the best way to repair them is to level the area with a shovel. Start by removing any large rocks and break up any lumps of dirt and soil in the pothole. Make sure that you dig down to remove as much of the hole as possible so there is enough room for new gravel and soil.
Once the area has been leveled, place four to five inches of fresh gravel into the pothole and tamp it with a hand tamper or long-handled garden tool. This will create an even base for additional layers of gravel, and help prevent the new mixture from sinking further into the ground. If desired, add a layer of crushed stone or other type of topping material across both existing and newly filled areas for extra stability. Finish off by placing some sand on top to smooth out any rough edges and prevent erosion.
Compact the soil with a tamper
Once you have identified the area of the driveway where the pothole is located, the initial step to fix it involves compacting accessible soil. Take a tamper and firmly press down on all soil that is in and around the pothole in order to ensure a stable surface. To ensure adequate compaction, work from the outside of the pothole towards its center. Once you have completed this process, your next step will be to add gravel to fill in any deep hollows or depressions.
How to fix potholes in gravel driveway
Filling potholes in your gravel driveway can help maintain the integrity of the surface and ensure that your vehicles and pedestrians are driven and walking on a smooth and even surface. By taking the time to fill the potholes in your gravel driveway, you can help maintain the appearance of your driveway and reduce the long-term expenses of repair. In this article, we will discuss the best way to fix potholes in your gravel driveway.
Fill the potholes with crushed gravel
Fixing potholes in a gravel driveway is relatively simple and can be done with just a few materials and tools. The most important step is to make sure that you fill the hole completely; leaving any gaps can result in the hole re-forming.
To start, use a garden rake or hoe to ensure that the edges of the pothole are even. Be sure it’s deep enough that an inch or two of crushed gravel will be necessary to fill. Then, you’ll need to get some coarse sand and crushed gravel which will act as a base or foundation for the repair. The purpose of this layer is to create an even surface while preventing erosion of your pothole patch over time. Spread the dry materials evenly over the area, making sure to go just beyond all four edges so that your patch will be strongly supported.
Next, using either a shovel or tamping tool, tamp down each layer until it’s level with surrounding gravel – this ensures that your patch blends into your existing driveway without looking like an obvious fix job. Once everything is level, it’s time to pour in a cement product specifically designed for fixing driveways – typically called driveway repair mix or asphalt cold patch (depending on where you live). Scoop handfuls slowly into the pothole so that it gets filled evenly. Once full, tamp down until it’s level for one last time before allowing 24-48 hours for curing before driving over it again.
Congratulations! You have now successfully completed filling in the holes on your gravel driveway – all with just common household tools!
Fill the potholes with sand
Potholes in gravel driveways are problematic, but there are several different methods you can use to fix them. One of the most economical and efficient ways to repair potholes in a gravel driveway is to fill the holes with sand.
Start by cleaning out any loose stones and debris from the holes. If necessary, break down dirt clods with a hand shovel or rake then add additional fine gravel to fill any remaining gaps and create a flat surface. Once you have done this, you can add fine sand to the area that needs filling. This should be done until the depression is level with or slightly higher than the surrounding surface.
Finally, you should pound it down with a metal tamper or wooden post until it’s firmly compressed. Repeatedly tamp over an area several times then lightly sprinkle water over it; make sure not to saturate it! The fine particles in sand supply a great bed for the larger gravel pieces ensuring maximum stability for your driveway. Fixing potholes in gravel driveways with sand takes time but provides an effective and more natural looking solution than traditional asphalt repair products.
Compact the gravel and sand with a tamper
Once the gravel and sand mixture has been filled in around the pothole, it is important to compact it with a tamper. This will ensure that the new surface is level and even, providing you with a durable repair for your road.
When using a tamper, stand at the center of the pothole and make tiny circular motions while pressing down on the tamper handle. Do this until you can feel that the gravel and sand mixture is firm to the touch. You can check by pressing down gently on various areas of your repair job. It is important to ensure that all sides of your pothole have been sufficiently compacted so that it won’t shift or be damaged rapidly by traffic or weather conditions.
Once you are satisfied with your repair job, it’s time to fill in any remaining gaps or irregularities with additional layers of gravel and sand if necessary. This will help support an even surface when applied correctly, providing you with an effective, long-term solution for your road maintenance needs.
Finish the Repair
Repairing potholes in your gravel driveway is a relatively simple task. Knowing the right way to tackle the job will enable you to efficiently and effectively get the job done with minimal effort. In this article, we will provide you with step-by-step instructions on how to fix potholes in gravel driveways and provide you with tips for an even smoother and more seamless repair.
Add additional gravel to the potholes
Once a pothole has formed in your gravel driveway, the best way to fix it is to add additional gravel. You should begin by thoroughly tapping down the edges of the hole with a hand tamper or rubber mallet (asbestos hammer or mason’s hammer) to ensure that the sides of the hole are compact and level, creating a firm foundation for additional gravel. If there are any large chunks of gravel left in the pothole, use them as a base layer before adding more.
Once the base layer is spread evenly and firmly packed, you can begin shoveling new gravel into the pothole – preferably an aggregate mix of pea gravel and coarse sand – to ensure that it stays firm and even after compaction. Shovel more than you think you need into each pothole so that once it is firmly tapped down it remains filled-in.
Once all of your chosen type of aggregate is spread throughout all potholes, use either a hand tamper or rubber mallet again to press down on each one until they are level with the rest of your driveway surface. The pressure applied by pressing down on each pothole should cause any excess aggregate material to fill-in any leftover gaps in between or around pieces of larger aggregate stones which should form one solid mixture over time.
Check for settlement after one or two heavy rains storms – if there has been significant settlement, this means that additional aggregate needs to be added as well as some tamping/pressuring—until your driveway surface reaches uniformity once again.
Compact the gravel with a tamper
Compacting the gravel around the edges of the pothole is an important step in filling it and protecting your driveway. Using a hand tamper, pneumatic tamper, or mechanized compactor, press the gravel firmly around the edges of the pothole in a series of small circles. This will compact the gravel into place and create a firmer base for your driveway.
Once you have compacted on all sides of the hole, continue to press down over the middle of the pothole to firm up its base. Work slowly in small circles and only press down as far as you can with each pass. Don’t press too hard, as this may push more gravel into and out from under itself, instead creating more potential for future holes and erosion. Use enough force to firmly tamp down the area however-so that it remains strong for years to come. Once compressed, add more loose gravel if needed until all holes are filled.
Compaction is essential for giving extra strength to your repair work so that your driveway does not erode again in these areas due to water or repeated vehicle traffic over time. Proper compaction with a tamper is crucial for creating an effective long lasting repair job!
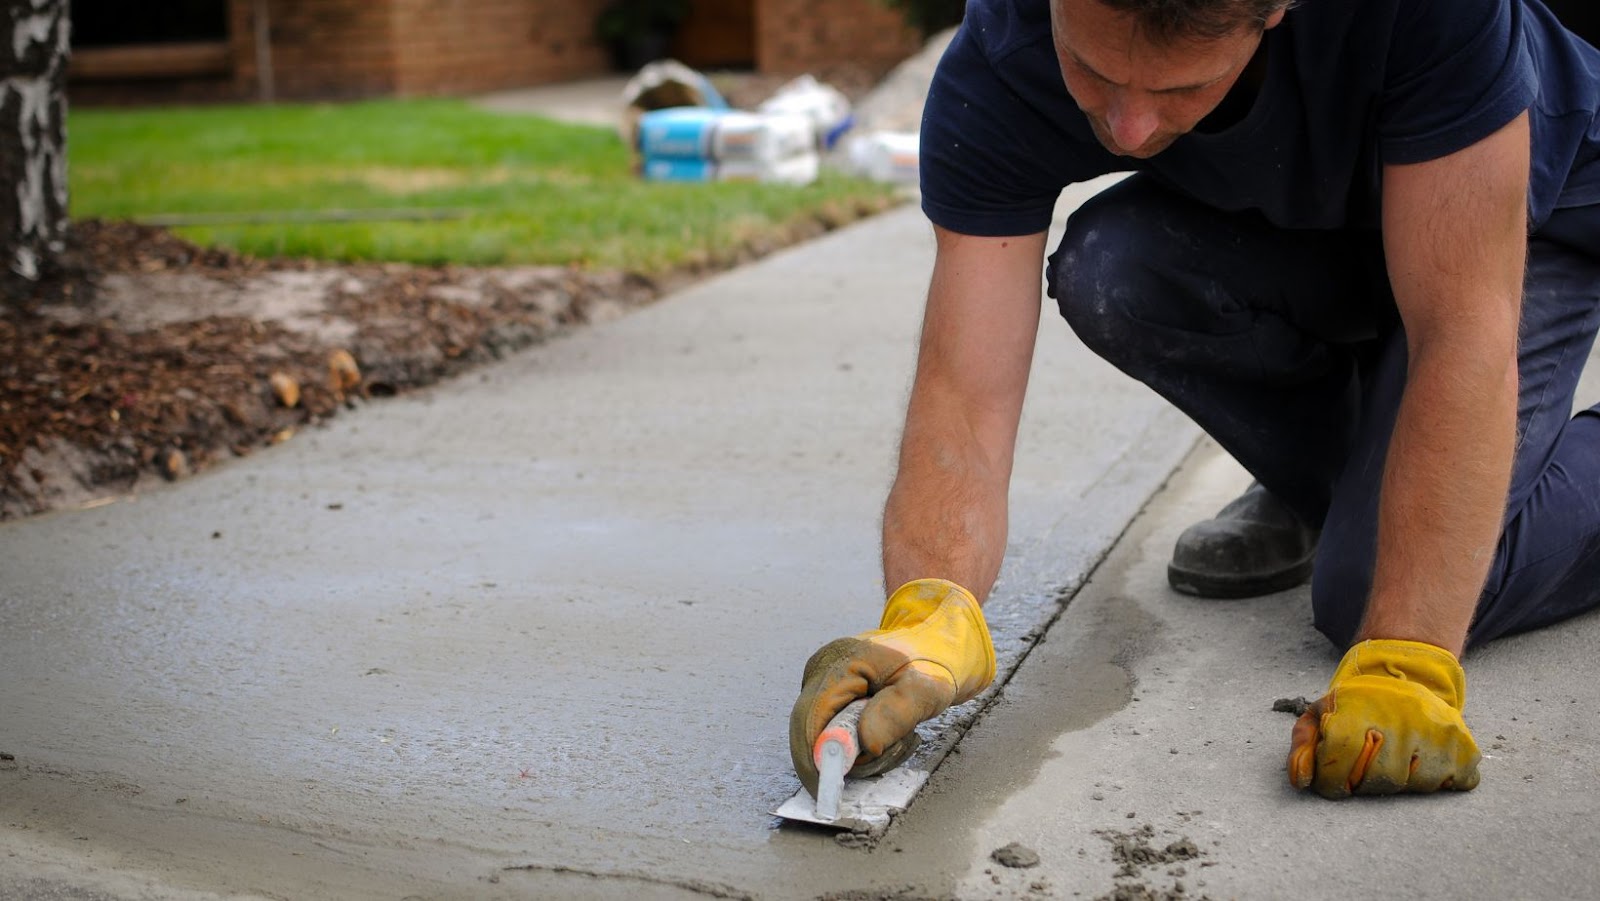
Smooth the surface with a rake
Once you have filled the potholes with compacted gravel and sand, the next step is to smooth the surface using a rake or hoe. Be sure to drag the rake evenly across the surface of your driveway, making sure that all of the pothole fill is even. This process should take longer than filling in the holes and requires extra care to ensure that no sunken areas are left behind.
After ensuring an even surface, spread additional gravel over any remaining potholes or low areas and use a tamper or other tool to compact it down into place. Doing this will help keep new holes from developing in those same spots in the future. Finally, spread a light layer of fresh gravel across your entire driveway. This will help hold everything together and give your driveway an attractive finish.