To improve the safety of your home or business, setting up a CCTV system is a wise choice, but it’s crucial to plan and execute the process carefully. Mistakes can leave your property vulnerable to criminal activity. Following an installation checklist with five critical steps can help you maximize the effectiveness of your CCTV system. By doing so, you can make sure it’s set up correctly and offers you the protection you need.
But first, it’s worth noting that a lot of security cameras can work when the electricity goes down. This is especially true for cameras that have a built-in backup power source, such as a battery or solar panel. If you’re concerned about power outages or other electrical issues, it’s a good idea to choose cameras that are designed to operate independently of the power grid. Keep in mind that while these cameras may continue to record when the power is out, they may not be able to transmit their footage until the power is restored.
With that in mind, let’s dive into the critical steps of a CCTV installation checklist.
Step 1: Assess Your Security Needs
Before you start installing cameras, it’s important to take a step back and think about your overall security needs.
- What areas of your property do you want to monitor?
- Are there any specific risks or threats that you’re concerned about?
- How many cameras do you need to achieve comprehensive coverage?
Take the time to conduct a thorough security assessment of your property. This might involve conducting a site survey, looking at crime statistics in your area, and considering any specific vulnerabilities that your property may have. Once you have a clear understanding of your security needs, you can start planning your CCTV system.
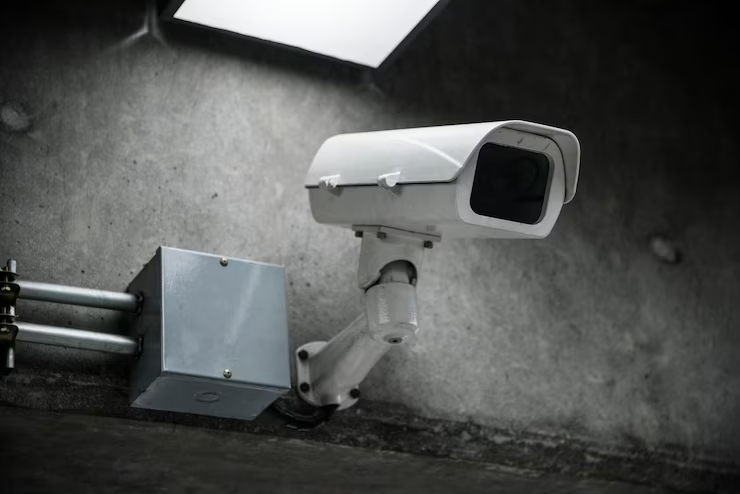
Step 2: Choose the Right Cameras and Equipment
There are many different types of CCTV cameras and equipment available, and it’s important to choose the right ones for your specific needs. Some key factors to consider when selecting cameras include the following:
-
Resolution
Higher-resolution cameras will provide clearer images, but they may also be more expensive.
-
Field of view
Cameras with a wider field of view will be able to cover more area, but they may not be able to capture fine details as well.
-
Low Light Performance
If you need to monitor areas with low light levels, look for cameras with strong low-light performance.
-
Weather Resistance
If you’re installing cameras outdoors, make sure they’re designed to withstand the elements.
In addition to cameras, you’ll also need to select other equipment, such as recording devices, cables, and power supplies. Make sure you choose equipment that is compatible with your cameras and that meets your specific needs.
Step 3: Determine Camera Placement
Once you’ve selected your cameras and equipment, the next step is to determine where to place your cameras. This will depend on your security needs, the layout of your property, and the capabilities of your cameras.
Some general guidelines to follow when placing cameras include:
-
Covering All Entrances and Exits
Make sure you have cameras monitoring all entry and exit points, including doors, windows, and other access points.
-
Covering High-value Areas
If you have areas of your property that contain valuable items, make sure you have cameras monitoring these areas.
-
Maximizing Coverage
Try to place cameras in locations that provide maximum coverage of the areas you want to monitor.
-
Avoiding Blind Spots
Make sure there are no areas of your property that are completely out of view of your cameras.
As you plan your camera placement, consider the angle of the cameras and the distance from the areas you want to monitor. You may need to experiment with different camera positions to find the best angle and placement for each camera.
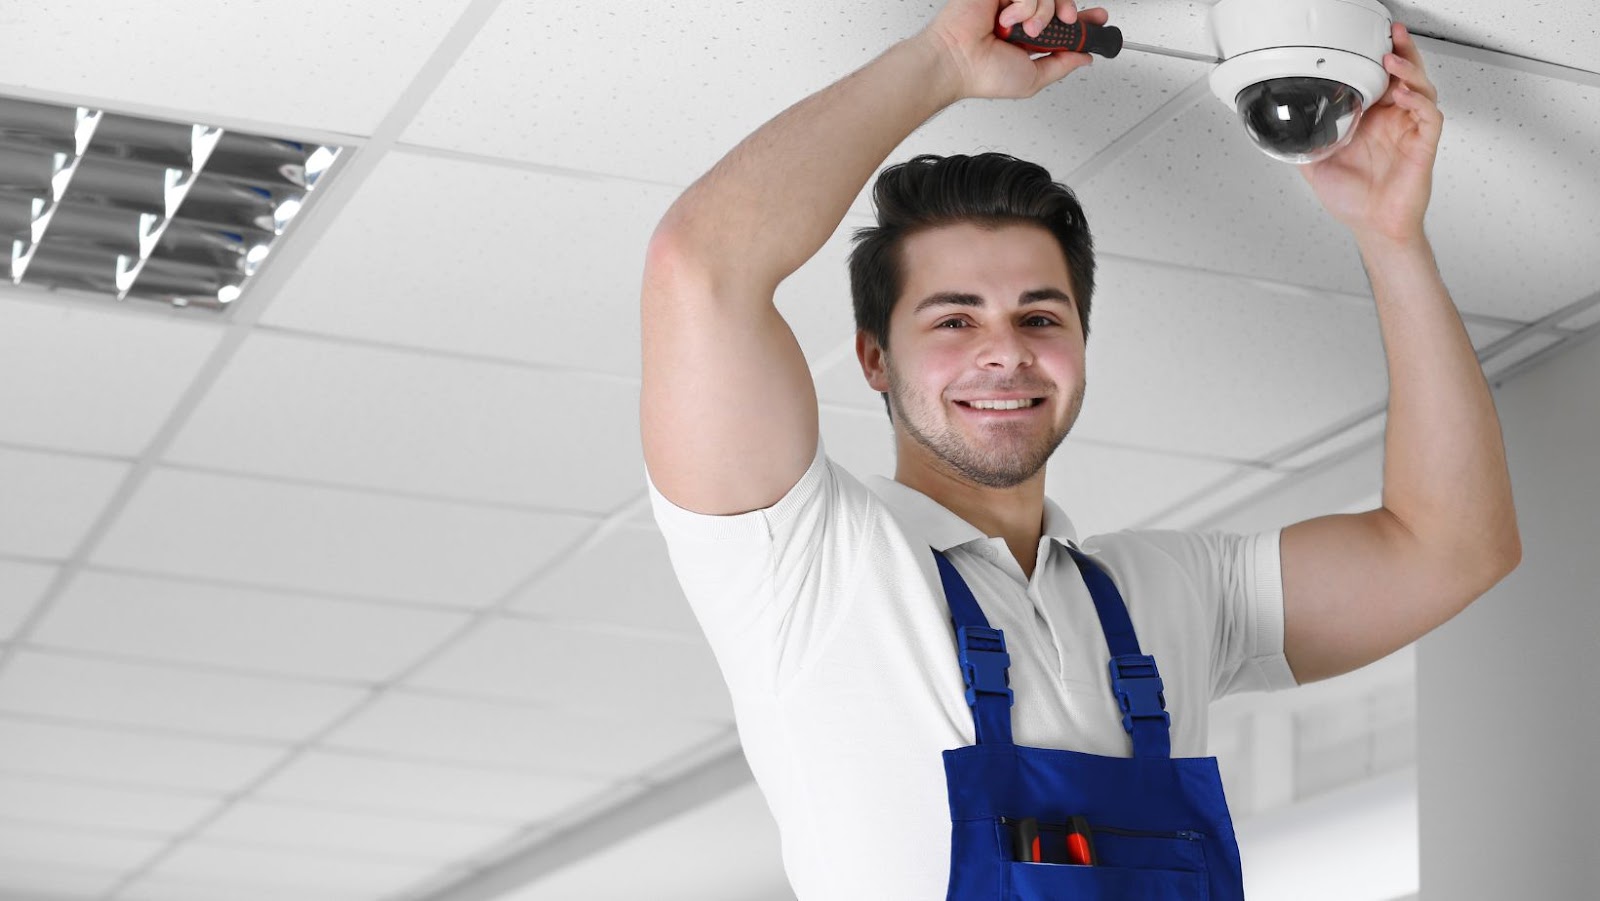
Step 4: Install and Configure Your Cameras
Once you’ve determined camera placement, it’s time to start installing and configuring your cameras. This can be a time-consuming process, but it’s important to take the time to do it properly.
Start by mounting your cameras in the locations you’ve selected. Make sure the cameras are securely attached and that they’re positioned correctly. You may need to use mounting brackets or other equipment to ensure that the cameras are in the right position.

Once your cameras are mounted, it’s time to start configuring them. This may involve adjusting camera settings such as resolution, field of view, and motion detection. You’ll also need to connect your cameras to your recording device and configure your recording settings. Make sure you follow the manufacturer’s instructions for configuring your cameras and recording device, and test your system to make sure it’s working properly.
Step 5: Monitor and Maintain Your System
Once your CCTV system is up and running, it’s important to monitor and maintain it on an ongoing basis. This will help ensure that your system continues to function properly and that it provides the security you need.
Some key steps to take when monitoring and maintaining your system include:
-
Regularly Evaluating Footage
Take the time to evaluate footage from your cameras regularly. This will help you identify any security issues or suspicious activity.
-
Cleaning Your Cameras
Dust, dirt, and other debris can build up on your cameras over time, which can affect their performance. Make sure you clean your cameras regularly to keep them working properly.
-
Testing Your System
Conduct regular tests of your CCTV system to make sure it’s functioning as it should. This may involve testing individual cameras, testing your recording device, and checking your cabling and power supply.
-
Updating Your Software
Make sure you keep your CCTV software up to date with the latest security patches and updates. By doing this, you can enhance the security of your system to the fullest.