Linoleum flooring is a great choice for many people as it is inexpensive and relatively easy to install. It also offers excellent durability and comes in a variety of colours and designs. However, when it comes to removing linoleum flooring, there are a few things to keep in mind. In this article, we will take a look at the pros and cons of linoleum flooring, as well as the best way to remove it when necessary.
Advantages of Linoleum Flooring
Linoleum flooring is becoming increasingly popular, as homeowners find that it provides an attractive, low-maintenance solution to wooden and tiled flooring options. Not only is this type of flooring easy to clean and maintain due to its non-absorbent, hard wearing surface, but it can also provide a great alternative to traditional carpets which suffer from dust and spillage. Here are some of the main benefits of choosing linoleum flooring in your home.
• Durable: Linoleum floors are highly durable, making them perfect for high traffic areas or rooms with a lot of furniture movement such as children’s playrooms or living rooms. It resists wear and tear, is easy to clean, and can even last up to 40 years if installed correctly!
• Eco-Friendly: Linoleum contains no Volatile Organic Compounds (VOCs), which makes it an eco-friendly choice for your home. It is biodegradable when disposed of properly so you can be sure that you are doing your bit for the environment with this type of flooring.
• Water Resistant: The top layer of linoleum floors has a wax coat that makes the surface water repellent – meaning it won’t be damaged by everyday spills like other types of floors would be. The material is also naturally resistant to bacteria and viruses keeping your surfaces hygienic and healthy over time – something that cannot always be guaranteed with other types of materials!
• Easy Maintenance: Without a doubt one of the main advantages when it comes to linoleum is its maintenance level – all you have to do is sweep or mop it occasionally in order to keep it looking good as new! You don’t need any special cleaning agents either – any standard household cleaner will do!
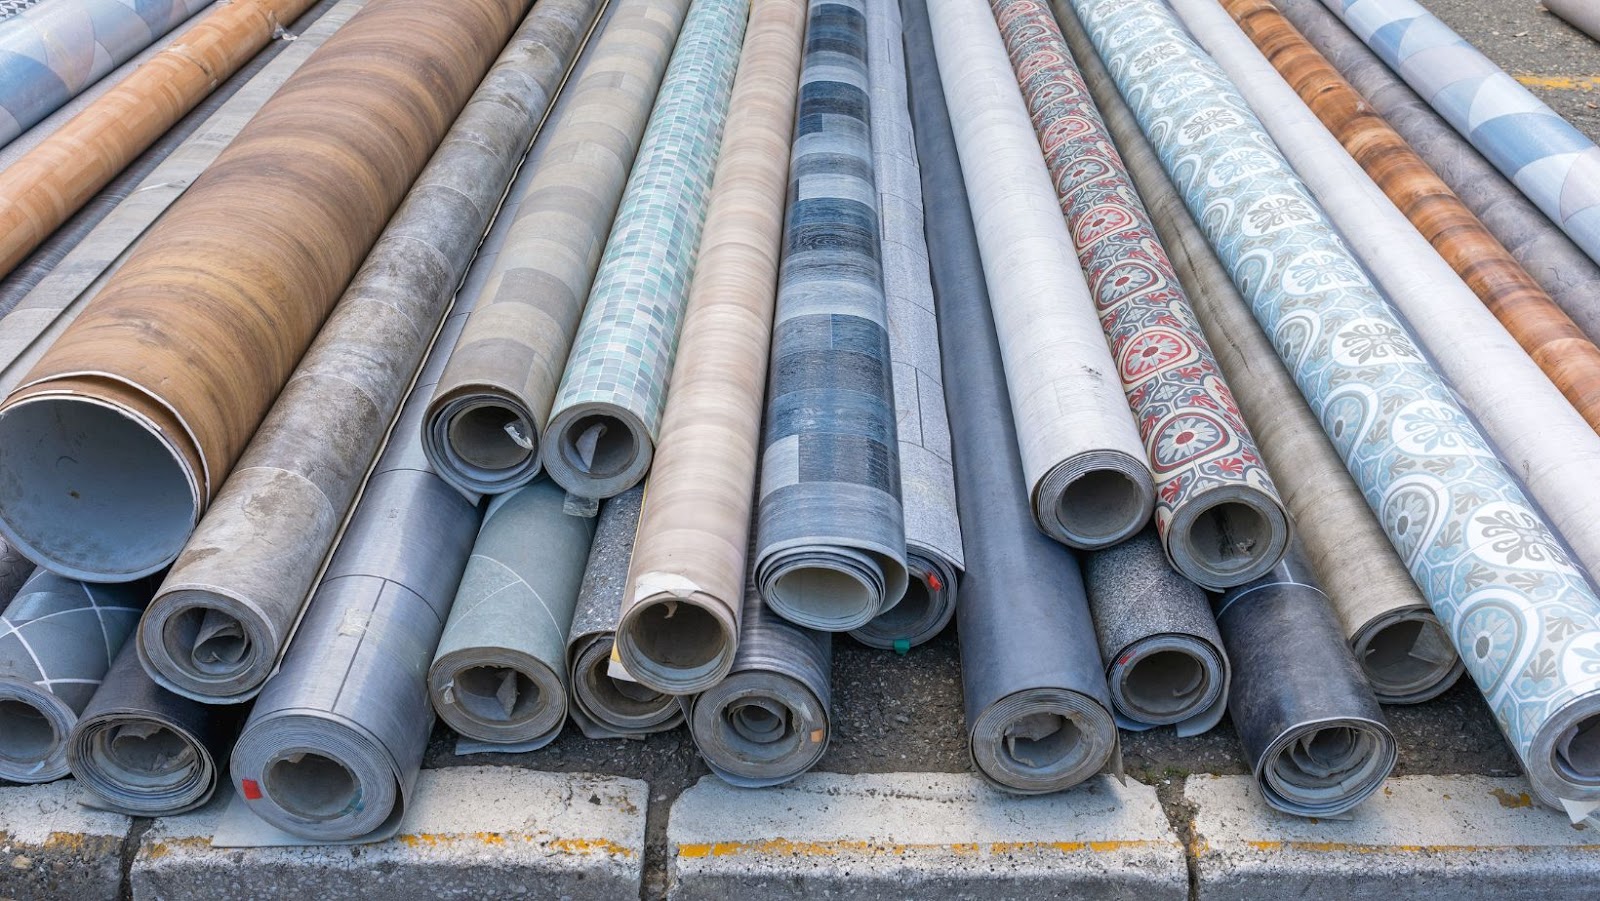
• Versatile: Linoleum offers plenty in terms of style options – from marble effect looks similar to granite finishes, there’s something for everyone regardless of their own style preference! This type also comes in a variety textures so whether you prefer matt or gloss finish there’s something available for everyone’s needs!
Finally, if you ever decide you want to remove your linoleum flooring there exists simple DIY how-to guides available online; meaning the process can be completed from start-to-finish by one person over a weekend – ultimately saving on more costly alternatives such as hiring an expert installer.
Disadvantages of Linoleum Flooring
Linoleum flooring may have been in style for centuries but that does not mean it is without its drawbacks. The biggest disadvantage is that it is easily damaged by sunlight, water, and sharp objects, which can cause fading, warping, and staining. As with all natural materials, proper maintenance and care must be taken to prevent irreparable damage due to wear and tear. Treatment of the material should include immediate removal of spills and stains before they set into the material.
Also note that despite being a 100% natural product (linseed oil & wood flour), linoleum flooring still contains some synthetic materials which can lead to an unpleasant smell if the product doesn’t have sufficient room to breathe. Depending on the age of your existing floors or newly laid linoleum flooring this issue can become particularly potent when attempting to remove existing linoleum floors. As with any major project where you are dealing with hazardous materials like solvents or adhesives, it is important to take necessary safety precautions during tear-out or installation processes such as proper ventilation and eye protection in order to ensure best results from start to finish.
Preparing for Linoleum Floor Removal
Before attempting to remove linoleum flooring, it’s important to make sure that you have all the necessary tools, materials and safety equipment on hand. Additionally, you’ll want to make sure you have a solid plan in place for how you’re going to remove the linoleum flooring. Let’s go over a few things to keep in mind as you prepare for your linoleum floor removal project.
Assessing the Floor for Damage
When considering how to remove linoleum flooring, assessing the floor surface is one of the most important steps. Because linoleum can damage easily, you should take a close look at the linoleum before beginning to remove it. Look for warps, buckles, and other signs of damage. If the floor is damaged in certain locations, you may need to make repairs or consider replacing the entire floor.
You should also look at the condition of any underlying insulation or underlayment. To determine whether additional insulation has been used under your existing linoleum flooring, take a look for bumps in high-wear areas or walk frequently on the affected areas. If you notice any soft spots in these areas then it could be an indication that additional padding has been used. It is important to replace anything that is missing prior to starting your project in order to avoid potential future issues with your new floors.
In addition, when removing a linoleum floor there may also be issues with moisture if your subfloor isn’t properly sealed underneath — which can cause issues once a new floor has been installed. To prevent water damage from occurring it’s important to ensure that vapor barriers such as polyethylene films have been properly installed beneath the liner and on top of particle-board subfloors prior to installing a new surface material.
Gathering the Necessary Tools and Materials
Before you begin the process of linoleum floor removal, it is important to make sure you have all of the necessary tools and materials. It may be helpful to gather all of your supplies before starting the removal process. The items you will need are:
-Safety gloves and goggles: Safety gloves will help protect your hands from possible sharp edges during linoleum flooring removal. Goggles will protect your eyes from dust and debris that may fly up during the process.
-Rigid putty knife or scraper: You’ll need a strong rigid putty knife or scraper to start removing the tiles or sheets of linoleum. Be sure to hold it at an angle when scraping, rather than pushing down flat on top of the linoleum surface in order to prevent damaging whatever lies underneath.
-Steam cleaner or hot water and cleaning solution: To loosen stubborn spots, you can use either a steam cleaner or a mixture of hot water and detergent applied with a sponge mop.
-A pry bar: Larger pieces may require more leverage for complete removal, which is where a pry bar comes in handy.
-Heavy duty trash bag: Floor coverings often contain asbestos and other hazardous material, so be sure to get a heavy duty trash bag for proper disposal when removing them for disposal. Additionally, some cities also have special regulations for disposing old flooring materials that must be adhered to as well.
-Vacuum cleaner with heavy duty brush attachment: To remove debris, you’ll need a vacuum cleaner with an appropriate heavy duty brush attachment rigged onto the hose. This will make it easier to clean up larger pieces while protecting your floors from further damage during cleanup.
How to remove linoleum flooring
Removing linoleum flooring can be a daunting task if you do not know what you are doing. It requires planning and special tools to complete the job safely and efficiently. There are several things to consider before attempting to remove your linoleum flooring, such as the type of flooring, the condition of the adhesive, and any obstacles that could be in the way. In this article, we will discuss some of the things to keep in mind when removing linoleum flooring.
Removing the Linoleum Flooring
Removing linoleum flooring can seem like an intimidating process, but it is something that many homeowners are capable of completing on their own. It’s always a good idea to consult multiple sources prior to removal in order to determine the best strategy for your project.
Before beginning this process, you will want to make sure you have the right tools and safety gear. You should also be sure that you consult professionals if removal will involve hazardous materials or chemicals. For the most part, though, removing linoleum flooring is an easy and straightforward process.
Gather Supplies: Gather all of your necessary supplies and safety gear before beginning the process of removing linoleum flooring from your home. Your supplies should include: gloves, goggles, a sharp utility knife or Stanley knife, a good quality putty knife (ideally 2-inches or wider), broom and dustpan, heavy-duty scraper with metal blades (or even better – an oscillating multi-tool), hammer and chisel (the ones with interchangeable heads may come in especially handy), clean rags/towels, warm soapy water with a squirt of liquid dish soap in it.
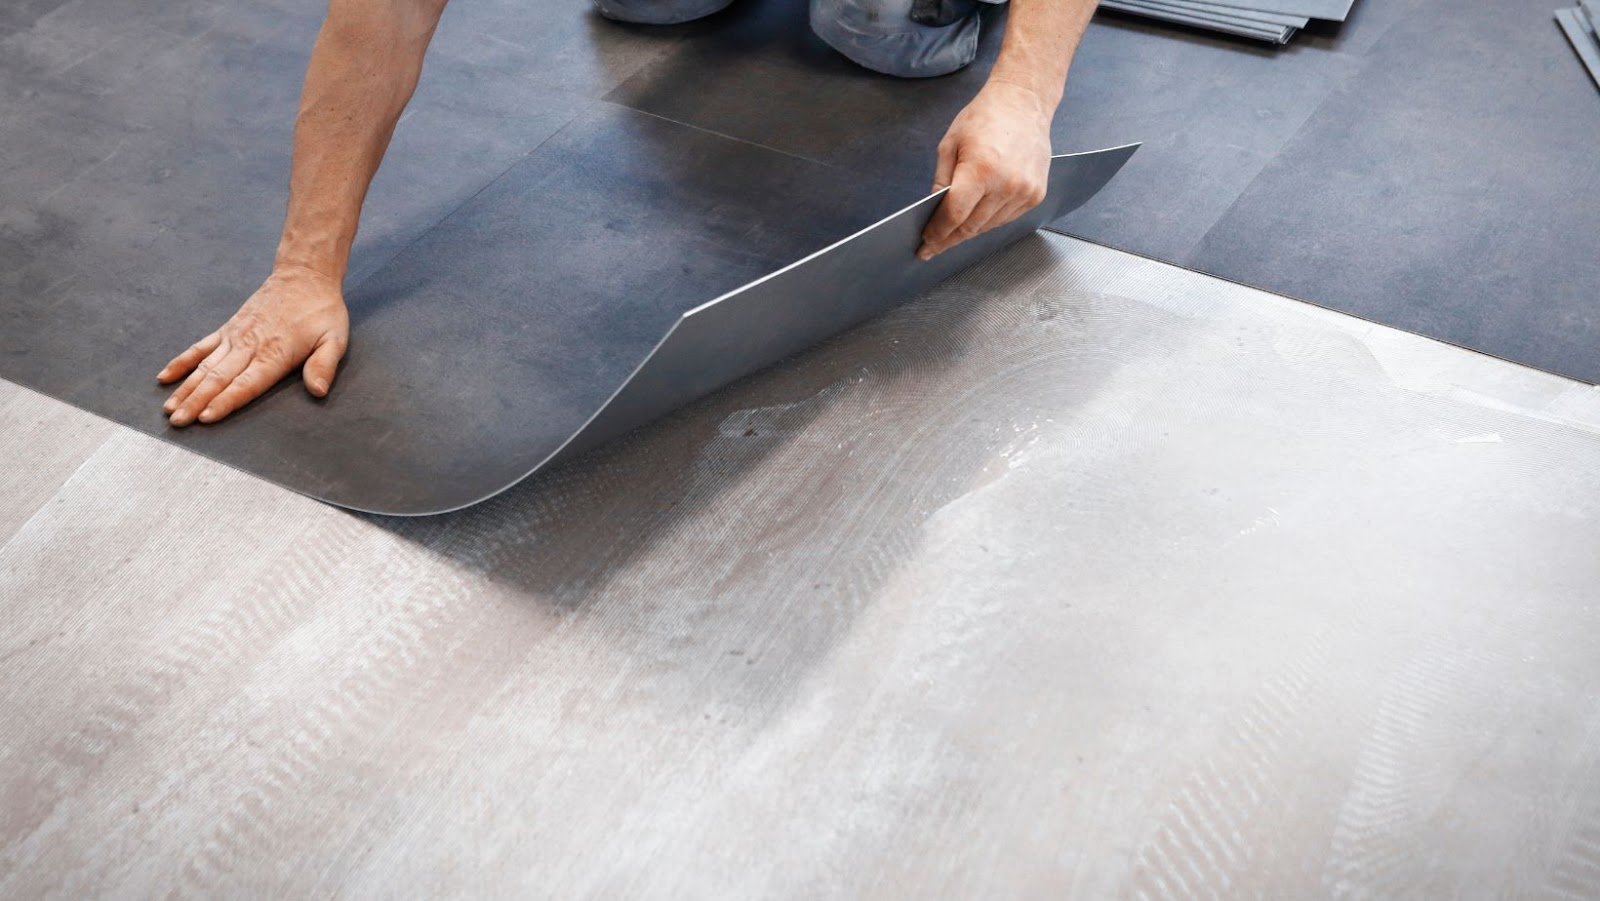
Remove Linoleum Tiles or Sheet Flooring: If the facility has individual linoleum tiles installed already on top of some wood subfloor then things get slightly more complicated as you’d need to chip away portions of tile away from each other at the grout lines until all pieces are free from one another – but still firmly attached to their respective adhesive spots along subfloor (don’t try lifting tiles whilst still attached as this might cause major bending). To do this effectively make sure you have a sturdy hammer & chisel or oscillating saw/multi-tool; use it gradually by pressing into grout line between two connected tiles & going down gently– moving through all areas until the tile separates freely without recourse to brute force tactics applied full max – which could cause cracks & ding up tiles beyond any salvaging conception afterwards!
Once all individual pieces are removed then its often best practice when disposing materials by using cardboard boxes! This allows items like mattress inserts/padding underneath previous linoleum installation plus wax sealants along edges if applicable – being safely arranged within containers ready for disposal at a later date without danger of further breakage! Finally sweep/mop the entire area until its clean again – ready for new floor finishing treatment ahead (could involve repairing subfloor surface prior if necessary).
Removing the Adhesive
After the linoleum has been scraped off, it is necessary to remove the adhesive that is left behind on the flooring surface. This may require more than one approach and should be done with great care to prevent damaging or gouging the sub-flooring beneath. Depending on the type of adhesive used, it may be possible to use heavy-duty strippers and cleaners that can be found at most hardware stores or home improvement centers. If these do not work, then other approaches must be considered.
It may be necessary to soften the remaining adhesive with heat before attempting to remove it with a scraper or chisel and hammer in some cases. This requires covering the glue area with a cloth nozzle attached to a hot air gun or using an electric heat gun designed for this type of job. Once heated sufficiently, it will often become brittle enough and easier to chip away from carpet padding residues that have worked itself into cracks and crevices over time.
Once all of the adhesive residue has been removed, it is important to ensure that all surfaces have been treated and sealed correctly in order for new flooring materials (e.g., laminate flooring) to adhere properly without disruption in later sections of installation. Depending on the chemical makeup of each adhesive type, require different solutions for their proper removal such as white vinegar combined with water or dishwashing liquid containing trisodium phosphate (TSP). Each substance should always be tested on a small area first before being applied as they could cause discoloration if used incorrectly.
Disposing of the Removed Linoleum Flooring
In order to remove linoleum flooring, you need to take some precautions to ensure that it will be disposed of properly. There are certain disposal techniques that you should keep in mind to ensure that you don’t cause any harm to the environment. In this article, we’ll go over the best ways to properly dispose of the linoleum flooring after it has been removed.
Recycling the Linoleum Flooring
Linoleum flooring is a type of resilient flooring that is widely used in commercial and residential buildings. If you’re replacing or updating your linoleum floors, there are some things to keep in mind as you dispose of them.
Before you begin the removal process it’s important to check with your local authorities for any laws or regulations regarding disposal. Strict state and regional rules may apply so it is best to be aware of potential restrictions before starting the project.
Once your linoleum floors have been removed, you may find yourself with large pieces that need to be recycled or disposed of properly. Fortunately, many cities and states recognize linoleum as a recyclable material, so ask around for local recycling centers that accept this type of flooring. It is also a good idea to contact your local garbage collection service first — they may provide a special collection day for large items such as these.
You can also look into companies that specialize in recycling floors and other construction materials like carpet and tile (e.g., Habitat for Humanity ReStores). Depending on where you live, they may be able to come pick up the old linoleum flooring and put it back into use again!
If any pieces cannot be salvaged or reused, make sure they are disposed of in an environmentally safe manner by taking them to an approved waste-disposal center or landfill site Observe all safety regulations when handling linoleum materials and take steps to avoid exposing yourself or others to potential hazards during the removal process — such as possible mold infestations from damp residue left behind underneath the old material
Disposing of the Linoleum Flooring in a Responsible Manner
Once you have finished removing the linoleum material from your floor, it is important to dispose of it in a responsible and safe manner. There are several reasons for this: linoleum contains vinyl, which is a non-biodegradable material; there are toxins and volatile organic compounds present in linoleum material; and some paints may require special disposal.
First, separate any remaining flooring adhesive, putty, or other caulking materials and dispose of them separately. Be aware that some adhesives and putties can contain lead or asbestos. These materials will require special disposal depending on local regulations. Check with your Regional Authority or municipality to find out which regulations apply in your area.
In addition to the glue deposits, you should consider breaking out the large pieces into smaller pieces before disposing off-site. This will make it easier to transport the entire load in one trip, as well as help keep disposal costs lower when equipped with a pickup truck or trailer for hauling away the debris.
If you are having difficulties disposing of off-site yourself due to size constraints or prohibitive costs to transport off-site, then consider utilizing curbside pickup from your local waste management services if available in your area – just remember not to exceed any weight cap limits! Otherwise explore other options such as local construction sites that might take Large Volume Construction & Demolition (C&D) Debris for reuse within their projects (just maintain social distancing standards). Otherwise check with nearby landfills for dumping fees where they decompose such materials responsibly with minimal risk(s) associated with running into hazardous substances causing potential health risks if mishandled).
Final Tips for Removing Linoleum Flooring
Removing linoleum flooring can be a daunting task for any homeowner, but with proper preparation and caution, it can be done successfully. It is important to take the proper steps before starting the removal process in order to ensure the safety of everyone involved and to minimize damage to the surrounding area. In this article, we will go over the different steps necessary for removal of linoleum flooring, as well as discuss some important tips to keep in mind.
Wear Protective Gear
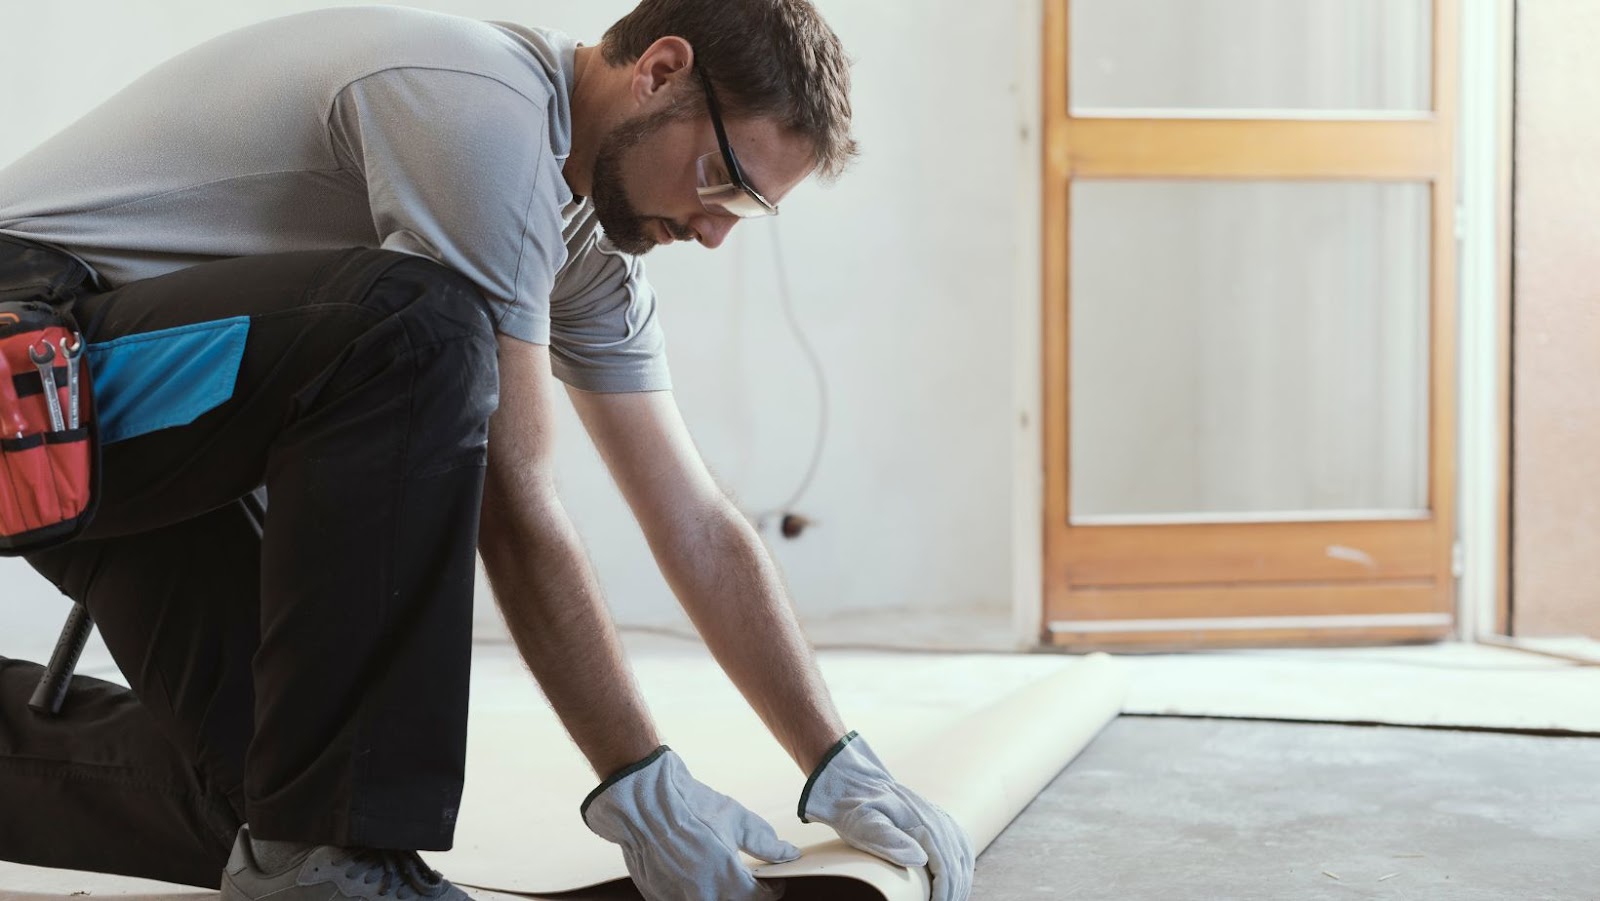
When removing linoleum flooring, it is important to take safety precautions. Whether you are removing large linoleum tiles or smaller linoleum sheets, make sure to wear protective gear such as safety glasses, gloves and a mask. You should also consider ear protection if the project will be especially loud due to specific tools or machines that you are using. In addition, wearing long sleeves and pants is recommended as loose linoleum pieces may have sharp edges once detached from the floor. Keeping your skin and eyes covered can help prevent painful cuts or injuries.
Take Precautions When Working with Sharp Objects
While removing linoleum flooring, it is important to take precautions when working with sharp cutting and scraping tools. It is recommended to wear protective work clothing such as long sleeves, gloves, eye protection, and a dust mask or respirator. The area where the linoleum is being removed should be well ventilated for the best air quality. Additionally, floor protection may be necessary where adhesive has been used to install the linoleum in order to avoid unwarranted damage when bringing up sections of linoleum. In most cases, it will be best to protect your hands by using tools with rubber covered handles or wearing appropriate protective gloves.
In order to make sure scrapes are clean and straight when removing linoleum flooring, sharp chisels and putty knives can be used for scraping away adhesive from the floor or wall surface. Prying bars with chisel edges as well as an adhesion solvent are also important tools for getting underneath sheet linoleum and separating sections from their underlying substrate. It’s also essential that proper safety equipment such as safety glasses and leather work gloves are worn at all times throughout the removal process to protect against any potential injuries that could occur during removal tasks that involve dealing with sharp objects.