Putting sliding closet doors back on track is a straightforward job, although it will require a little bit of preparation before you begin. Before you start, you should make sure that you have all the necessary tools. This includes a screwdriver, a pair of pliers, and a cloth to clean any dust or dirt off of the hardware. After you have gathered all the materials, you are ready to begin fixing the sliding closet doors.
How to put sliding closet doors back on track
Before attempting to reattach the sliding closet door, it is important to gather the necessary tools and materials to ensure that you have everything you need on hand. Please note, this procedure may vary based on the style of your closet doors.
Tools and materials needed:
-Spanner wrench or screwdriver (which will depend on the type of track your door has)
-Pliers (for adjusting screws)
-Sandpaper
-Clothes hanger clips or other clips made specifically for securing doors
-Rail roller insert housing (if applicable)
Once you have gathered all of the necessary items, it’s time to begin putting your sliding closet door back on track.
Remove all items from the closet
To properly fix sliding closet doors that have come off track, it is important to first remove all items from the closet. This will allow you to gain better access to the problem. Once all items have been removed, open the sliding doors and check for any damaged pieces or hardware such as brackets, screws, or tracks that may have broken off due to extended use. Additionally, make sure that no debris has accumulated on either track which could be hindering its functionality. Make sure to clear any debris away before attempting repairs.
Repairing the Sliding Doors
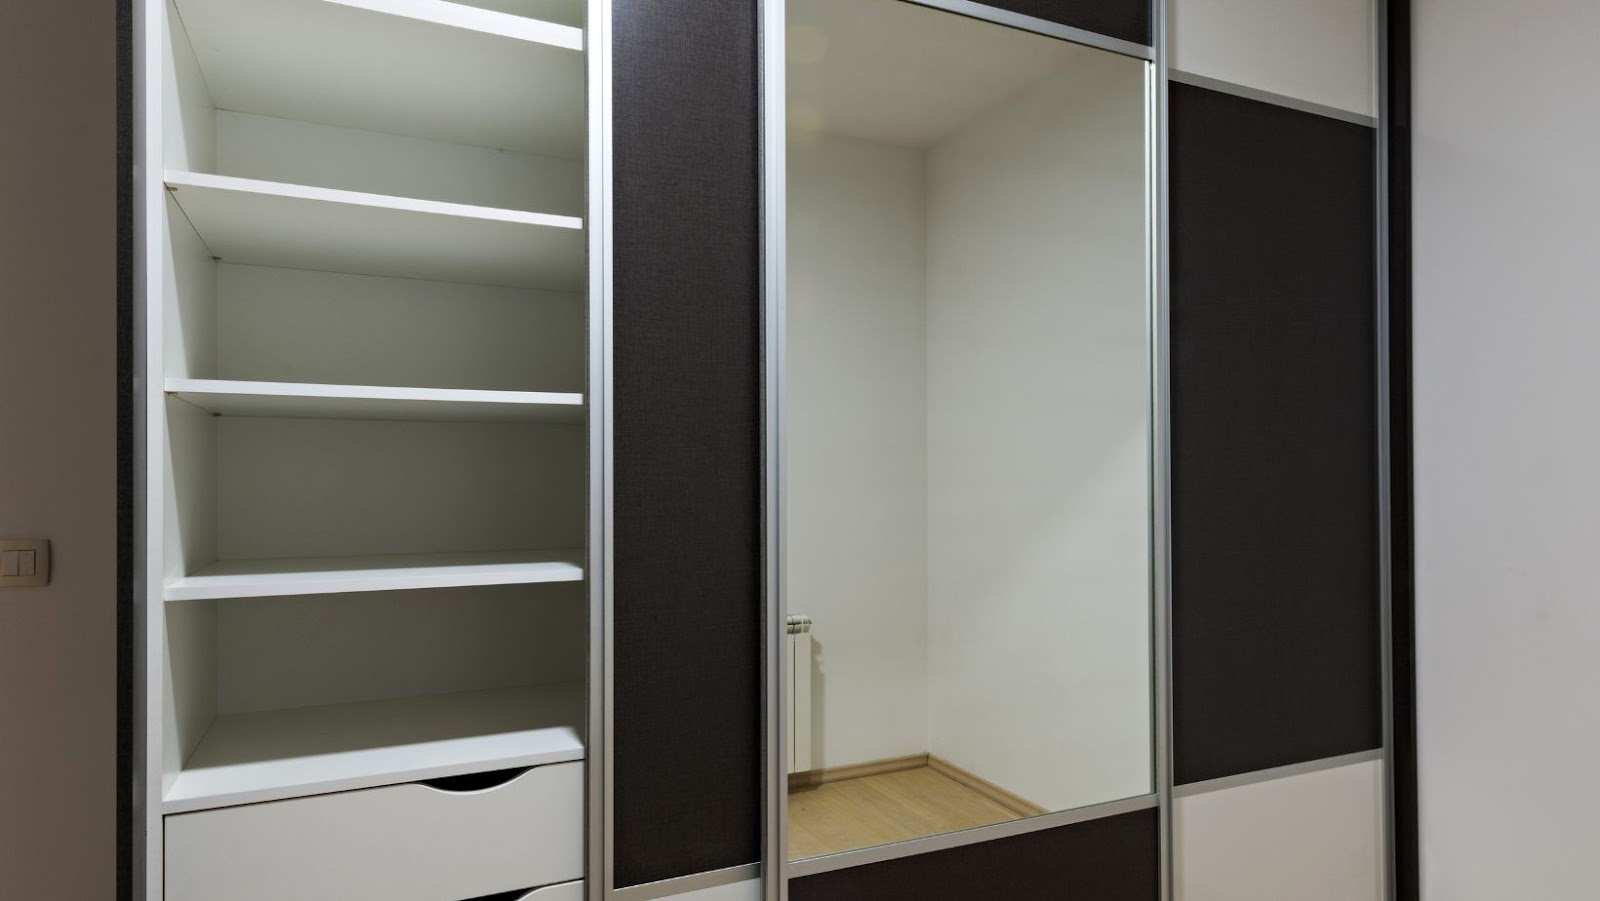
Sliding closet doors can be an important part of any bedroom and can add a touch of style to the room. However, one of the common annoyances with them is that they can come off track, leaving them unusable. In this article, we will discuss how to put them back on track so that they slide smoothly again. We will discuss the necessary tools, the steps to take to put them back on track, and any other tips that may help you fix your sliding closet doors.
Check the condition of the tracks
Before attempting to put the closet doors back on track, take the time to inspect both the sliding door grooves and the tracks. If there is any dirt or debris, use a vacuum cleaner to clean out all of the grooves. Then use a stiff brush to remove any tough debris lodged inside of them. In order for the closet doors to move freely on their tracks, they must be completely clean.
Next, check for any signs of damage or loose parts in either the track or rollers. Any broken parts should be replaced with new ones that fit properly in order for your sliding closet doors to stay on track.
Finally, make sure that both of your Hanger Wheels, located at the top of your sliding doors and attached with two screws each, are secure in their place. Once all components have been checked for damage, you are most likely ready to re-install your sliding closet doors onto their tracks (but you may need some extra hardware depending on how involved your repair work has become).
Clean and lubricate the tracks
Sliding closet doors can sometimes come off their tracks, either because of wear and tear on the tracks or because of a misaligned door. If your sliding closet doors are not closing properly, the first step is to clean and lubricate the tracks. Gently remove any accumulated dirt or dust from the tracks using a dry cloth. Make sure you remove any discolored buildup that has accumulated over time. Once the tracks have been thoroughly cleaned and dried, apply a silicone-based lubricant to help ensure smoother movement of the sliding door. The lubricant should be applied sparingly; be sure not to use too much otherwise it will damage the paint of your closet door. Additionally, make sure you wipe away any excess residue with a paper towel before moving on to realigning your sliding closet doors.
Re-attach the doors to the track
Before reattaching the sliding closet doors to the track, inspect the door runners and bottom track to make sure they are still in good condition. Repair or replace any damaged sections before continuing.
First, you will need to lift the bottom corner of each door onto its respective rail. If a roller is caught in its own slot opening, do not force it higher — use a small piece of wood or a rubber mallet to gently tap that corner back up into place. Then, using both hands on each side of the door and avoiding putting too much pressure on it, carefully slide one door along its length until it has cleared the end slot of your top track and you can then lower it into place.
Do the same with your second sliding closet door. It should fit nicely against the first one once in place — if not, adjust as necessary for better fitment and latch any locks as needed. Make sure that all rollers line up smoothly within their tracks and ride properly when tested by hand. After an initial check, repeat these steps one more time to ensure everything is properly aligned.
Re-installing the Doors
Before you can re-install your sliding closet doors, you need to remove them from the track. This can be done by carefully lifting the door off of the track, and setting it aside. Once the door is removed, you can inspect the track, and get it ready to be re-installed. With the door removed, you can now get ready to start the process of putting sliding closet doors back on track.
Level the tracks
Using a level, check the jamb and upper horizontal track to ensure that they are level. When the tracks are not level, the doors may become stuck or won’t open and close properly. If they are not, use a shim to make the necessary adjustments. Make sure to check the tracks at various points along their lengths. If there is any bowing or dip in the track, it should be evened out with shims before continuing. After adjusting the tracks and ensuring that they are level, carefully attach them in place with screws or nails as directed by your specific sliding closet door kit instructions.
Adjust the wheels on the bottom of the doors
Sliding closet doors often come off track due to gravity, heavy use, and other common wear and tear. Fortunately, adjusting the wheels on the bottom of the door is a fairly straightforward process that should take you no more than a few minutes. This can be done with basic tools that are easily acquired from hardware stores or within your own home.
The first step is to inspect the track and make sure it is clean and flush with the flooring. Additionally, use scissors or tinsnips to remove any debris that may be accumulated in the track itself. Check for any bent sections of metal in the tracks as well – these can cause difficulty in re-installing your doors if not fixed beforehand.
With clean tracks and firm metalwork, you can now adjust the screws on either side of each wheel on each door (these will usually have a hex-head shape). This adjustment will ensure a snug fit within the track without putting excessive strain on either part. When you have tightened most of one side’s wheels (no more than 3/4 turn total), then move onto another side until each door fits firmly inside its respective channel without coming off again when operated manually. Use a leveler to check this carefully before closing up the closet and you should be good to go!
Test the doors for proper operation
Before you begin the task of re-installing the sliding closet doors, it is important to test them for proper operation. Make sure that both doors slide open and closed properly. Start by making sure the track is free of debris, then check for alignment with the jamb on either side of the door opening. Close and open each door several times to make sure they are not sticking or jammed against any part of the track or jamb. Adjust as needed by tapping gently with a hammer and level adjuster along the track until all rungs are slightly above their respective heights.
Next, open each door completely and examine both sides of both doors for signs of wear or damage to either side of the frame that houses your sliding closet door. If all appears in order, you can proceed to resetting them back on their tracks properly.

Finishing Touches
Once you have the sliding closet doors back on track and in place, it is important to make sure that everything is adjusted properly. Sliding closet doors can be heavy, so you will want to make sure that they are level, the track is secured, and all of the rollers are in place and working. To finish off the repair, you will want to make sure the sliding closet doors slide smoothly and open and close without any issues.
Re-attach the handles and knobs
Once you have your sliding closet door back on the track, it is time to re-attach the handles and knobs. If you have metal knobs, they can be firmly attached using screws through the back of the metal knob and into the wood. If you have wooden handles or pulls, they can be mounted either with one or two screws depending on their design. Make sure that when attaching wooden handles that the screw does not protrude too far into the room as this can lead to splintering of the wood due to constant contact. When attaching metal knobs make sure that they are firmly secured to the door with adequate holding power so as not to come loose over time. Once again, inspect for loose screws or nails and secure them if need be.
Re-install any decorative trim
Decorative trim is an important element to complete the look of your sliding closet doors. Before you re-install any trim, ensure the door is rolling on the track correctly and that all screws are tight. This helps keep the door from vibrating on the tracks. Next, find any missing pieces of decorative trim or filler strips and make sure you have all that you need before pre-drilling into place. Some recommended techniques for re-installing trim are:
• Pre-drill holes before nailing into place
• Use long trim head stainless steel screws
• Caulk around the perimeter of each piece with a neutral color silicone caulk
• Verify alignment and check for any gaps or air pockets between slats
• Secure decorative screws at each joint to help stabilize it
• Apply a waterproof sealer or paint over visible screw areas to protect against oxidation
Once everything is secure, there’s no need to worry about your doors sliding off track again. You can enjoy your finished project knowing your sliding closet doors are back on track!
Put items back in the closet
Once you have the closet doors on track, you’re ready to put your items back in the closet. Depending on how much stuff you store in your closet and the setup of your sliding doors, this can be a time-consuming step.
First, start by evaluating the types of items stored in your closet. If you have bulky items like shoes or bins that are very difficult to move around, you may want to start by placing them away from the door pathway for easy movement later on. Now’s also a good time to clean out any junk that you don’t need anymore and get rid of it.
Afterwards, take stock of what needs to go into the closet and begin placing it along the sides of where your sliding doors will run. By having a narrow path between all items, this will help make moving around each door easier than before when it was off-track. Keep any long items close together so they won’t need too much maneuvering while opening the upper part of each door slide.
It’s important to remember that when all is said and done, most closets are designed with sliding doors for their convenience so even if it took some effort (and life hack skills) getting them back on track again—you’ll have saved yourself time with an easier way to access all those stored away items!