Barnwood Closet Doors
Thinking about installing barnwood closet doors? Well, you’ve come to the right place! In this article, I’ll guide you through the step-by-step process of how to install these rustic and charming doors in your home. Whether you’re looking to add a touch of farmhouse style or simply want to update the look of your closets, barnwood doors can be a great choice.
Before getting started, it’s important to gather all the necessary tools and materials. You’ll need a measuring tape, level, screwdriver, drill, screws, and of course, your chosen barnwood doors. Once you have everything ready, it’s time to measure your closet opening and trim the doors if necessary. This ensures a perfect fit for your space.
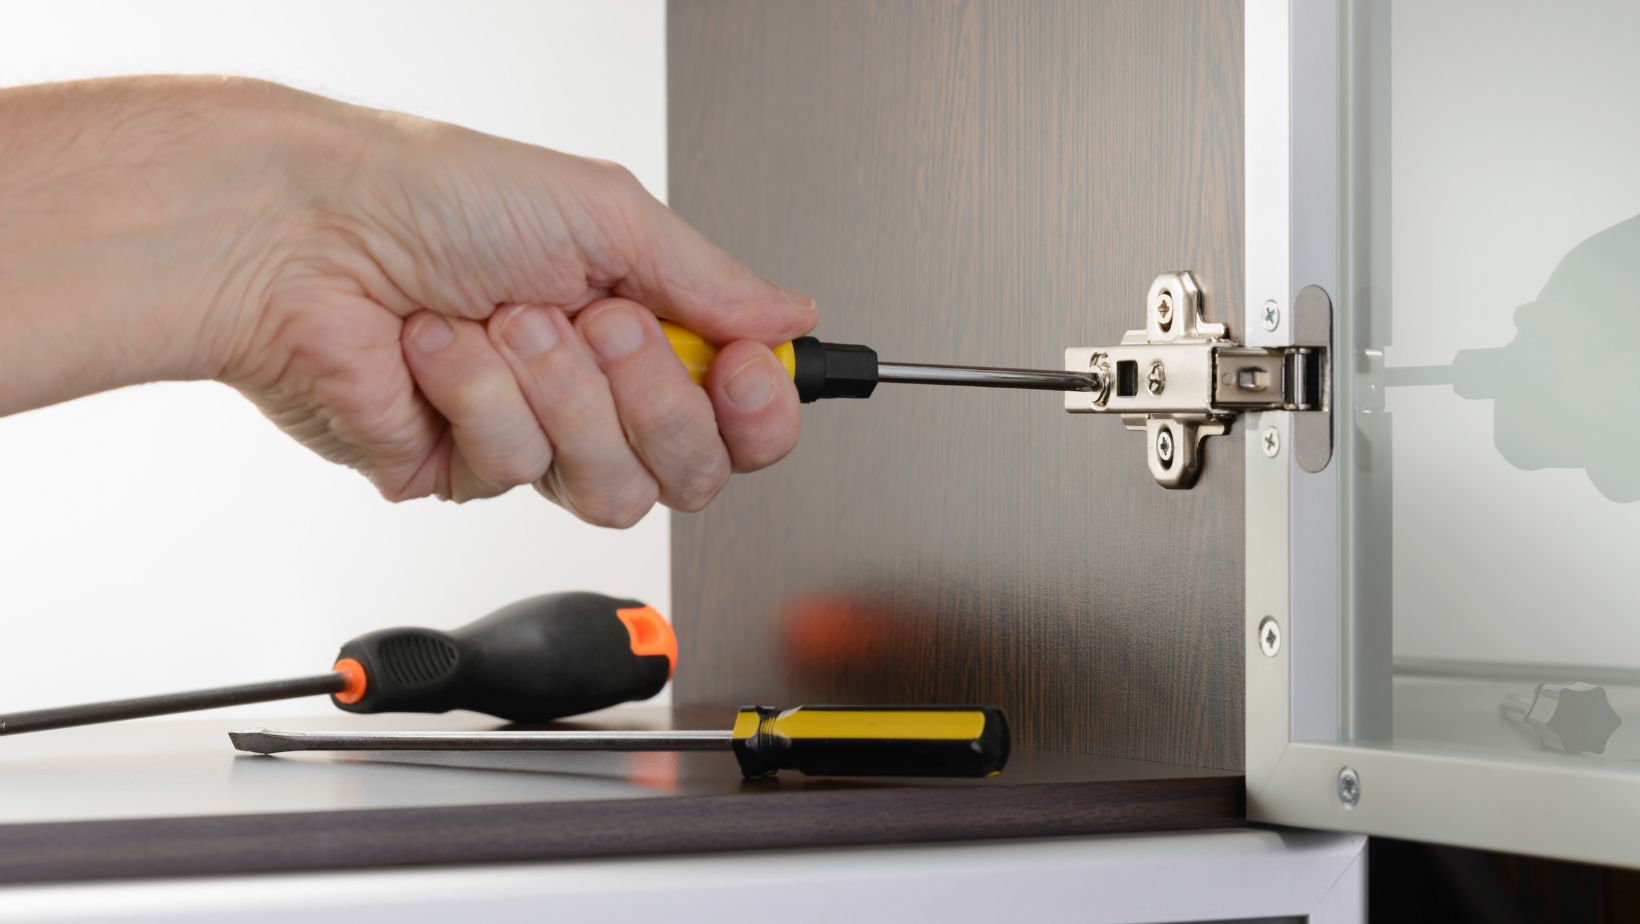
Next up is attaching the hardware. Barnwood doors typically require sliding door hardware that can support their weight. Make sure to follow the manufacturer’s instructions for correctly installing the track system and rollers. Once secured properly, hang the doors onto the track and test their movement.
Finally, don’t forget those finishing touches! Sand down any rough edges on the barnwood doors and apply a protective coat or stain if desired. This not only enhances their appearance but also helps preserve them for years to come.
With these simple steps, you’ll have beautiful barnwood closet doors installed in no time. So roll up your sleeves and let’s get started on transforming your closets into stylish focal points in your home!
Tools and Materials Needed for Installing Barnwood Closet Doors
Here’s a breakdown of the tools and materials you’ll need to successfully install barnwood closet doors:
- Barnwood Closet Doors: The star of the show! Make sure you have the right size and style of barnwood doors to fit your closet opening. Measure twice, cut once, as they say.
- Measuring Tape: A trusty measuring tape is an essential tool for ensuring accurate measurements before purchasing your barnwood doors. Don’t overlook this step or you might end up with ill-fitting doors.
- Screwdriver: You’ll need a good screwdriver, preferably one with interchangeable bits, to attach hinges and door handles securely.
- Drill: If your barnwood doors require pre-drilled holes for hardware installation, a drill will come in handy. Ensure that you have the appropriate drill bits for the job.
- Level: To ensure that your barnwood closet doors hang straight and true, a level is indispensable. This simple tool will help eliminate any lopsidedness during installation.
- Screws: It’s important to use screws that are suitable for attaching hardware and securing the barnwood doors in place. Choose screws that are long enough to penetrate both the door frame and wall studs securely.
- Door Hardware: Depending on your personal preference, you may want to include door handles or knobs on your barnwood closet doors. Select hardware that complements the rustic charm of the barnwood while also being functional.
- Pencil or Marker: These basic writing utensils are useful for marking where hinges should be placed on both the door frame and barnwood doors themselves.
- Safety Glasses and Gloves: As with any DIY project involving tools, it’s crucial to prioritize safety by wearing protective eyewear and gloves throughout the installation process.
- Assistance (Optional): Installing heavy barnwood closet doors can be challenging solo work. If possible, enlist the help of a friend or family member to make the job easier and safer.
By gathering these tools and materials before you begin, you’ll be well-prepared for a successful barnwood closet door installation. Remember to take your time, follow instructions carefully, and enjoy the process of transforming your closet with the timeless beauty of barnwood doors!
Measure and Plan
When it comes to installing barnwood closet doors, the first step is to measure and plan. This crucial stage sets the foundation for a successful installation process. By taking accurate measurements and carefully considering your design preferences, you’ll ensure that your barnwood closet doors fit perfectly and complement the overall aesthetic of your space.
To begin, gather all the necessary tools for measuring, such as a tape measure, pencil, paper, and a level. Start by measuring the height and width of your existing closet opening. It’s essential to take multiple measurements at different points to account for any variations in size or shape. Record these measurements on your paper so that you can refer back to them later.
Next, consider the style of barnwood closet doors you want to install. Barnwood doors come in various designs, from classic rustic styles to more modern options. Take into account factors such as the color of the wood, hardware choices like handles or hinges, and whether you prefer a single door or double door configuration.
Once you have determined your desired style, it’s time to plan out the installation process. Consider factors such as any modifications needed for proper door clearance (if required), whether you need additional hardware like floor guides or track systems, and if any electrical outlets or switches may be affected by the installation.
Remember that accuracy is key during this stage. Double-check all measurements before finalizing your plans. If needed, consult with a professional or experienced DIY-er who can provide guidance based on their expertise.