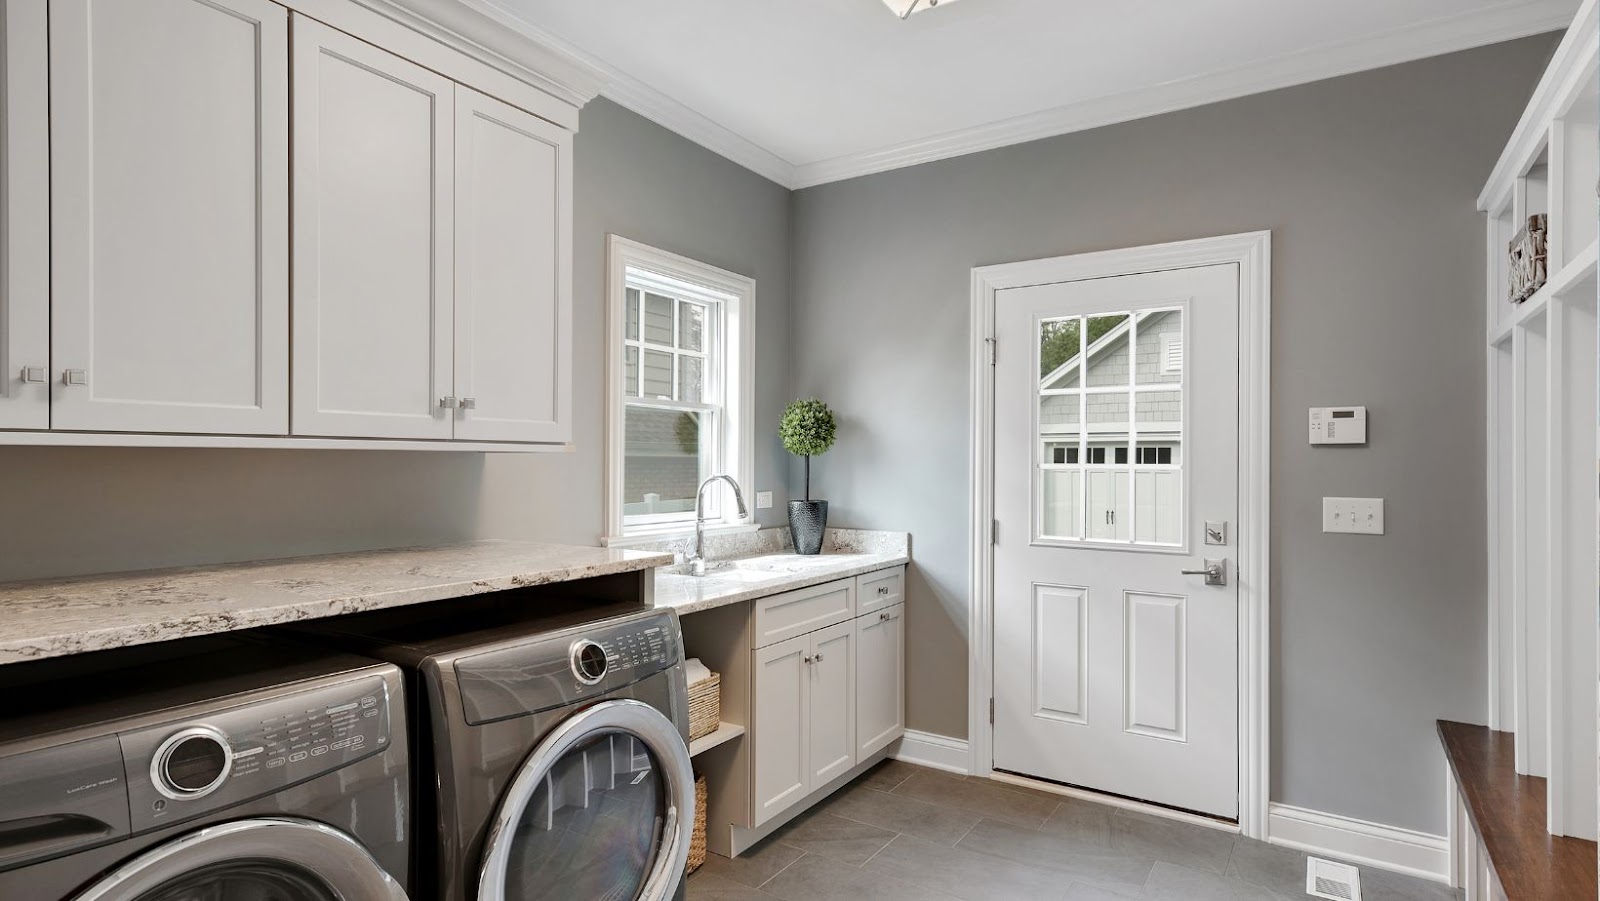
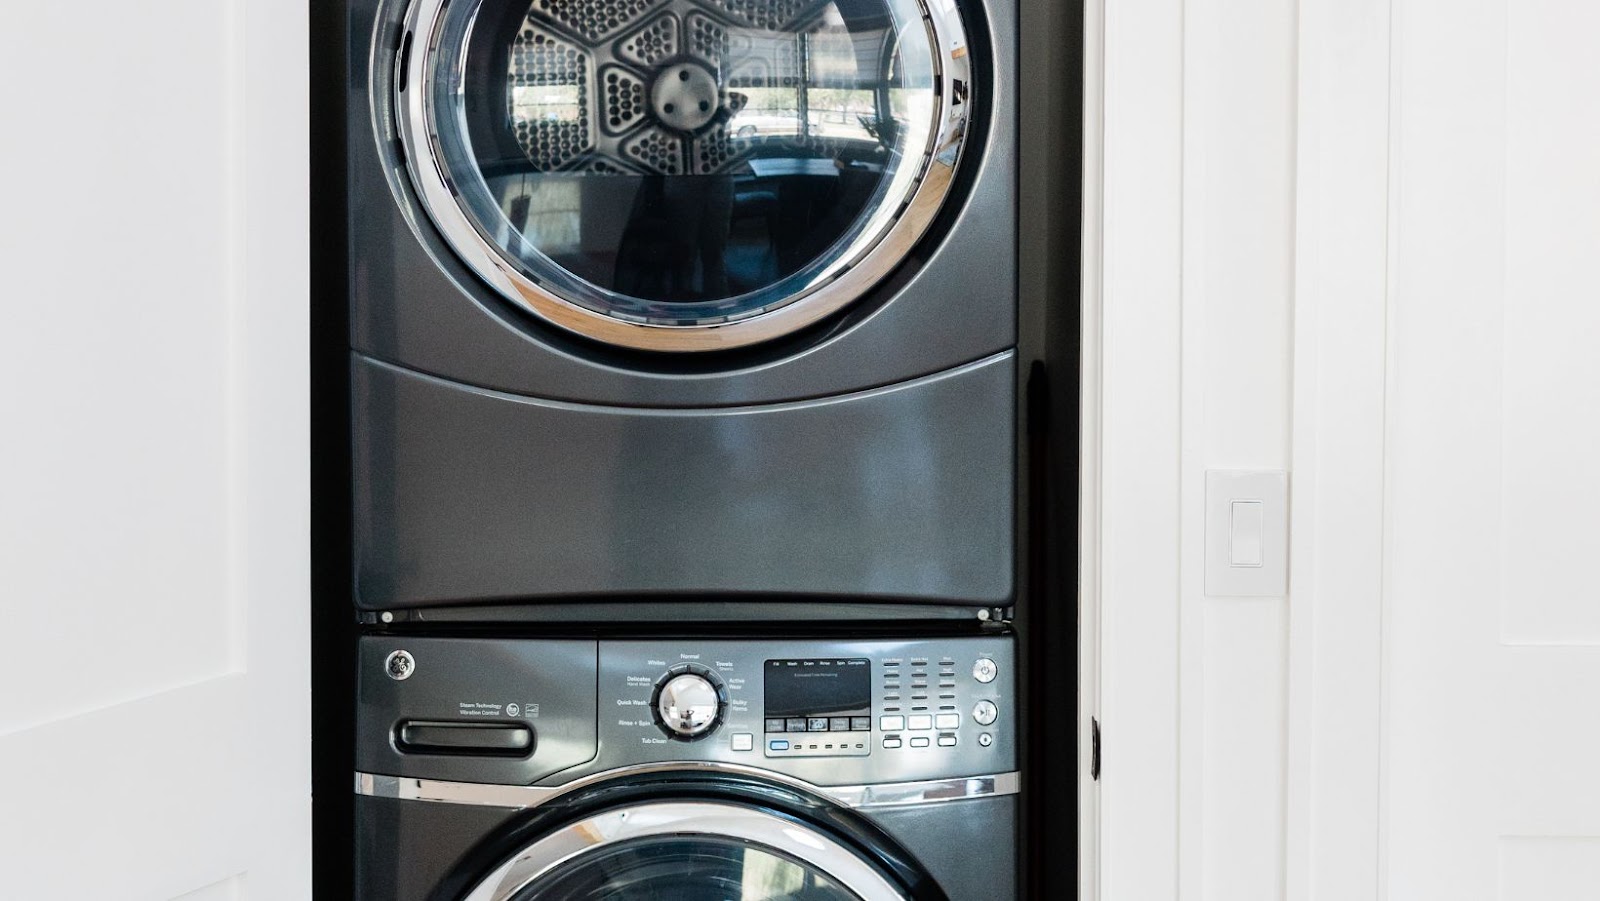
Few household tasks can be as tedious as doing laundry. The last thing you want to see when you’re carrying a basket or armful of clothes to the washing machine is pipes, hoses and other plumbing fixtures. But if the laundry room isn’t large enough for an entire remodel, it doesn’t have to always dominate your view. With a few creative ideas and some simple concealment techniques, you can get creative with hiding your laundry room plumbing.
How to hide laundry room plumbing
In this guide, we will discuss various concealment methods that are easy to implement while adding appeal and functionality to your space. From finding smart ways of using wall hangings and furniture arrangements, to covering pipes with rope or tile grout caulk — the possibilities are endless! So let us dive in and explore how you can make your laundry room more inviting without sacrificing access or utility.
Create a False Wall
One of the most common ways to hide laundry room plumbing is to create a false wall. This means building a new wall over the existing plumbing, which will allow you to hide the pipes and other appliances behind the wall. You can add shelves, cabinets, or even decor to the false wall to make the laundry room look more aesthetically pleasing. Let’s take a look at the steps you should take to create a false wall.
Materials Needed
If you want to get creative with hiding your laundry room plumbing, constructing a false wall is one of the most effective ways to do so. In order to carry out this method of camouflaging, you will need to make sure that you have gathered all the necessary materials beforehand. Here is a list of items you will need:
-1×2 furring strips
-Wallboard
-Joint compound
-Molding strips
-Paint/programmable paint sprayer
-Construction adhesive
-Stud screws
-Drill/driver and drill bits
-Utility knife and saws
Once all these materials are purchased and collected, you can begin the process of constructing your false wall.
Step-by-Step Instructions
If you’re looking for creative ways to hide your laundry room plumbing, a false wall can be a great solution. A false wall is essentially a covering that masks the pipes, hoses and any other unsightly elements in the laundry room. This project can be completed in a few simple steps and with minimal materials. Here’s what you’ll need:
-Wood or fiberboard (5/8″ thick)
-Solid construction adhesive or screws
-Nails
-Hammer or screwdriver
-Paint or wallpaper
Once you’ve gathered your materials together, it’s time to start constructing your false wall. Here’s how:
1. Measure the area you want to cover and cut the wood or fiberboard into pieces that will fit the designated space. Keep in mind that you may need more than one panel depending on how much coverage you have to achieve.
2. If using construction adhesive, begin by applying it liberally to the back of each panel being sure to spread it evenly over an area large enough for secure attachment without leaving any gaps between sections of material. Make sure each panel is securely attached before moving on to the next step. If screwing each piece in place, use nails into pre drilled holes so as not to split them apart as you go along. Secure them firmly in place before moving onto step 3.
3. Once all of your panels are attached, measure and cut out any slots needed for pipes, hoses or valves jutting out from behind the panels at even intervals across their surface(s). Sand away any rough edges once finished cutting.
4 .It’s now time to paint or wallpaper your new false wall! Choose a color scheme that matches your existing decor and apply two coats of paint or hang wallpaper while following applicable instructions according to package directions (as applicable). You could also add shelves behind the panels if desired so they become functional as well! This is a great way to keep cleaning supplies neatly stored away while helping hide your laundry room plumbing at the same time!
Now that you know how to create a false wall around your laundry room plumbing, why not get creative with other types of hideaway installations around your house? You may be surprised just how easy and effective hiding unsightly elements can be with some simple DIY projects like this one – happy crafting!
Install a Sliding Door
It can be difficult to make sure that your laundry room plumbing is not on display. One way to hide it is by installing a sliding door. This type of door is easy to use and can be installed quickly. It will conceal the laundry room plumbing while still keeping it accessible. Plus, the door can be designed to match the rest of your laundry room’s aesthetic. Let’s explore more options for concealing laundry room plumbing.
Materials Needed
When attempting to hide laundry room plumbing, there are several materials you will need to install a sliding door. The most basic of these materials include:
-Sliding door track and hardware
-Sliding door panels
-Measuring tape
-Drill and drill bits
-Screw gun
-Level or straight edge tool
-Hinges or hinges and handle set
-Construction adhesive
Other accessory items that may be helpful when attempting a project such as this include sandpaper, a hammer, and finishing nails. Additionally, depending on the size of the space being remodeled, wallboard or drywall may need to be installed prior to beginning the installation.
Step-by-Step Instructions
Hiding laundry room plumbing and other mechanicals in your home can be tricky, but there are many cost-effective and creative ways to achieve an attractive result. One option is to install a sliding door, which requires minimal effort and expense. Follow this step-by-step guide to get started.
1. Measure the space where you would like to install the sliding door.
2. Purchase or build the frame for your sliding door using the measurements taken in step one.
3. If purchasing, select a pre-hung frame kit with prepared jambs that fits your opening size and adhere it to the opening using shims and construction adhesive, while ensuring it is level before fully attaching it with nails or screws, as instructed by the kit manufacturer.
4. Attach trim around the outside of the now-installed frame for a finished look, if desired.
5. Place pivot hinges on the top corners of each side of the door frame header then attach mortise lockset(s) at the bottom of each side of header for increased privacy (optional).
6. Cut any necessary holes for plumbing fixtures on either side of framing at this point if needed (you can cover them up later with wall panels).
7. Choose a reliable track system that is compatible with your doors’ weight and size requirements — this will help ensure a smooth operation when opening and closing falls in line with safety regulations for family use — then attach it according to manufacturer instructions along both walls on either side of framing header at top or sides of installation area (at least two tracks are recommended). Do not completely secure tracks until they have been tested out first to ensure they operate properly without issue before securing down entirely with nails or screws into framing’s studs/ joists etc based on kit type used {careful not to accidentally pierce any pre-existing wiring too tightly}.
8 Hang panels onto brackets by inserting hooks onto backside edges then clipping them into uppermost tracks on either wall making sure they are securely clicked into place where desired! Once satisfied with placement adjust brackets accordingly so movements do not interfere with any other doors/windows nearby – if necessary add more materials such as foam insulation strips between tracks in order further reduce noise levels should that be an issue you wish to address . Lastly make sure you have securely fastened all mounting hardware that comes along with track system products explaining maintenance instructions provided beforehand – while ensuring proper alignment throughout the entire installation process! {Be sure when mounting hardware make sure the power drill bit uses a compatible size drilling hole.}
9 Attach any remaining pieces such as plinth blocks, edge seals or stile caps after all steps above complete that were mentioned during initial unboxing/inspection phase prior installing brackets onto walls/tracks provided based on purchases specifications; this will help prevent leaks , dust infiltration , etc throughout time spent utilizing product lifespan – specially over long stretches ! 10 Firmly compress all components according clockwise order beginning from hinge end towards handle end until snug fit forms securely holding panel within frameset enumerated far more extensively below . Now go ahead & enjoy the new aesthetic feel residential interiors bring forth once hidden laundry room appliances showcase modern décor thus creating one truly unique experience few have dared explore 100% visibility advantage such project provide!
Hide Plumbing with a Curtain
If you want to add a unique touch to hiding your laundry room plumbing, consider adding a curtain to the equation. One great advantage to curtains is that they can easily be removed if you ever need to access the pipes, plus they don’t take up much space. Plus, you can find a curtain in any color or pattern to suit your style. Let’s explore some other creative ways to hide your laundry room plumbing.
Materials Needed
If you are looking to hide the plumbing in your laundry room for a more streamlined look, adding a decorative curtain can be the perfect solution. With these materials and steps, you can easily enhance the look of your laundry room without spending too much time or money.
Materials Needed:
-Decorative fabric or curtain panel
-Curtain rod
-Ironing board and iron
-Curtain clips (optional)
-Upholstery tacks (optional)
-Tape measure
-Scissors or electric cutting tool
-Staple gun
-Hammer (for upholstery tacks)
Once you have gathered all of the necessary materials, you’ll be ready to start upgrading your laundry room with some style. Follow these steps to complete this DIY project in no time!
Step-by-Step Instructions
If you want to add a decorative touch to your laundry room while at the same time concealing the plumbing, here are step-by-step instructions to hide plumbing with a curtain.
1. Measure the area that needs to be concealed around all of the exposed plumbing in your laundry room.
2. Select one or more curtains — preferably solid in color, so as not to draw any attention away from the exposed plumbing — which are wide enough and long enough to cover all of the areas you measured. Allow for additional fabric at both ends if you plan to hem them or run them through a curtain rod.
3. To hang the curtains, choose an appropriate type of rod or track. You will need to decide between spring tension rods, curtain hooks and clips, and adjustable long shower rods, depending on what kind of look and feel you would like and what kind of materials will work best for your installation constraints, such as wall anchors for heavier materials or adhesive hooks for lighter fabrics on smooth surfaces such as tile or glass walls.
4. Place the desired rods, tracks or hooks according to your measurements and weight specifications in order to support the weight of your curtains. For easy installation of a shower rod, measure and mark where wall anchors will go before drilling holes into studs within the wall; otherwise select alternative light-weight fixtures that require no drilling or wall screws (adhesive hooks attach easily on flat surfaces).
5. Once all necessary attachments have been fixed into place then hang your selected curtains on these supports (hooks or rods) starting from left-to-right (or right-to-left depending on personal preference).
6. To further hide any remaining plumbing fittings continuing up walls near ceilings use either window panels cut large enough at top sides plus back so they cover all sides equally when hung from ceiling hardware –or– create drapery window treatments in order that inner sides open completely so any part where hardware attaches onto surface is hidden with sides remaining closed during viewing–and/or– add boxed valence wraps attached across top forward sides only so remainder can be opened when needed using matching hardware (velcro works if used correctly).
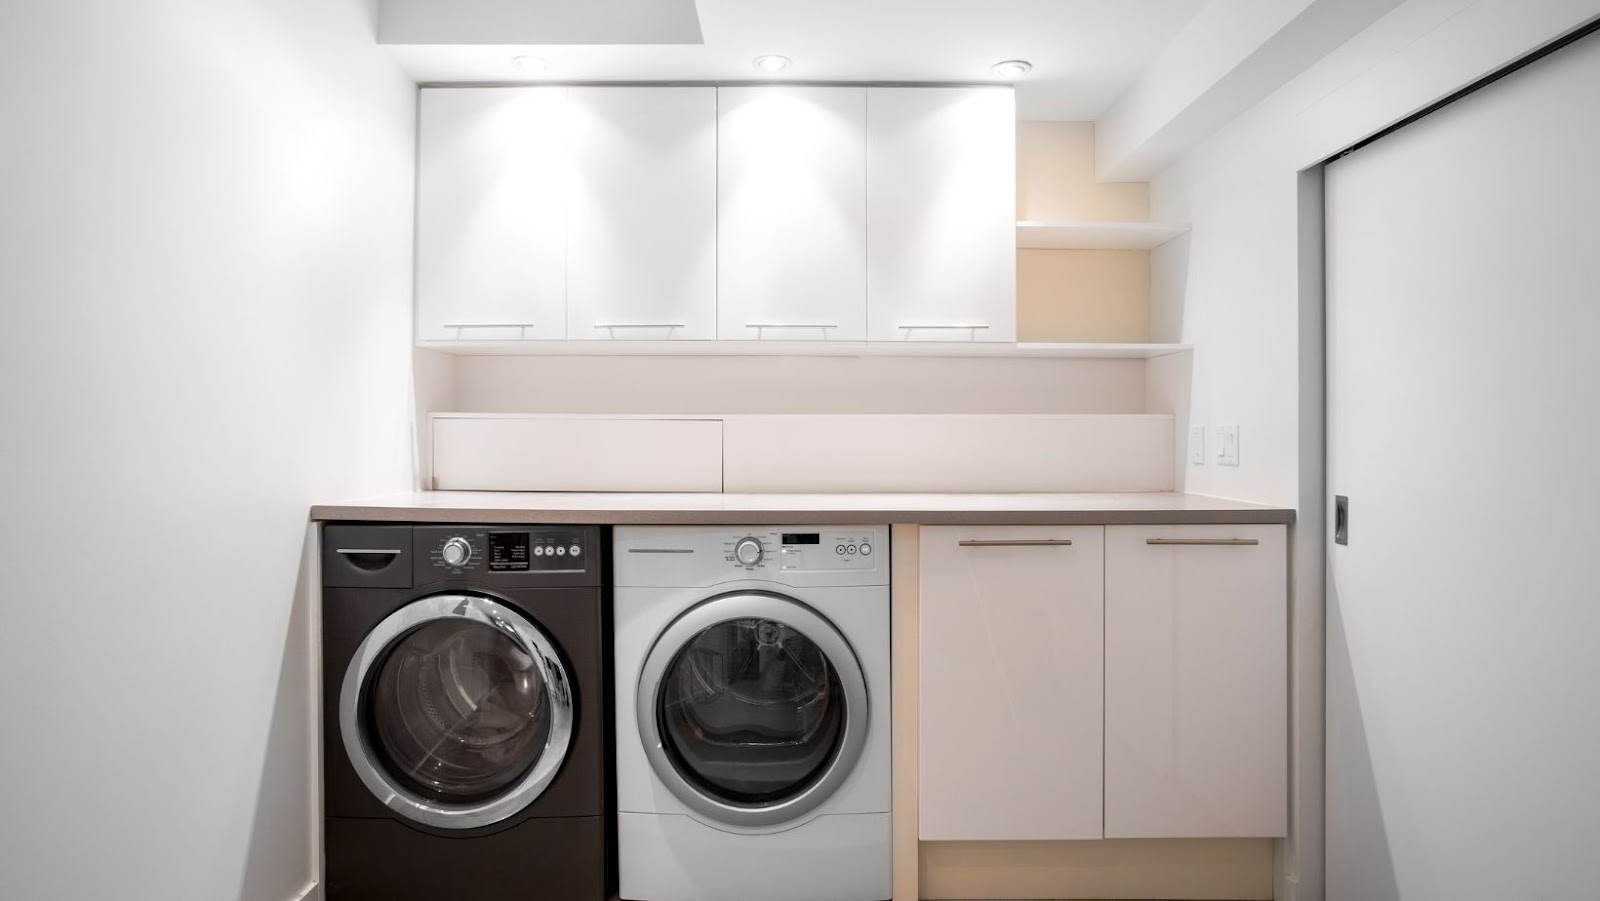
Utilize a Closet
One way to hide your laundry room plumbing is to utilize a closet. You can designate a closet and install shelves and cubbies to hold laundry supplies, but also store appliances such as washers and dryers. This will leave a clean and organized look in the room while still keeping your plumbing hidden. You can also add other decorative items such as baskets and rugs to the closest to complete its look. Let’s explore other options for hiding your laundry room plumbing.
Materials Needed
If you want to create a sleek, storage-friendly laundry room, you will need to account for potential plumbing components before designing. Taking care of the laundry should be an easy and stress-free experience, so ensuring the space looks organized and clean is essential. To help make this vision come alive, the items needed for covering up the plumbing are relatively straightforward.
The items you will need include:
-Shelving units
-Cabinets
-Trunk or chest
-Scaffolding (if needed)
-Building supplies (e.g., screws and anchors)
In addition to these items, make sure to have functional organizational tools on hand like laundry baskets and baskets with lids—you know exactly where everything goes! Once you’ve gathered the necessary supplies and construction materials mentioned above, you’re ready to start concealing your plumbing components!
Step-by-Step Instructions
If you’re looking for an easy and effective way to hide your laundry room plumbing, the closet is the perfect place to start. You can use the existing built-ins or decorative walls to camouflage the pipes, hoses, and other components. Plus, having a closet in this room makes it easier to store items you need and keeps the space organized.
To get started with utilizing a closet:
1. Measure your area so you know what size of cabinets or shelves will fit your space and take into account any extra storage needs such as washing machines or dryers.
2. Install wall panels around any exposed piping or run a PVC pipes along the ceiling if possible so it’s out of sight from passersby in your laundry room.
3. If there are no existing built-ins try to install shelving units that are deep enough for laundry baskets like wicker drawers with detachable lids for easier access when doing loads of laundry.
4. Place anything else like detergents away from view by using cabinet doors on tall shelving units below for a more discreet hiding spot.
5. Finally, add a few accessories like curtains or blinds to tie everything together aesthetically if needed!
Conclusion
Hiding the plumbing for your laundry room can be a time consuming and difficult task, but it doesn’t have to be. With a few simple steps and a little creativity, you can easily disguise the plumbing in your laundry room and keep it out of sight.
Using cabinets or wall-mounted shelving is an easy and effective way to ensure that all necessary plumbing, such as pipes, tanks, pumps and washing machines are easily accessible but still hidden from view. Additionally, mirrors or paintings hung in front of areas that contain laundry room plumbing can also be used to effectively disguise them. Furthermore, strategic placement of clothes hampers or baskets in tight spaces can help to hide those hard to reach bits of exposed piping.
Whatever the size and layout of your laundry room may be, there is sure to be a creative space-saving option available which will not only make use of otherwise wasted space but also help you achieve a more aesthetically pleasing overall design.