If you’ve decided to replace your backyard fence, it can be an exciting and daunting task. Before you start the project, it’s important to prepare so that the process runs smoothly. You should consider the style and material of your new fence, create a budget, and determine if you need to get permission from any local government or homeowners association before beginning the project.
In this article, we’ll cover how to ensure that your backyard fence replacement project is successful:
Assess your current fence
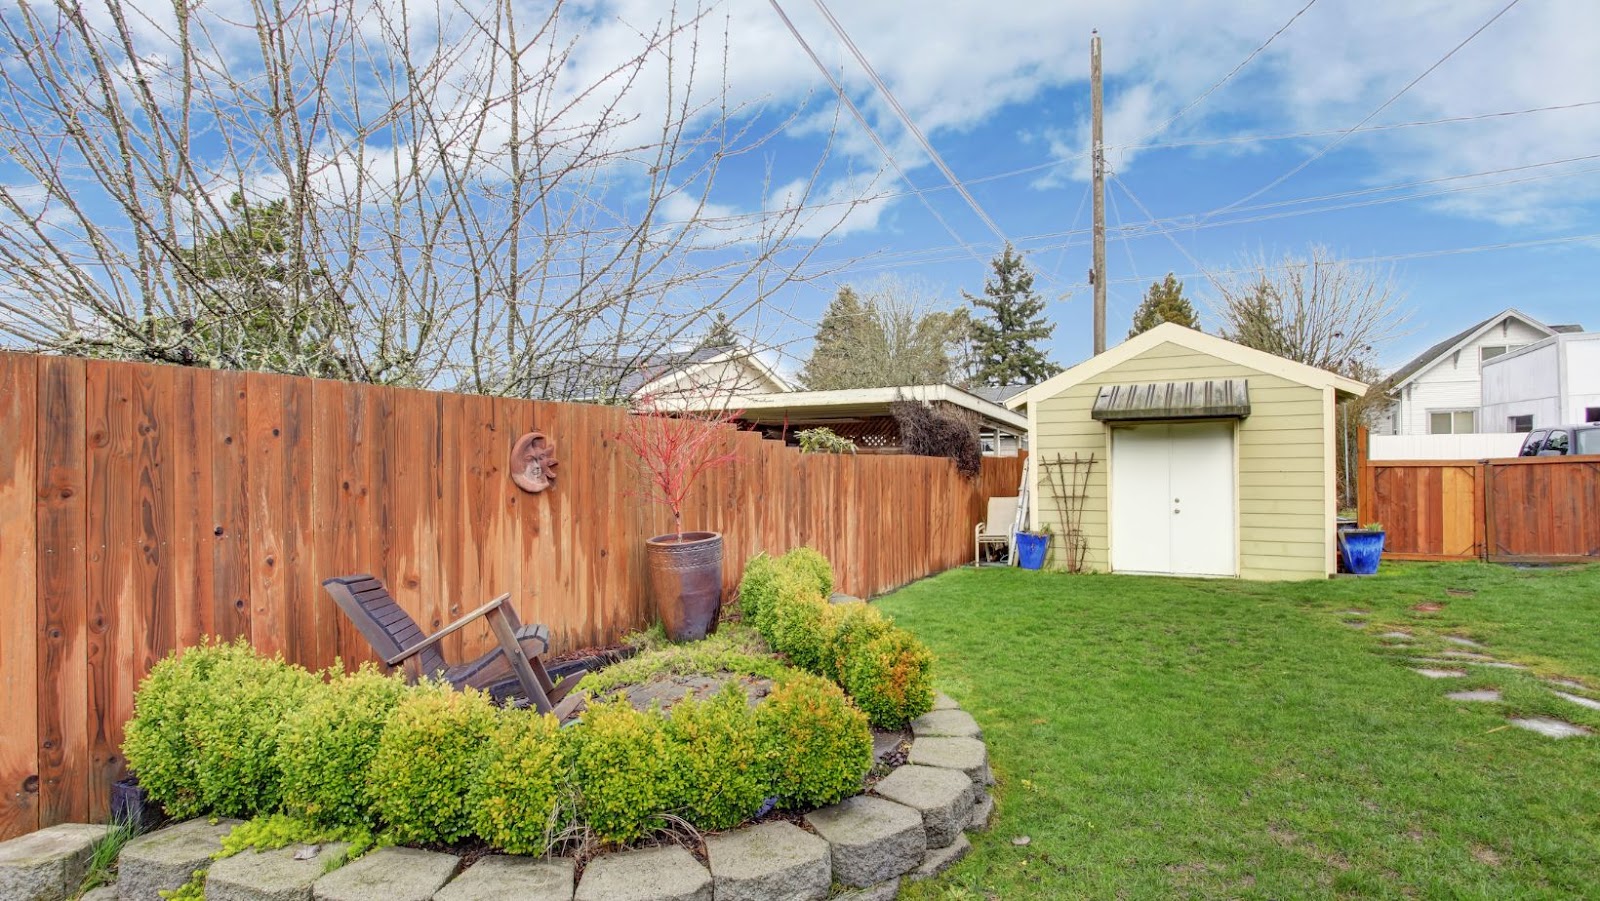
Before you invest in a replacement fence for your backyard, it is important to thoroughly assess the current fence that exists on your property. To do this, inspect each section of the fence and take notes of any broken or rotting boards, posts, or sections. Don’t forget to check for rotting ground posts or tension wires around the perimeter of the fence. After inspecting and taking note of each flaw, compile a list of what needs to be replaced before installing the new fencing.
Inspecting the current aesthetic qualities is also important when replacing your existing fence. Note the general color and texture of wood that currently exists if they are part of your existing material options. Additionally, look at how wide or narrow some sections are compared to others. Note how steep or flat some inclines may be as this will affect how much sunlight reaches your lawn after installation has taken place. Assess whether you would like to keep certain sections intact as part of your backyard decoration when you install the new fence and think about which areas could serve as statement pieces by:
- Creating either a lattice design
- Changing height levels from section-to-section
- Providing more air flow than normal with decorative cutouts from picket boards
- Contrasting shades between different corner points on your property’s plot lines
All these features must be taken into consideration for a future successful fence replacement project in order to match up with personal preference and aesthetically please yourself when you look out onto your lawn after installation has been achieved satisfactorily!
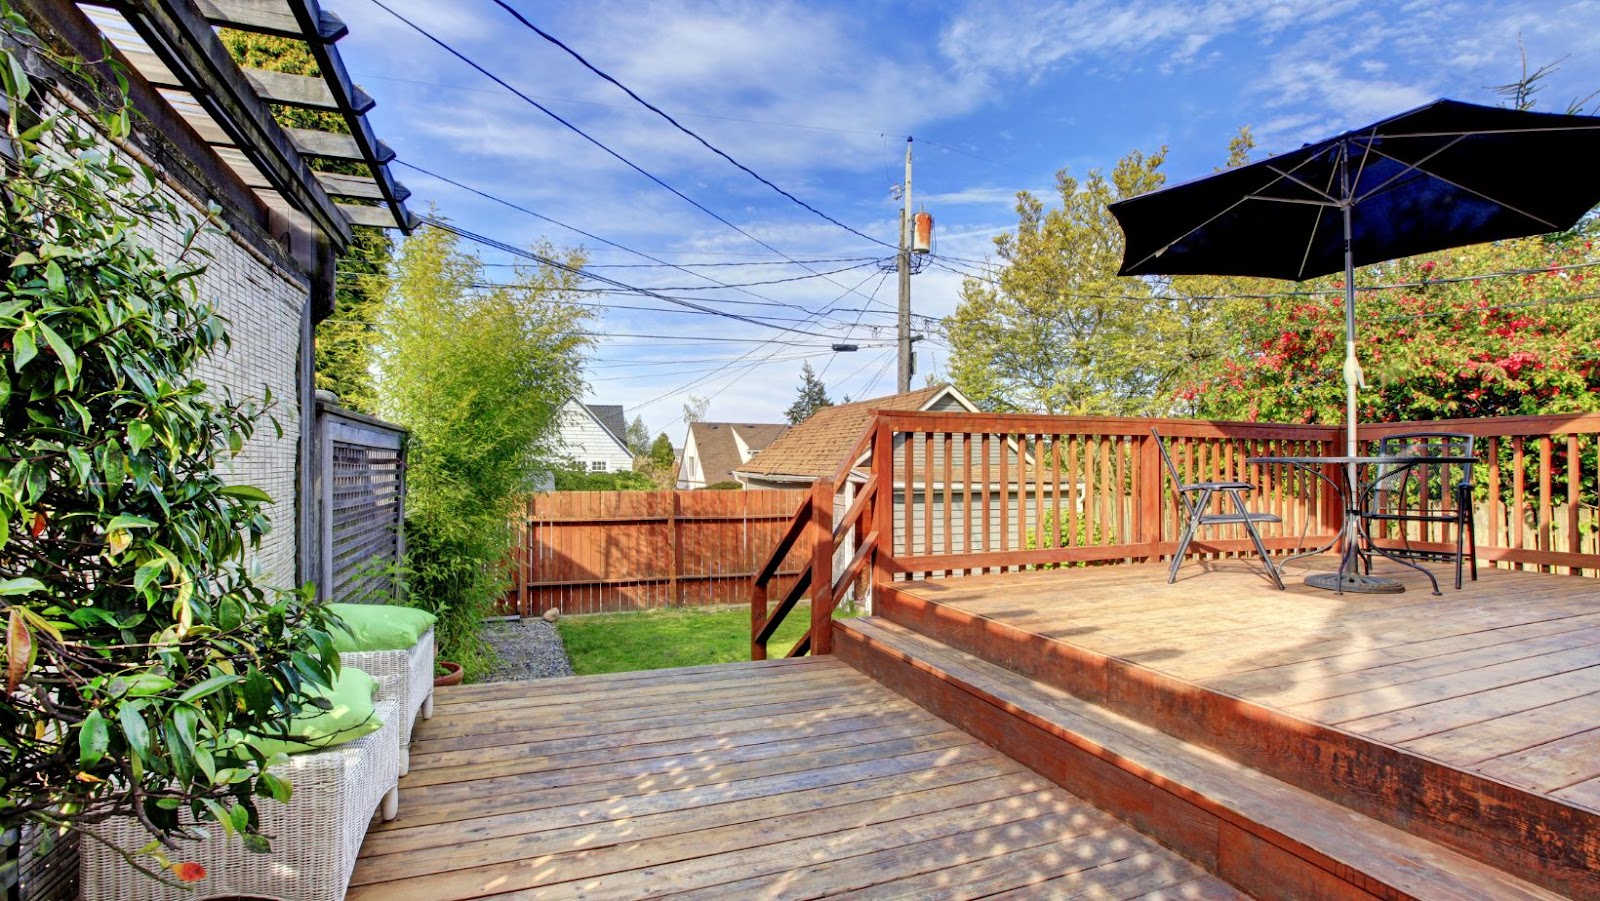
Measure the area for the new fence
Measure the area correctly to ensure that your backyard fence replacement project is successful. Make sure to measure the distance between posts and gates, including any angles or curves. Record the measurements on paper or in the app. If you are working with a contractor, make sure they have accurate measurements and building plans that include scale drawings, materials list, and other details.
Next, consider how your fence will look aesthetically. Fences come in a variety of styles and sizes, so explore all of your options before making a decision. Think about whether you want your fence to be decorative or functional. For example, a decorative picket fence would be better suited for an ornamental garden whereas a more sturdy wooden privacy fence would add security and create seclusion for adults or children playing in an outdoor space.
Finally, factor in any additional features you may want for your new backyard fence when measuring for its parts and components. These might include:
- Latticework for extra privacy
- Lighting fixtures along the edge of the fence posts if you’re looking to use it as an outdoor living space at night
- Prefabricated brick pillars that offer both security and elegant decor elements.
Have fun planning ahead and creating something new from your old fencing structure!
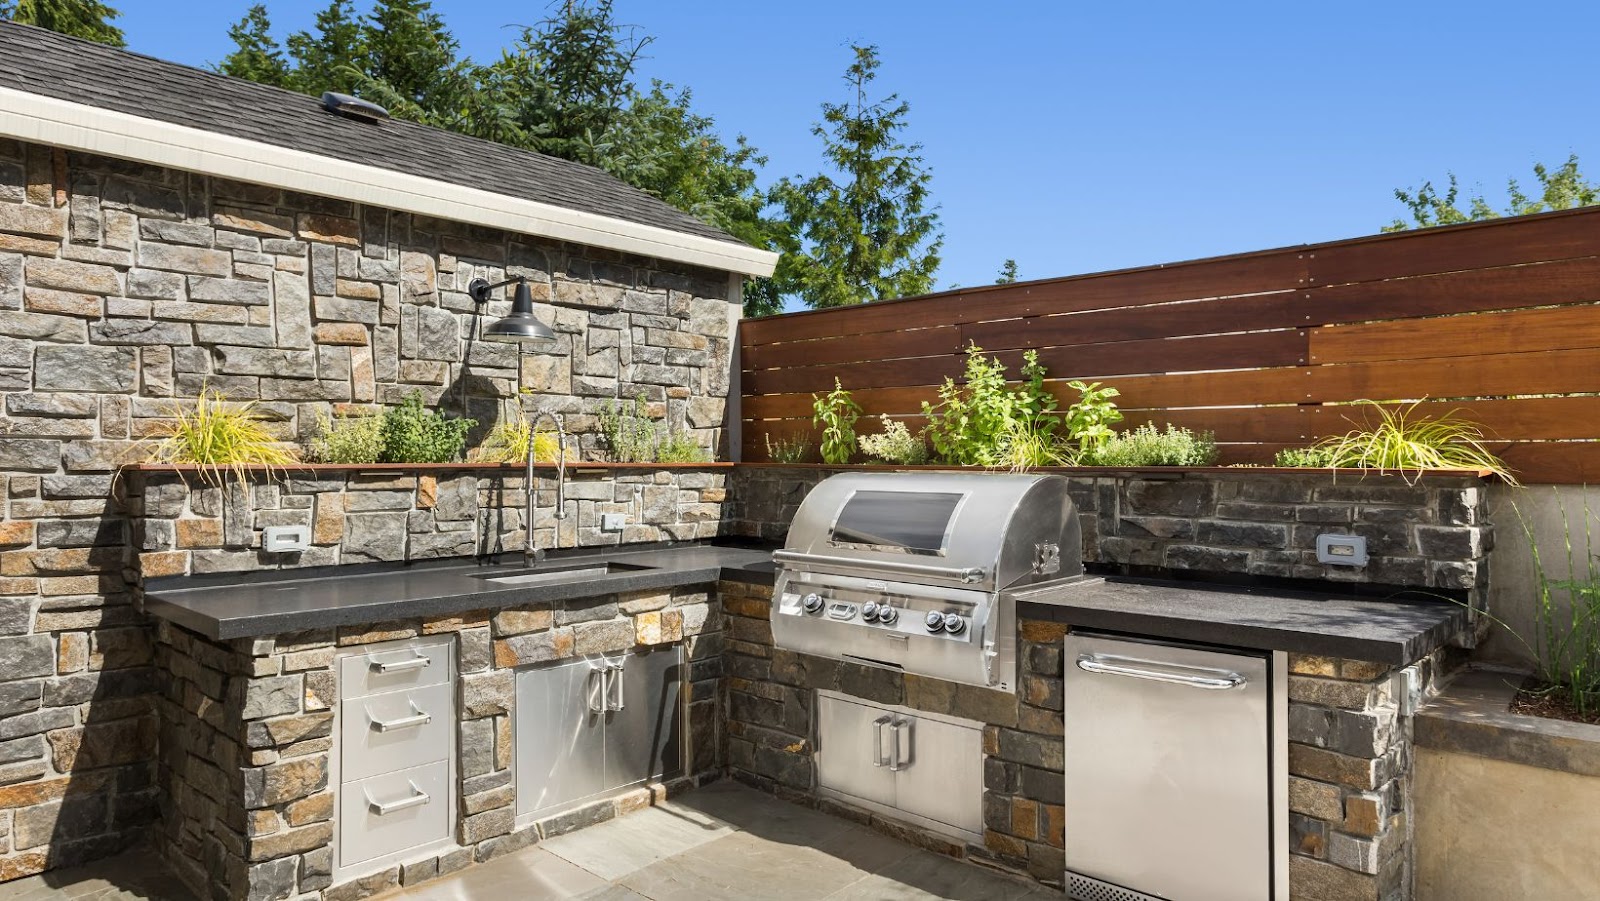
Select the right material for your fence
When you are preparing to replace your backyard fence, selecting the right material is a key part of maximizing its lifetime and aesthetic appeal. Here are some tips on how to make sure you’re choosing the right material for your fence project:
- Wood is a popular choice for homeowners, as it offers an attractive, warm look to any outdoor space. Wood fences can usually be painted to match your home’s style and design. However, wooden fences require regular maintenance and can quickly degrade in certain environmental conditions, such as high levels of moisture or poor air circulation.
- Vinyl is an increasingly popular option among homeowners due in part to its durability and low maintenance requirements. Vinyl fences come in a variety of colors and styles that don’t require painting or staining like wood does. They are also easy to clean with just a hose or spray bottle filled with water and mild soap solution!
- Chain-link fencing is an affordable option with long-term durability if properly maintained over time. Chain-link fencing typically comes in both galvanized or vinyl coated forms so that you can select the type that works best with your home’s style and design preferences. However, because chain-link fencing isn’t very aesthetically pleasing on its own, many people choose to plant vines or shrubs along their fence line for added privacy!
These are just a few examples of the different materials available when replacing your backyard fence. Ultimately, it’s best to choose the one that fits your budget and lifestyle needs while also complementing the aesthetic look you want for your outdoor space!
Obtain the necessary permits
Before you begin to replace your fence, it’s important to ensure that you have the necessary permits. Neglecting to obtain the appropriate permits could lead to hefty fines from local authorities. Certain cities have regulations regarding height, construction materials, and other restrictions on choices such as ornamental fences so make sure you understand your local requirements by consulting the building department in your jurisdiction prior to constructing a backyard fence.
It is also essential that you heed any and all information distributed by any official agency involved with utility lines, or natural gas pipes and wiring in particular. You must not forget that working around these lines is highly dangerous for both yourself and anyone else present at the site of construction. Gardeners or handymen hired for assistance in fence replacement may be injured or electrocuted if precautions are not taken correctly.
Before starting replacement work on your existing fence, stakes need to be used to mark where new posts should be placed beforehand. Careful measurements and a full understanding of potential consequences should be taken into account prior to beginning replacement work.
Installing the Fence
Installing a new fence is a great way to upgrade the look of your backyard. You’ll want to ensure that you choose the right materials and features, and that you safely install it. Here are some tips to help you get started with replacing your backyard fence:
- Choose the right materials for your fence.
- Check local building codes and regulations.
- Measure the area and mark the posts.
- Dig post holes and set the posts.
- Attach the fence panels.
- Check the posts for plumb and adjust as needed.
- Secure the posts with concrete.
- Install the gate.
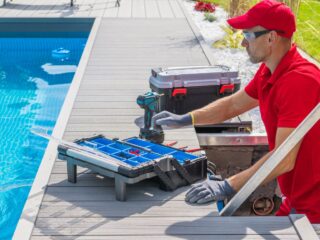
Dig the post holes
The first step in installing your new fence is to dig the post holes. Begin by marking the fence line. Depending on the type of fence you are installing, use a stake and string line or spray paint to mark out where the posts will be positioned. Then measure and mark post hole positions according to your local fence code requirements, as well as leaving enough room for your gate posts if applicable.
Once you have marked where all of the post holes will be located, gather your tools: shovels, auger/digging bar, tape measure and posthole diggers. Carefully begin excavating the holes for each post – note: for extra support on windy days, consider making the holes at least two feet deep! The width of each hole should be at least twice as wide as an average sized post so it’s securely set in place. When each hole is dug to its required depth lay a level across it to ensure that it is horizontal throughout its circumference before continuing with the next hole.
Set the posts
Before beginning the process of setting the posts, take measurements for each fence panel to ensure that all posts are placed correctly. Measure from corner post to corner post and lay out the posts in a straight line before you begin digging. You may need to adjust the height of some posts if they don’t fit perfectly into your design plan.
Set the posts in a hole at least two feet deep (although more may be necessary if you live in an area with very cold winters). Make sure that all of your corner and end posts are firmly set in concrete, since these will bear more weight than in-line or interior posts, which should also be set securely.
Once your posts are set and secure, you can begin attaching them with two screw-on clamps per post to ensure they remain level and strong. Make sure to use a tightener to pull them together so that your fence stays taut over time.
Finally, it’s time to attach the panels from each post using pre-drilled galvanized screws; check their length beforehand so as not to damage any neighboring fences or landscaping features, as well as for safety reasons. The number of panels will depend on how wide you want your fence—generally ranging from 2-4 panels per 8 feet—but make sure you leave an equal amount of space between them for stability and aesthetic appeal.
Attach the panels
Once you have determined the location of your fence, it is time to install the panels. Begin with the corner posts and work your way along the fence line. Make sure each post is securely in place before attaching the next.
Carefully read through any manufacturer instructions included with your panels for exact directions on how to attach them to the posts, as techniques may vary from model to model. Generally, each panel will be connected by overlapping pre-drilled holes and secured in place with metal clamps or screws. Make sure that each level is perfectly aligned, then add a few wood screws between panels to make sure they are held together firmly.
Continue until you have attached all of your fence panels, making sure all connections are secure and level with one another. This will help ensure that your backyard fence is both structurally stable and aesthetically pleasing!
Add the gates
The last step of installing the fence is to add the gates. Make sure to measure the gate before you buy any materials, as many come in standard sizes. If you find yourself having difficulties selecting the right size gate, it is best to consult with a professional that can give your yard a more personalized look.
To attach the posts for your gates, use post anchors and concrete. While digging for your post holes in the ground (24-44 in deep) make sure that you place 5 inches of gravel or sand on the bottom and then fill with concrete mixture and let it dry for at least 24 hours before placing the posts inside of it. Ensure that all postholes are level so that the gate hangs correctly once installed.
Use screws or lag bolts to attach hinges and latches along with stringers to strengthen any hanging points for added security for your fences structure. Once all hardware is securely attached, use additional sealants against water damage or insect damage if needed. To ensure long lasting results also seal all joint connections using caulk or something similar along edges of timber and other parts of your fence material where they meet together such as along seams between panels or boards.
By taking these steps into consideration when installing your new fence, you can ensure both safety and durability around your home while also giving a great decorative look!
How to decorate backyard fence
Decorating your backyard fence is a great way to make your outdoor space look more vibrant and inviting. There are many different ways to upgrade and decorate your fence, from using paint to adding vertical planters or hanging decorations.
Let’s take a look at some of these options in more detail so you can decide which ones would work best for your backyard fence:
Paint the fence
Painting a fence to spruce up the look of your backyard is an easy and effective way to add color, accentuate existing features, or simply give it a fresh new look.
When painting a fence, it is important to prepare the surface first by cleaning off dust and dirt with a mild detergent solution. Additionally, make sure to caulk any cracks in the wood before you begin painting. After that, select an exterior paint or wood stain designed for the particular material of your fence. A brush can be used for precise application or a roller can be used for larger surfaces. Then apply the selected finish in thin layers until full coverage is achieved.
After the paint has fully dried, step back and appreciate your handiwork! You can now enjoy a refreshed look that adds character and provides additional protection to your backyard fence.
Hang planters
Hanging planters are a convenient way to decorate your backyard fence without taking up ground space. Choose planters that are appropriate for the local climate and the type of plants you want to grow (such as succulents, herbs, or flowers).
Be sure to use hooks that can hold the weight of your chosen planter, and use proper safety measures when hanging them. Make sure they are secured well and hung at a comfortable height so you can take care of them easily. This is a great way to brighten up your backyard fence while providing you with an herb or flower garden.
Add trellises
Adding trellises to a wooden fence is an easy way to create a decorative and inviting feature in your backyard. Trellises come in a variety of shapes, sizes and materials, so you’re sure to find something that fits into your decor theme. From wisteria arbors to diamond grid panels, the possibilities are limitless.
You can use trellises as an extension of your fence or as a freestanding structure. When attaching them permanently to your existing fence, make sure you leave plenty of room for tall plants that may need more ground clearance. If you’re using them as an accent piece, be sure to hammer them securely into the ground for stability when climbing plants choose their route up the trellis.
Adding wall baskets is another great way to add height and charm to the look of your backyard fence without having to replace it entirely. Wall baskets come in a wide range of designs and colors; pick those that suit your personal style or go for something whimsical like butterflies or dragonflies! Secure small wall baskets with thumb screws or masonry nails if you want something more permanent.
Finally, pergolas are always a great way to bring interest and depth into any outdoor space – including fences! Install one over a section of your wooden fence so climbers have something sturdy but attractive on which they can twist up onto while reaching for the sun – plus they provide excellent shade if placed properly!
Hang wind chimes
Hanging wind chimes is one of the simplest and quickest ways to decorate a backyard fence. Not only are they a beautiful addition to outdoor living spaces, but they also create soothing melodies in the breeze.
Choose colorful shapes and sizes to add visual interest, or hang different tones that combine in melodious harmony. Be sure to hang them at varying heights for optimal sonic effect.
You can also incorporate nature into your fence décor by suspending objects like ornamental feathers and shells from twine, or attaching birdhouses and feeders with nails or screws. If you want something a little more permanent try hanging planters with trailing plants like sweet peas, morning glories, mandevillas, and ivy from sturdy hooks along the length of your fence.
Install lights
Installing lights along the length of one side or both sides of the fence is a popular option that can add some appeal to your backyard at night and also help to keep your garden or yard visible and safe.
There are several types of outdoor lighting to choose from depending on your backyard’s environment – waterproof lights may be better in damp northern climates, while permanent solar-powered LEDs offer long-term light and are more suited for hotter landscapes. Consider the level of light you want by testing out different wattage levels. Make sure you install the lights according to instructions. If in doubt, you should hire a qualified electrician for safety reasons.