Before you start the process of removing a bifold closet door, it’s important to prepare properly. The first step should be to identify the type of door you are going to be removing and make sure that you have all the necessary tools on hand. Once you’ve done that, you should also consider the need for any protective gear such as gloves, goggles, and a dust mask. With the right preparation, you can move ahead and remove the bifold closet door safely and easily.
Gather the necessary tools
Before you begin the process of removing your bifold closet doors, it is important to gather the right tools for the job. Having access to a Phillips-head screwdriver, needle-nose pliers, and a flathead screwdriver will likely come in handy if you need to make adjustments while disassembling or reassembling the hardware. It might also be useful to have an extra set of hands on deck or an extra flashlight should you need additional illumination inside the closet. Additionally, it would be wise to spend time observing how your existing door hardware is assembled and try to jot down detailed notes as you go along. This will be helpful when it comes time for reassembly. Having these tools and resources before beginning can help make this process much easier!
Identify the type of door
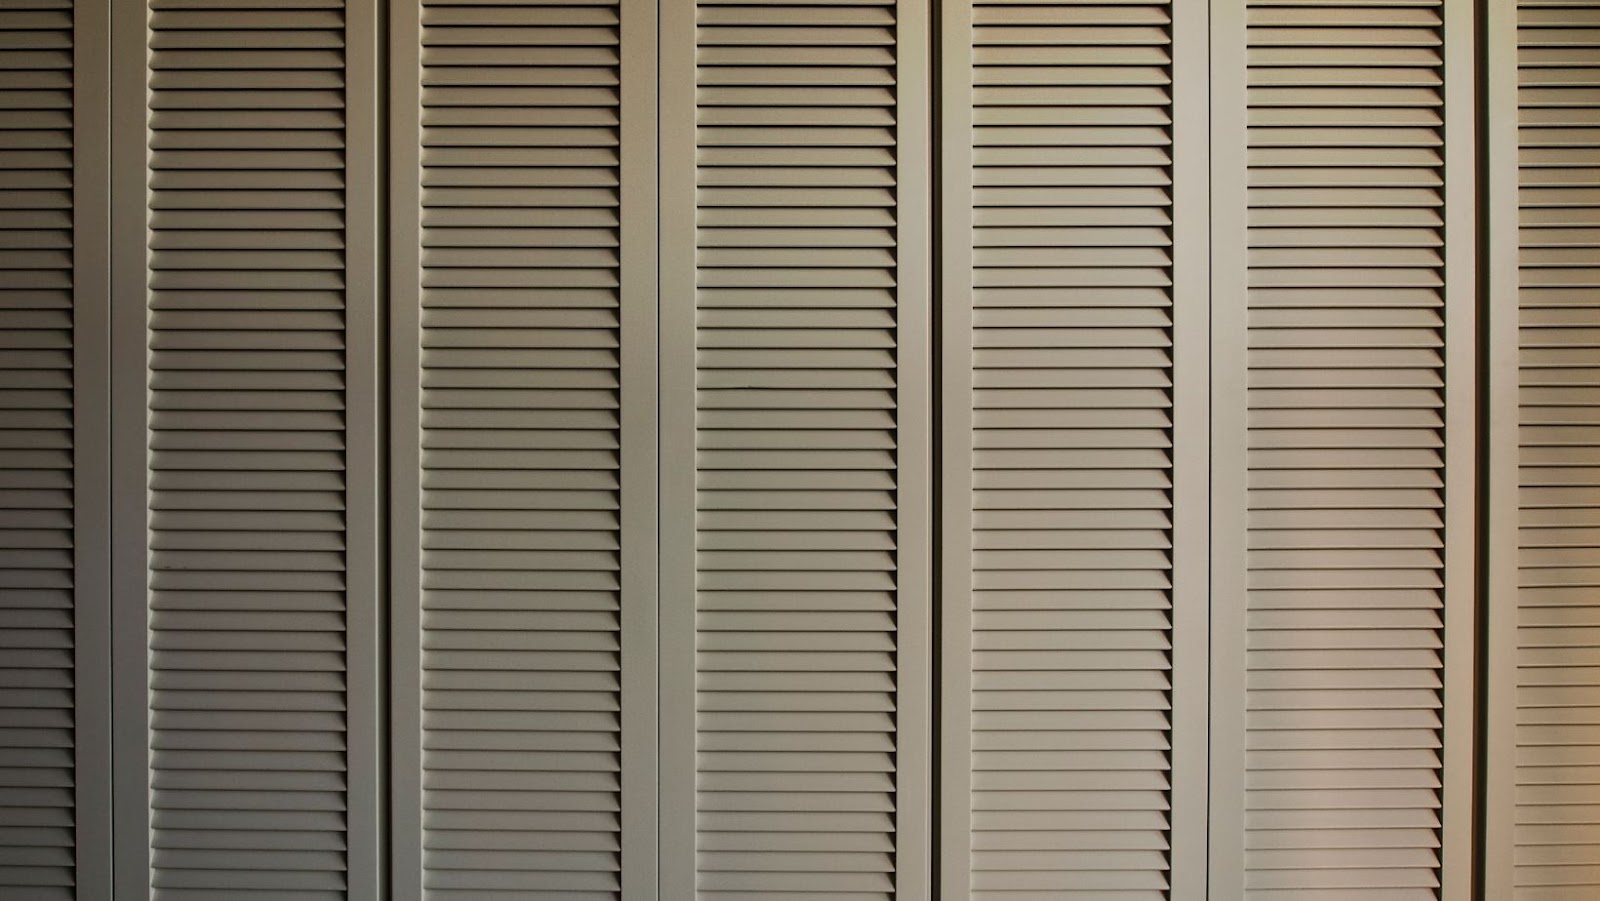
Before you can begin the process of removing a bifold closet door, it is important to identify the type of door you have. Bifold doors are typically distinguished from other interior doors by their use of pivots and panel-like design. They are also commonly found in closets, laundry rooms and pantries due to their space saving ability.
Bifold doors come in many varieties, with different sizes, styles and materials used for construction. They can be made from wood or metal, with single or double panes. Wooden panels may also be lacquered or varnished for a unique finish. Some bifold doors also contain mirrors that add extra usability and visual appeal to a room.
Knowing the type of door you are dealing with will allow you to properly assess what needs to be done and make sure that all parts needed for the successful removal of the bifold closet door are within reach and in good working condition. This will enable you to make sure that the job is done right, safely and efficiently.
Disconnect the track
Learn how to properly disconnect the track when removing a bifold closet door. The track is the metal L- or U-shaped strip connecting the upper and lower hinges on the door with an equal number of metal wheels. To disconnect, open the doors almost wide enough for them to clear each other, then squeeze the blade of your screwdriver in between two of the metal wheels and twist it. This will separate them from their respective hinges until completely disconnected. Once finished, use your hands to carefully remove the door from its track.
How to remove bifold closet door
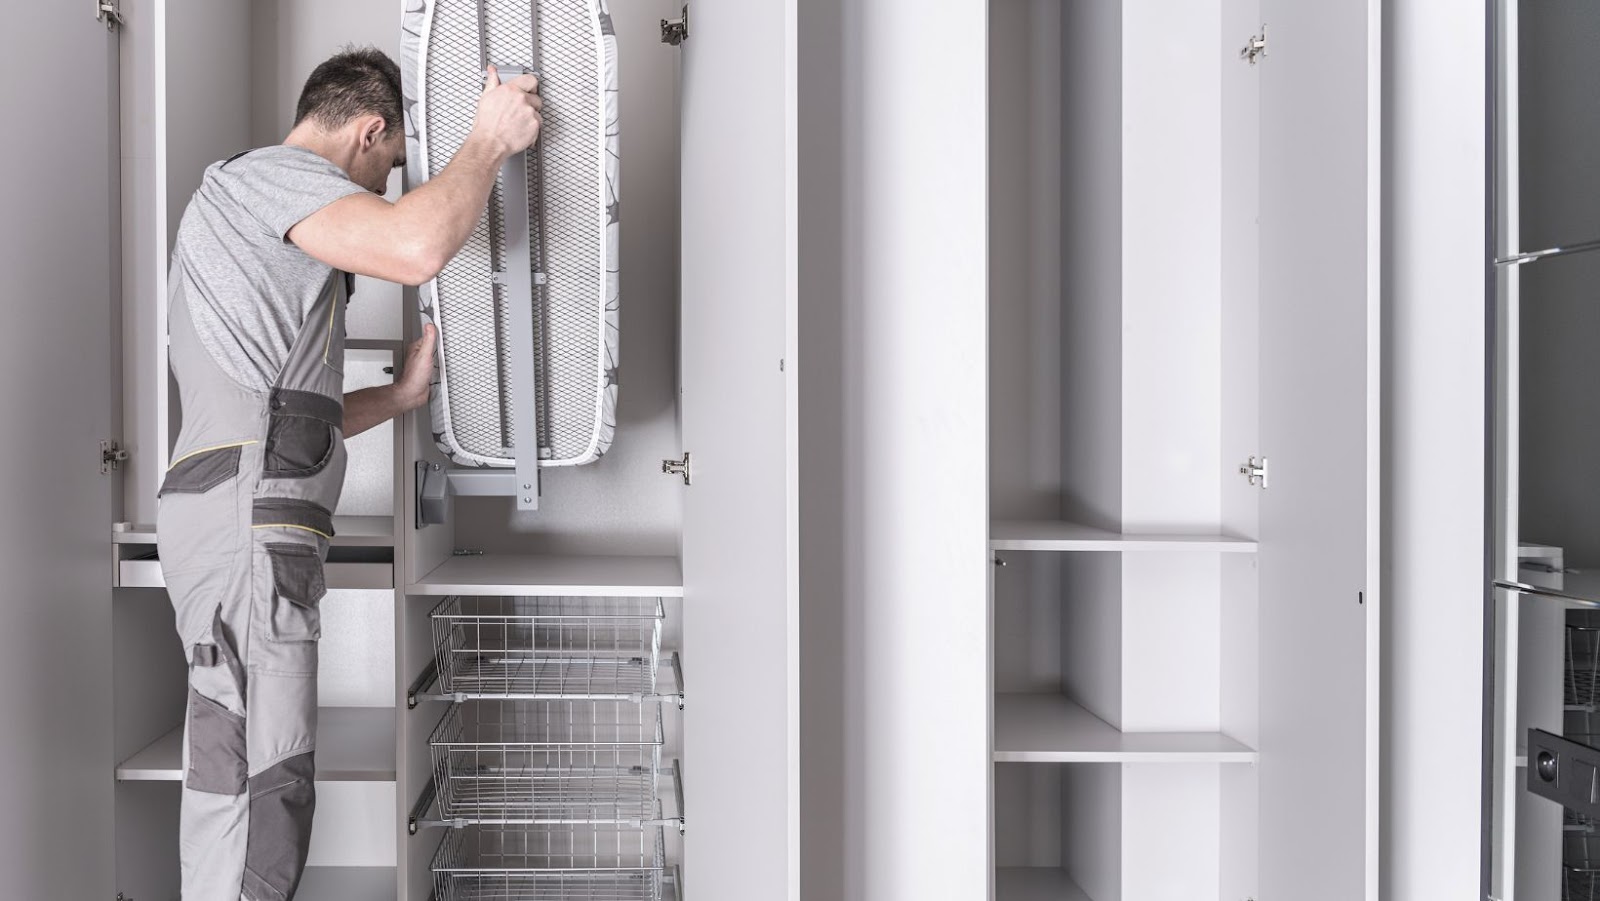
Before you start removing a bifold closet door, you will want to ensure that safety is your top priority. Wearing safety glasses and gloves, and having protective mats on the floor can help prevent injury. You’ll also want to make sure that you have the proper tools and supplies to complete the project. With these safety precautions in mind, let’s take a look at the steps involved in removing a bifold closet door.
Remove the door from the track
Removing a bifold door from its track, or bottom hinge, is actually an easy process. To begin, you will need to release the hinge pin by pressing down on the spring clip. This will allow you to remove the pin and remove the door from its bracket.
Once you have removed the pin, open up your bifold door and look for the adjustable screws inside each panel. Use a flathead screwdriver to loosen these bolts and allow each side of the door enough freedom to move independently of each other. Make sure you keep track of which side corresponds with which screw as you make adjustments — you’ll want both sides aligned properly when reinstalling your bifold door in its track.
Next, lift up on one side of the bifold door so that it clears its track at the bottom before continuing to lift up on both sides until free from their hinges at the top. You should now be able to remove your bifold door completely from its track — just keep in mind that one side of it is heavier than the other!
Disconnect the hinges
Removing bifold closet doors is a very straightforward repair job and does not require any special tools in most cases. Before you begin the process, it’s a good idea to disconnect the doors from the folding hardware so that the door and the hardware can be removed separately. To get started, you’ll need to remove the bottom hinge pin by using a flathead screwdriver to pry it out. You may also want to place a towel or some other type of padding beneath the door so that you don’t damage the boards or baseboards of your closet when removing it. After that, use your fingers to move down each hinge pin until they are loose and can be pulled away from their respective hinges. Next, locate and remove any screws or nails that are attaching the bifold closet doors to their frames before carefully unlatching them from each other. Once done, you can then proceed with carrying off both doors from your closet opening as desired.
Remove the door from the frame
Removing bifold closet doors is relatively simple. Before starting, you’ll want to make sure that the door knobs are unscrewed and all pieces are taken out of their place. If removal difficulty is encountered, it may be necessary to open the closet frame and remove the door from within.
To start, find the two screws at each end of the top track that hold it in place on the door frame. Use a screwdriver to remove these screws carefully and then gently pull outwards until the track assembly starts to slide out. Once removed, slide out all of the other hinges from their respective places as well as any protective strips from between them.
After this initial step is complete, carefully lift up on one side of each bifold closet door (top and bottom) at a time with one hand while holding them stable with your other hand to move them away from their hinges until they are free from their track system on both sides. Depending on your closet configuration, you may have a few more steps such as removing all remaining items connected to the closet frame like shelves or handles before being able to easily lift off and move away your bifold closet doors.
Cleanup
Once you have successfully removed your bifold closet doors, you will need to start cleaning up the area. It is important to ensure that no small pieces were left behind, as these can be a safety hazard. Sweep up any dust and debris that was generated during the removal process. After that, you can start to clean the door tracks and adjust the hinges, if necessary.
Clean the track
Cleaning the track is an essential first step in removing bifold closet doors. Begin by getting rid of any dirt or dust that has accumulated over time. Start by using a vacuum to get as much of it out as you can. If needed, use a duster and cloth to remove any debris that may remain. You can also use a damp cloth or rag dampened with soapy water to clean the track more thoroughly. Make sure to dry the track completely before moving on with installation or else there may be problems with the fit and operation of your door hardware.
Clean the hinges
Before you can remove bifold closet doors, it is important to ensure that the hinges are adequately cleaned. Begin by wiping down the surface of each hinge with warm soapy water and a soft rag. To remove any remaining dust and dirt, use a stiff brush or toothbrush. Once the hinges have been thoroughly cleaned, it is important to make sure they are free of rust or corrosion. Check each hinge for rust spots or flaking paint and scrub off as much as possible with a wire brush or steel wool pad. If necessary, apply a small dab of lubricant to keep them from sticking together when the doors are removed.
Clean the frame
Before taking down your old bifold closet doors, it is a good idea to take the time to clean them up. This will ensure that your new doors fit perfectly within the frame and look just as good as the old ones did. Begin by brushing away any dust or dirt with a soft brush or vacuum attachment. Next, wipe it down with a mild or neutral soap, scrubbing away any oil build up and dirt. After cleaning, use a dry cloth to completely remove all of the soap residue and make sure that it is completely dry before moving on to the next step.
Installation
If you want to replace your bifold closet doors, it is essential to know the installation process. Installing bifold closet doors can be a relatively simple process if you take the right steps and are mindful of the details. This guide will provide you with step-by-step instructions on how to remove bifold closet doors so that you can make sure your installation job is done correctly.
Reinstall the door in the frame
Once you’ve collected all the necessary parts, you can start to rebuild your bifold closet door. First, lift the door out of the frame, ensuring that you have all of the hardware with you such as rollers and screws. Then, position the top of the door in the frame and adjust it so that it is parallel with the sides. Make sure there is a clearance gap between the frame itself and both sides of your door for consistent movement. After that, secure one side of your support bracket to either half of your bifold door using nuts or screws. Then mount them securely into place on each side panel at approximately garage level.
To begin actually attaching these panels to their respective frames, use long screws through holes drilled in the bifold tracks. To ensure proper rolling movement, use a hex wrench to hold nuts in place while making sure they’re not overtightened; this will prevent damage caused by friction between moving parts during operation. You may also need to adjust one or two screws depending on how closely they are set together – doing this will grant proper freedom for your door to move along its track properly when sliding outwards from its frame Lastly, reposition any bottom hinges and brackets for greater control over full, seamless rolling of your new bifold closet doors.
Reattach the hinges
Before reattaching the hinges, check that the existing holes align with the two door folds. If they don’t you may need to drill new holes. When aligning the new hinge ensure that it is securely attached to both sides of the bifold door as this prevents movement in addition to providing a more aesthetic look.
Once your new hinge is aligned use your screwdriver to reattach it. Secure both sides of each hinge tightly but do not over tighten as this can strip or snap screws. Once all four hinges are tightened, open and close the doors a few times to ensure they move freely and there is not too much friction when moving between panels.
When replacing your bifold closet doors it is also advisable to change any damaged roller guides on either side of the track as well as any connections which have become worn or frayed over time. Check for any obstructions in your track as these can make sliding your closet door difficult and potentially cause damage if not addressed in a timely manner.
Reattach the track
After removing the bifold closet doors, it is essential to reattach the track properly. Before doing this, check that the door opening is square by measuring the interior corners. If necessary, make adjustments by tapping nails into the framing with a hammer.
If any of the tracks were removed along with the doors, start by reinstalling them. Begin by setting one end of each length of track in its pocket in the side jambs. Have someone hold a plumb bob from the inside edge of each jamb to determine where to position each end of the track—the vertical marks left by a level or plumb bob can help locate these spots accurately and easily. Place brackets at intervals along both lengths of track, and secure them with screws or nails—if possible drive these screws or nails into wall studs for greater strength and stability. Test fit both lengths of track onto their respective bracket before installing them securely; aligning brackets on both sides improves performance and ensures smooth operation later on.
To finish up, set your new bifold closet doors back into place on top of their tracks before connecting hinge pins into all four hinge linkages; when complete you can now ensure your bifold closet door(s) will open smoothly overall!
Conclusion
Removing bifold closet doors is a relatively simple process that only takes a few minutes. Start by removing the screws from the top and bottom of the framed opening and then carefully slide the door out from its frame. You may need to adjust the door framing slightly in order to do this. Once the door is out of its frame, you can inspect it for any signs of damage to see if it needs to be replaced or repaired. With a few simple steps, your closet will be free of bifold doors and ready for a new look.
Recap the steps
Now that we have discussed the different types of hardware used on bifold closet doors, let’s take a moment to recap the steps required to remove them.
1. First and foremost, be sure that power to the door is turned off as necessary in order to avoid any potential injuries due to electrocution or entanglement with other wires.
2. Determine which type of hardware is used on your door and prepare the appropriate tools for removal (wrench, wire cutters, or narrow blade screwdrivers).
3. Identify the pivot pins that connect the two halves of the doors. If they are hard to access, use a long thin screwdriver or similar tool to gain better leverage and grip when unhinging them.
4. Unscrew all mounting screws/nuts connecting each side of the door as well as any additional hinges/brackets holding together its framework from either corner end at an angle towards its center line then repeat for other side
5. Lift each half away from opposite area in order for disconnection of tracks along with complete removal
6. Clean away dust and debris from removed section
7. If needed refer back to reverse procedure steps upon reinstallation at desired area!
Give tips on how to avoid common mistakes
When attempting to remove bifold closet doors, it is important to remain mindful of two key principles: safety first and keep track of the hardware.
Safety should always be a priority when handling tools and executing carpentry work. You don’t want to get hurt and most importantly, you don’t want to damage the door or your home in any way. Always wear goggles and use a ladder or sturdy step stool if necessary. In order to safely remove the bifold doors, you need to unscrew and disconnect all of the relevant parts. It’s also important that you take extra caution when disconnecting any electrical wiring!
To avoid common mistakes, it is critical that you draw a diagram or label each piece that is attached in some way to the old door before taking it apart. This will not only help avoid confusion when putting together new parts; but also helps to limit mistakes from occurring when assembling everything back together again. When screwing back the hardware components into place, make sure this is done on a clean surface so as not scratch your flooring or damage your door frame in any way. Lastly, double check all screws for security before lifting your door off its hinges!