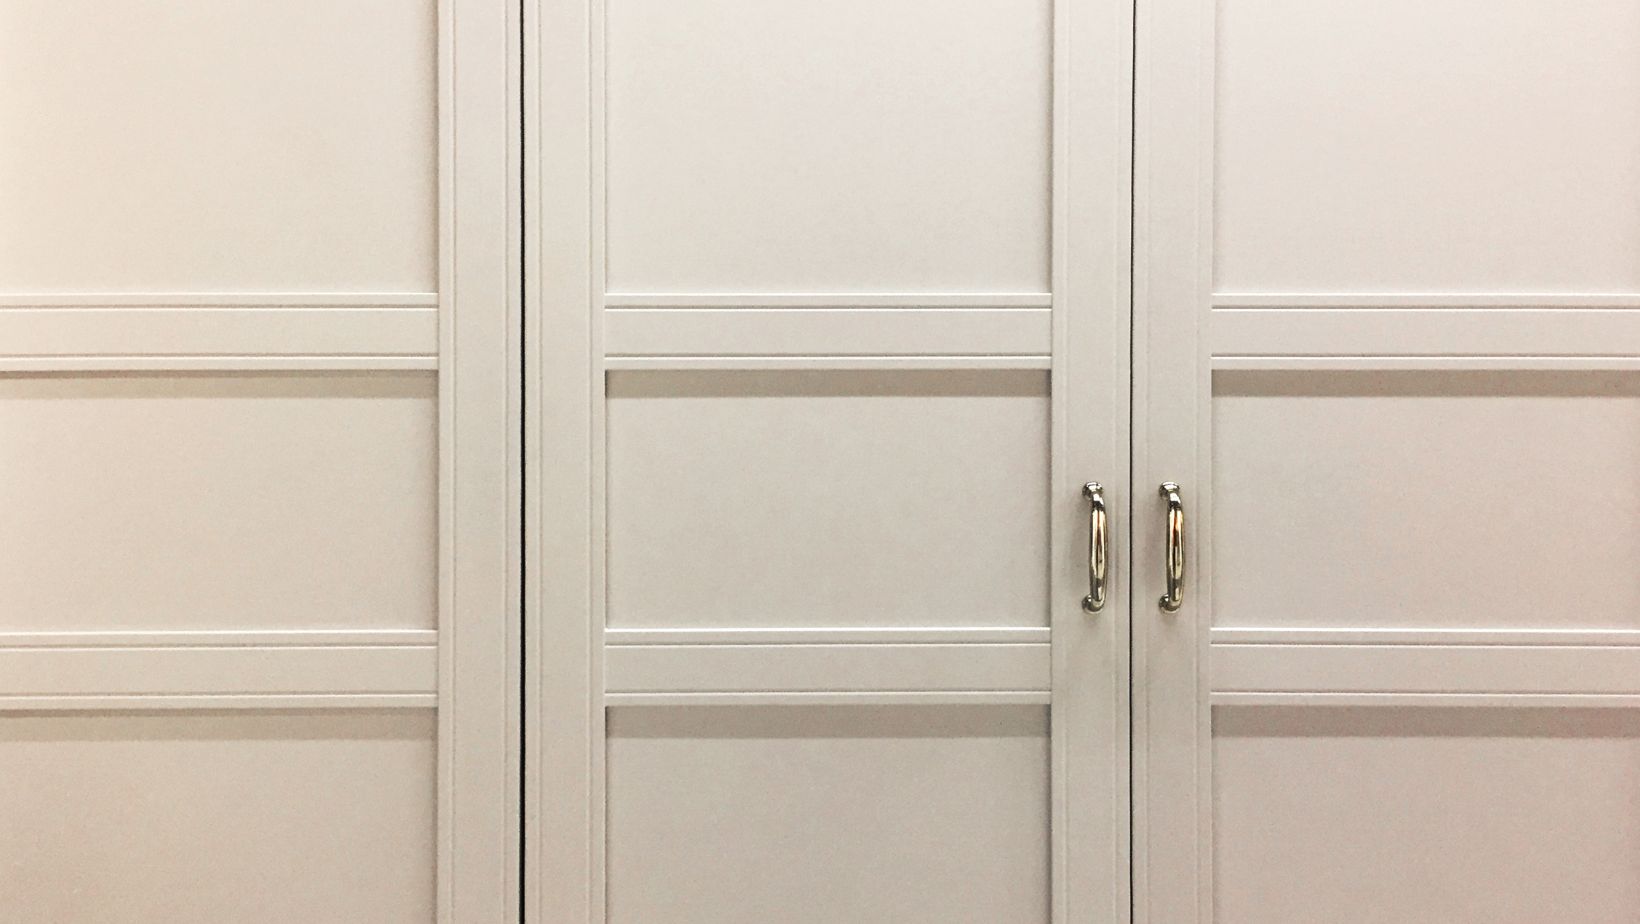
Ikea Bifold Closet Doors
I recently went through the installation process of IKEA bifold closet doors and wanted to share my experience with you. As someone who loves DIY projects, I was excited to tackle this task and give my closet a fresh new look. In this article, I’ll walk you through the step-by-step process of installing IKEA bifold closet doors, from measuring and preparing the space to attaching the hardware and adjusting the doors for a perfect fit.
Installing bifold closet doors can be a great way to maximize space and add a touch of style to your home. With IKEA’s range of bifold closet doors, you have plenty of options to choose from to suit your taste and decor. Whether you’re a seasoned DIY enthusiast or a beginner looking to take on a new project, this guide will provide you with the knowledge and confidence to successfully install IKEA bifold closet doors in your own home.
Before you dive into the installation process, it’s important to gather the necessary tools and materials. IKEA provides detailed instructions and all the hardware you’ll need, but having a few additional tools on hand will make the process smoother. So, grab your measuring tape, screwdriver, level, and a friend to assist you, and let’s get started on transforming your closet with IKEA bifold closet doors.
Understanding the Ikea Bifold Closet Doors
When it comes to maximizing space and adding style to your home, installing Ikea bifold closet doors is a great option. These doors are not only functional but also aesthetically pleasing, making them a popular choice for many homeowners. Before diving into the installation process, it’s important to understand the key features and benefits of these doors.
Space-saving design: One of the main advantages of Ikea bifold closet doors is their space-saving design. Unlike traditional hinged doors that swing open and take up valuable floor space, bifold doors fold neatly against one another when opened. This allows you to make the most of your closet space, especially in small rooms or tight corners.
Versatility: Ikea bifold closet doors come in a variety of styles, materials, and finishes, giving you the flexibility to choose the one that complements your home decor. Whether you prefer a sleek and modern look or a more traditional design, there is an option for every taste and preference.
Easy installation: Installing Ikea bifold closet doors is a relatively straightforward process that can be done by most DIY enthusiasts. The doors come with detailed instructions and all the necessary hardware, making the installation process hassle-free. However, it’s important to gather the right tools and materials before getting started to ensure a smooth installation.
Enhanced accessibility: Bifold doors provide easy access to the entire closet space. Unlike sliding doors that only allow access to one side of the closet at a time, bifold doors can be fully opened, allowing you to easily see and reach your belongings.
By understanding the benefits and features of Ikea bifold closet doors, you can make an informed decision and proceed with the installation process confidently. So, let’s move on to the next step: gathering the necessary tools and materials.

Preparing for the Installation Process
Before you begin the installation process of IKEA bifold closet doors, it’s important to gather all the necessary tools and materials. This will ensure a smooth and efficient installation experience. Here are a few steps to help you prepare:
- Measure the opening: Start by measuring the height and width of the closet opening. This will help you determine the correct size of the bifold doors you need to purchase from IKEA. Remember to measure both the height and width at multiple points to account for any irregularities in the opening.
- Check the floor and wall: Inspect the floor and wall around the closet opening for any unevenness or damage. It’s essential to have a level surface to ensure proper installation. If you notice any issues, make the necessary repairs before proceeding.
- Gather the tools: Make sure you have all the tools required for the installation process. This may include a tape measure, drill, screwdriver, level, pencil, and a saw. Check the IKEA instructions or consult with a professional if you’re unsure about the specific tools you’ll need.
- Get the materials: Purchase the IKEA bifold closet doors, hinges, screws, and any other necessary accessories. It’s important to follow the instructions provided by IKEA and use the recommended materials to ensure a secure and functional installation.
- Clear the area: Before you begin the installation, remove any items from the closet that may obstruct your work. This will give you ample space to maneuver and install the doors properly.
By taking the time to properly prepare for the installation process, you’ll be setting yourself up for success. Gathering the right tools and materials, measuring accurately, and ensuring a level surface will help make the installation process go smoothly. Once you have everything ready, you can move on to the next steps of installing your IKEA bifold closet doors.


