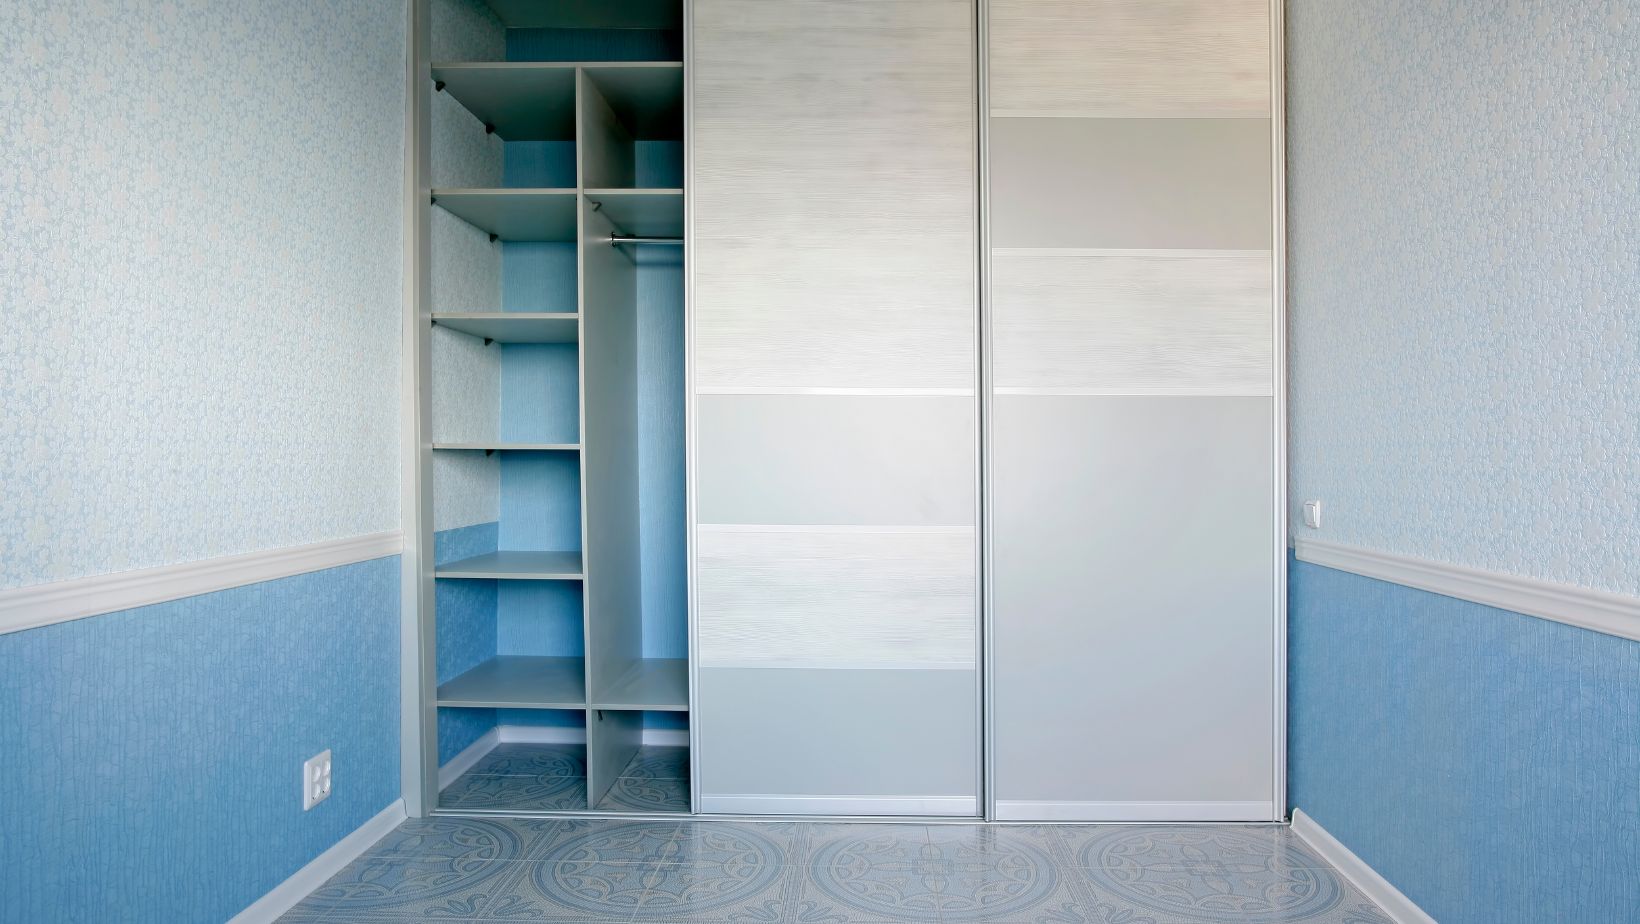
How To Rehang Sliding Closet Doors
Are you finding it a challenge to rehang your sliding closet doors? Don’t worry, I’m here to help! In this article, I’ll guide you through the process of rehanging sliding closet doors step by step. Whether your doors have come off their tracks or need some adjustment, I’ve got you covered.
Firstly, let’s gather the tools you’ll need for this task. Grab a screwdriver, level, measuring tape, and a helper if possible. Begin by examining the current condition of your sliding closet doors. If they are simply misaligned or off their tracks, start by removing any obstacles that may be causing the issue.
Next, carefully lift the door panel out of its track and place it aside on a clean surface. Inspect the rollers at the bottom of the door for any damage or debris. Clean them if necessary and apply some lubricant to ensure smooth operation.
Now it’s time to rehang the door. Start by positioning one side of the door into its respective track and gently lift it up until it aligns with the top track as well. Make sure both sides are leveled using a level tool and adjust as needed.
Once properly aligned, secure each side of the door using screws provided in your installation kit or existing hardware. Ensure all screws are tightened but not overly tight to avoid damaging the frame.
Finally, test your newly rehung sliding closet doors by smoothly sliding them back and forth along their tracks. If everything is working smoothly without any hitches or obstructions, congratulations – you’ve successfully rehung your sliding closet doors!
Choosing The Right Tools For Rehanging Sliding Closet Doors
When it comes to rehanging sliding closet doors, having the right tools is essential. With the proper equipment at hand, you’ll be able to complete the task efficiently and effectively. Here are some important tools you’ll need:
- Screwdriver: A screwdriver is a must-have tool for removing and installing screws in your sliding closet doors. Make sure to have both a flathead and a Phillips head screwdriver as different types of screws may be used.
- Level: To ensure that your sliding closet doors are properly aligned, a level is indispensable. It will help you determine if the doors are straight and plumb, avoiding any uneven gaps or misalignment.
- Measuring Tape: Accurate measurements are crucial when rehanging sliding closet doors. A measuring tape will help you determine the correct dimensions for aligning and positioning the door tracks.
- Drill: Depending on your specific situation, a drill might be necessary to create new holes or widen existing ones for mounting hardware or adjusting door alignment.
- Hammer: A hammer can come in handy when dealing with stubborn or loose components during the rehanging process. Use it to gently tap parts into place or secure them firmly.
Remember, these tools provide a general guideline for what you may need when rehanging sliding closet doors, but specific requirements could vary based on your unique circumstances.

Attaching The Rollers To The Doors
Now that we have removed the sliding closet doors, it’s time to rehang them and ensure they glide smoothly along the track. One crucial step in this process is attaching the rollers to the doors. In this section, I’ll guide you through the necessary steps to accomplish this task effortlessly.
Before we begin, make sure you have all the tools and materials required for this job, including a screwdriver, screws, and new rollers if needed. Now let’s dive into the process:
- Assessing the Rollers: Start by examining your existing rollers. If they are damaged or worn out, it’s best to replace them with new ones for optimal functionality. Check if your closet doors require top-mounted or bottom-mounted rollers.
- Positioning of Rollers: Locate the pre-drilled holes on your sliding closet doors where the rollers will be attached. These holes are usually found at both ends of each door panel.
- Mounting Top Rollers: Begin by positioning one roller assembly near one end of a door panel at its top edge. Align it with the pre-drilled holes and secure it in place using screws provided with your roller kit or original hardware.
- Attaching Bottom Rollers: Move down to attach bottom rollers in a similar manner as described above but on opposite edges of each door panel.
- Adjusting Roller Height: Once all rollers are securely attached, carefully adjust their height for proper alignment with the track system below. Most roller assemblies have adjustable screw mechanisms that allow vertical adjustments.
By following these steps diligently, you’ll effectively attach new or existing rollers to your sliding closet doors, allowing them to glide effortlessly along the track. Remember to take your time and pay attention to details for the best results.


