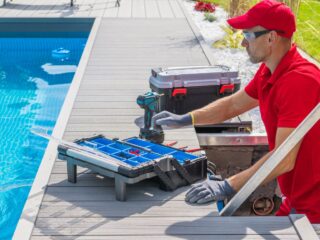
how to fix laminate flooring that is lifting
Installing your new laminate flooring correctly is key to a successful project. So, before you get started, it is important to make sure you are properly prepared and have the right tools and materials needed. This includes ensuring that you have read and understood the manufacturer’s instructions, have the right kind of underlayment and padding, and have the right adhesive and trim.
Once you have made sure you are prepared, you are ready to begin fixing your lifting laminate flooring.
Clear the room of furniture and other items
Before you start to install your new laminate flooring, you need to prepare the area and make sure that the surface is level and clean. Begin by clearing the room of furniture and other items so that you have a clear working area.
- Sweep away any dirt or dust that may have accumulated on the existing floor.
- If needed, use a vacuum cleaner to remove any small debris, then mop and dry the area thoroughly.
- Make sure that no water is left on the surface of your existing floor as this may affect how well your laminate sticks down.
- Make sure to check for any warping or irregularities in the subfloor before you begin laying down your laminate flooring.
- If there are any bumps or indentations, use sandpaper or a saw blade to even them out before going further.
Remove the old laminate flooring
Before installing a new laminate floor, you should always remove any existing laminate flooring you may have. Depending on the type of laminate, it could be glued directly to the subfloor or secured with a click-and-lock system that is designed to be easily uninstalled.
Once all of the planks are removed, you may need to:
- Level any bumps or dips in the surface
- Double check there is no loose debris underneath; these can cause your new flooring installation to be uneven and unsteady over time.
Once you are sure the subfloor is smooth and clean, it’s time to begin installation of the new laminate floor.
Subfloor Preparation
Installing laminate flooring can be a tricky process and proper preparation of the subfloor is a key step to ensure a successful installation. Before you begin, you’ll need to make sure the subfloor is clean, dry, and free of debris.
In this section, we’ll cover all the steps necessary to properly prepare the subfloor before you fix laminate flooring that is lifting:
Check the subfloor for moisture
Before you can lay a new laminate floor, you need to make sure the subfloor it will be laid on is dry and free from moisture. This is a key step that should not be overlooked. Your floor must be level and flat, with no movement or flexing when walked upon.
To check for moisture, you first need to remove any existing floor covering and then install a vapor barrier over the entire area you plan to lay your laminate flooring on. You should use a moisture meter to assure yourself that the subfloor is within an acceptable range of moisture content. Subfloors must measure below 4% before it is safe to lay your laminate flooring. If two readings taken at different times of the day give different results, use the higher reading as your baseline and install a dehumidifier if possible right away since extra humidity can cause warping or curling of your new laminate boards.
Your subfloor also needs to be structurally sound and free from rot or decay. You may need to make use of a patching compound for small spots of damage in order for it to accept the underlayment material that comes with your new laminate planks and uphold them properly over time.
Level the subfloor
Floor preparation is the most important part of any successful laminate installation. The subfloor should be smooth, level, and free of dust, dirt, and other debris before beginning. To ensure a secure bond between the underside of the laminate plank and the subfloor, use a razor knife to cut away any old glue that may still be present on the surface.
Once the subfloor has been cleaned, use a straightedge or level to check it for dips and unevenness. If necessary, you can use a self-leveling compound to fill in any low spots and bring it all to an evenly sloped grade. Make sure not to create any hills or valleys in the process as this could cause bumps under your flooring. When using self-leveling compound, be aware that there may be up to a one-inch difference between where the compound is poured and where it ends up settling when dry. Allow enough time for this mixture to completely cure before continuing with installation instructions from the manufacturer.
Installing the New Laminate
Installing a new laminate flooring can be a great way to update your home. It is also one of the easiest DIY home improvement projects you can do and can be done in a few hours. However, you must make sure to install it according to the manufacturer’s instructions to ensure it is properly secured and won’t be prone to lifting.
Let’s go through the steps of installing the new laminate:
Lay the underlayment
Prior to installing laminate floors, it is important to lay a layer of underlayment for cushioning. This can be done with an appropriate selection of uncoupling membranes and vapor barriers.
- Start by unrolling the sheet material in whichever room you’re installing the floor and placing the proper seam.
- Use a few pieces of heavy tape around the seams where possible to help secure them in place.
- Now you should staple the underlayment down every 8 inches along its edges, this will help keep it steady as you lay your laminate boards over top.
- Be sure that your floor area is clean, free of dust and debris before going any further with installation.
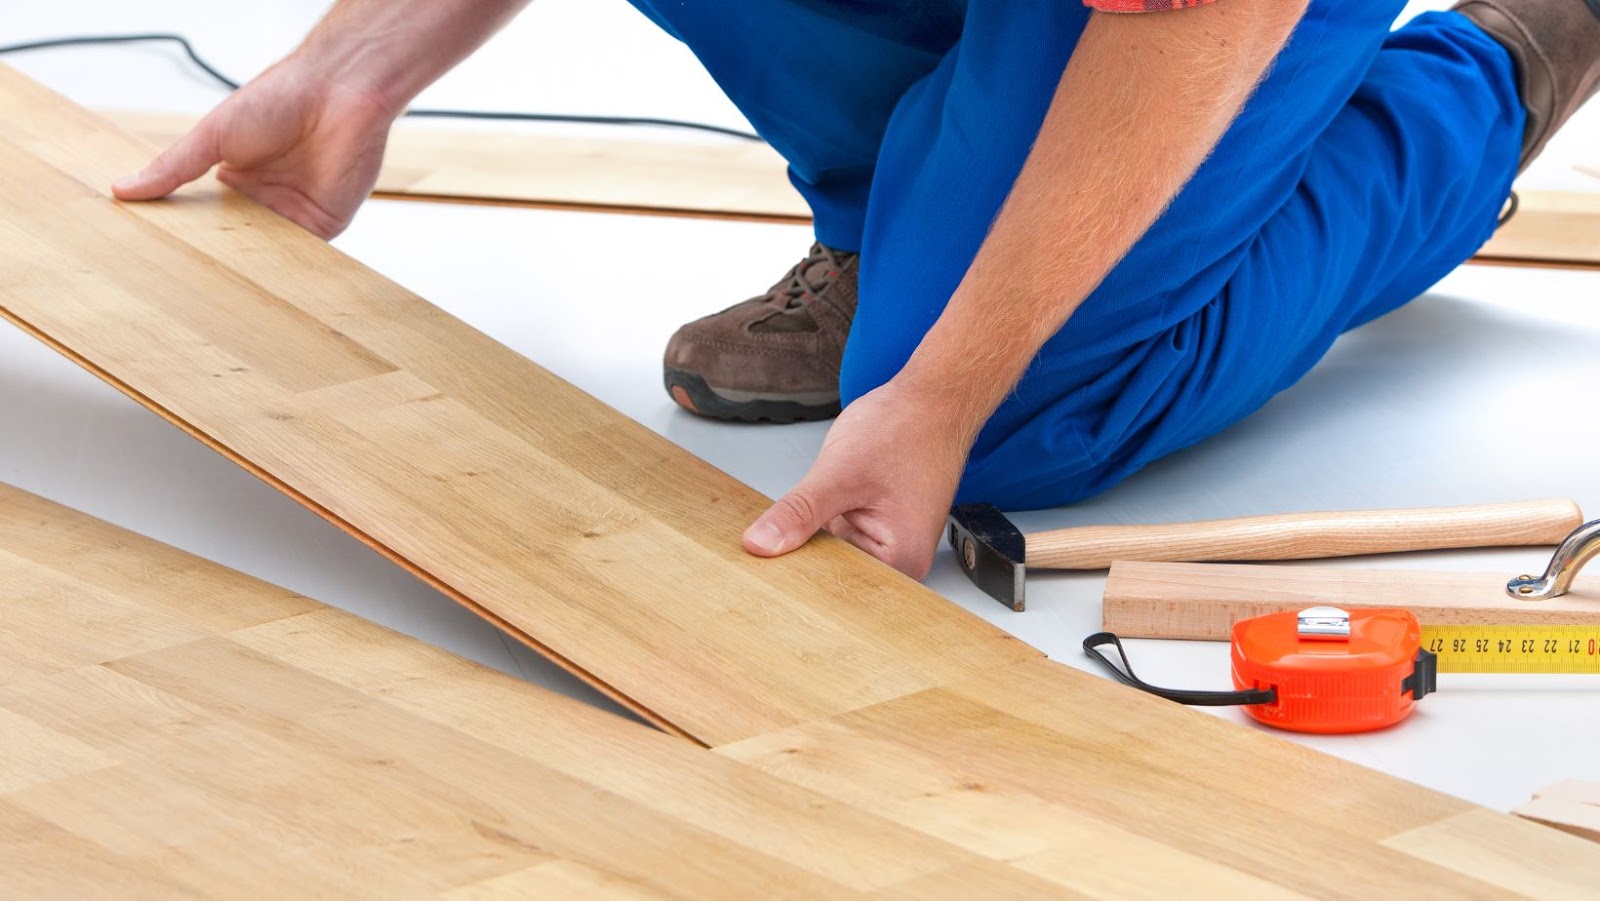
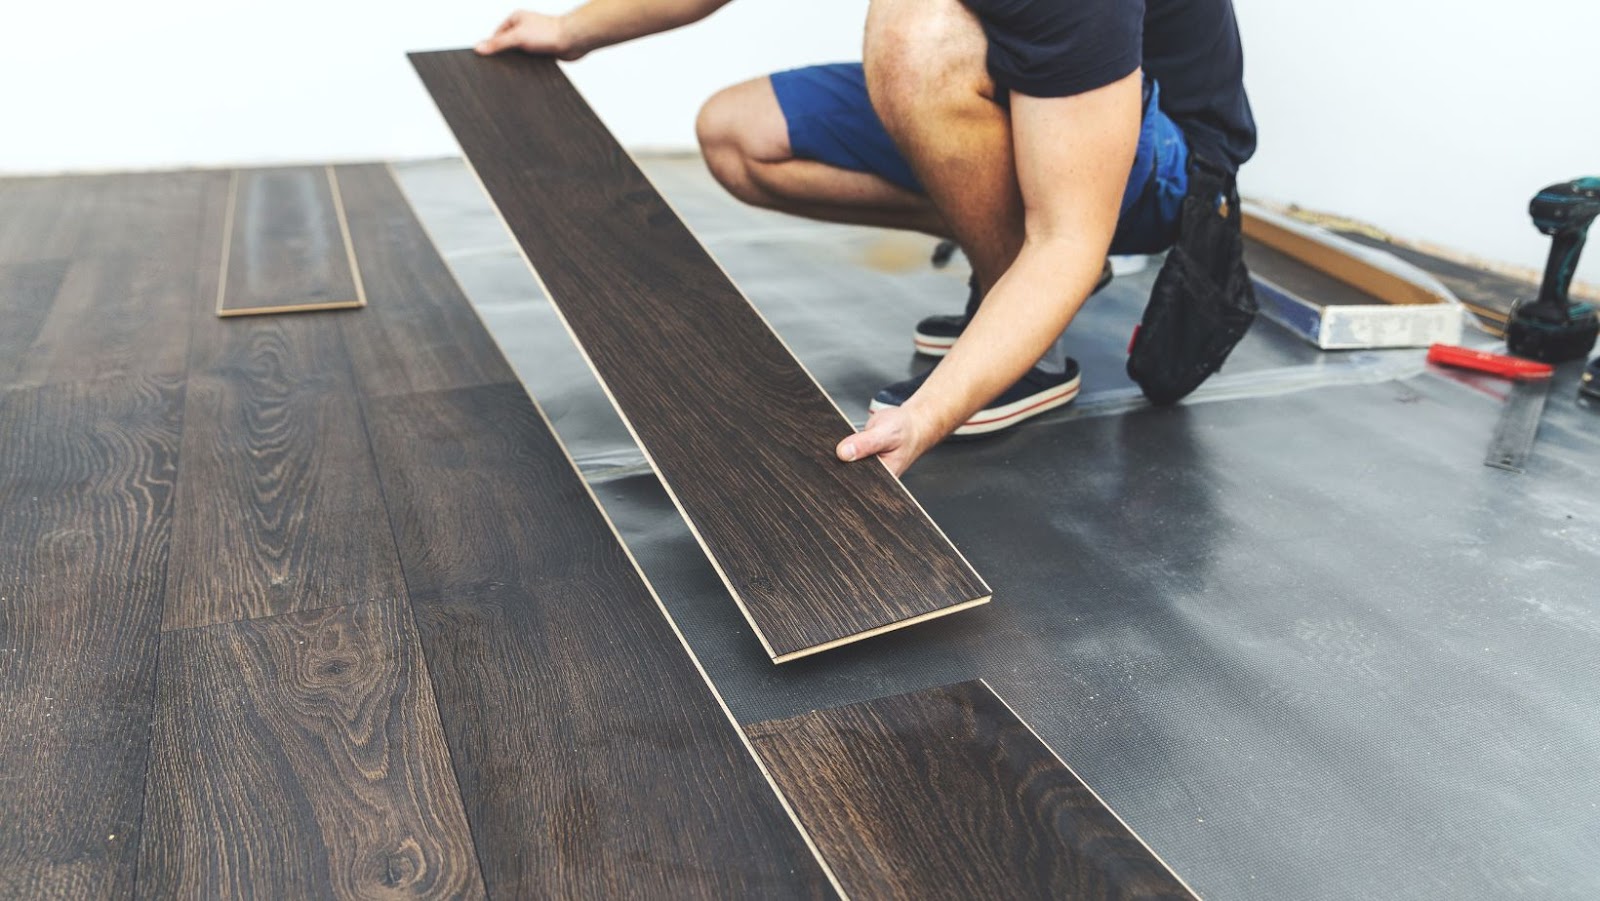
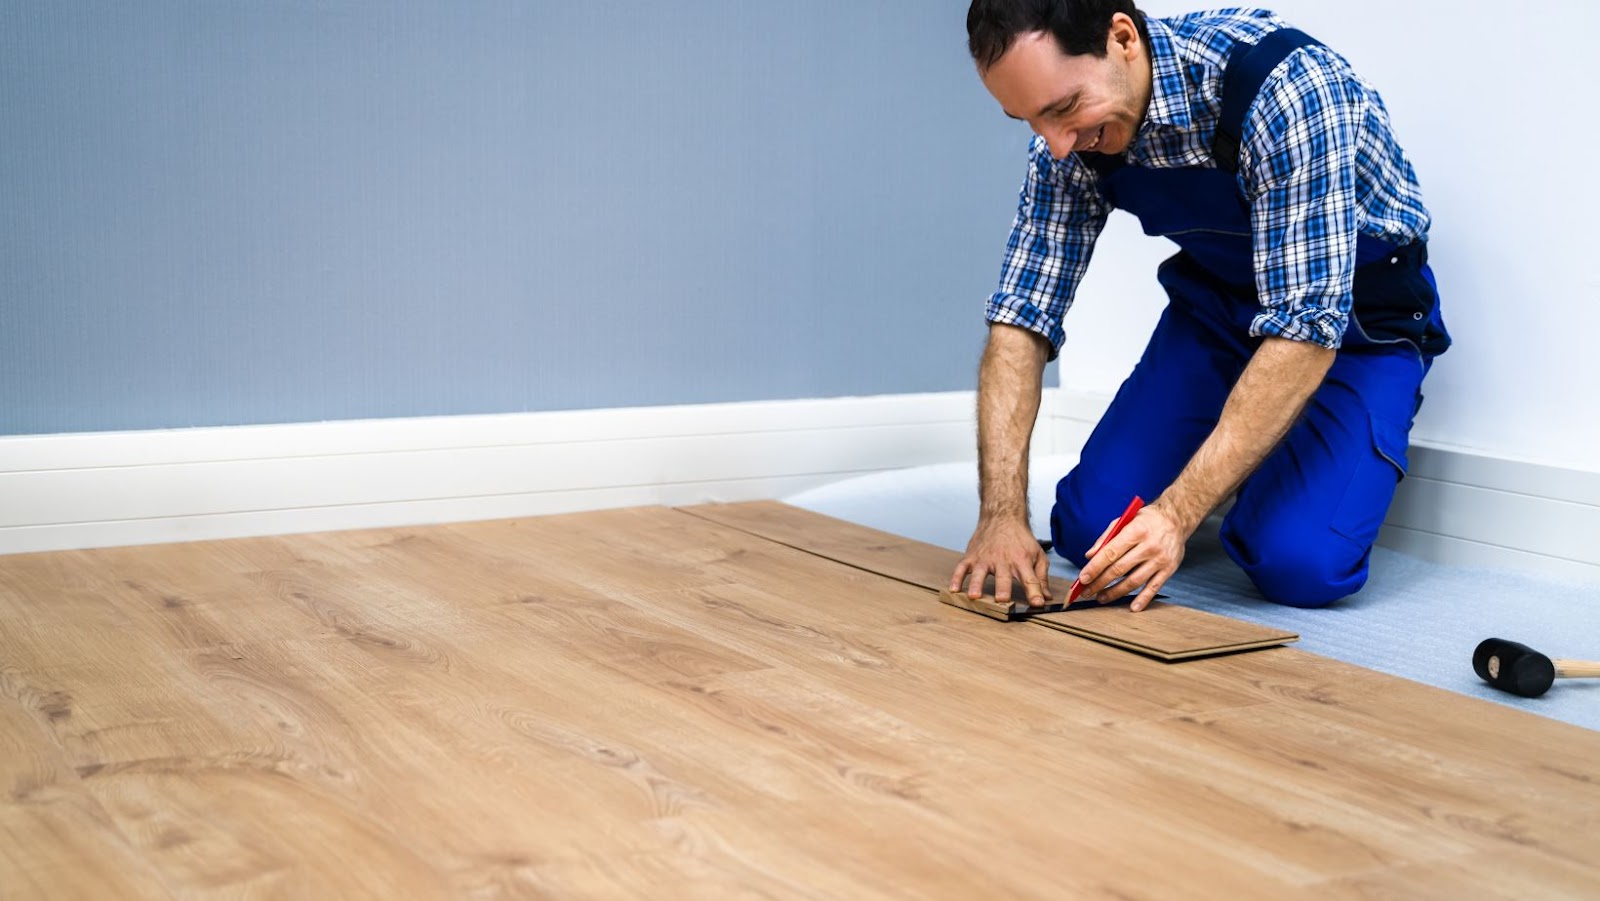
Install the new laminate
Installing new laminate flooring is a relatively simple process that can be done in a few different ways, depending on the type of laminate being used. Before you get started, ensure that you read and understand the manufacturer’s instructions for installation.
- Begin by preparing the area and making sure that it is free of dirt, dust and any other debris. Measure the space to verify dimensions and lay out your planks accordingly. If you are working in a room larger than 400 square feet, consider separated walkway pieces that allow for expansion between rooms.
- When you place your planks on the ground, it’s important to always end the row perpendicular from the wall or doorway so movement between pieces is not limited. Given time (especially due to extreme weather changes), if this isn’t done correctly your flooring can shrink or expand leaving gaps in between boards and warping over time.
- Use spacers or wedges to give yourself necessary room for expansion and contraction along walls, doorways and open spaces as well. Leave at least 1/4 inch of space to allow for one plank having moved slightly during installation or accumulated dust beneath it over time. Insert tongues into grooves then press down firmly until they click properly into each other while staying tight against each other when sitting side-by-side; before starting a new row start your tongue off similar to how drywall butts together.
- Once all planks are placed (and ideally left overnight) an trim excess material as needed with a jigsaw blade where you plan on finishing along walls when meeting up with door frames/ mouldings etc… A hammer should also be used lightly around edges just prior to setting up quarter round (where required) where complete wall meets floor – once this process is finished cleaning should begin immediately afterwards with either hardwood cleaner specifically designed for laminate floors or a damp cloth/ mop; however do not use any soap products which may cause a smudgy appearance overtime or dulling of surface due wear over time -it’s best to stick with water only based solutions Inspect all completed work double checking edges/ corners with tile grouting tool ensuring no overlap stayed behind when using higher-end product made laminated materials i.e Kaindl ensuring proper placement prior completing entire project so possible long term issues avoided further down road.
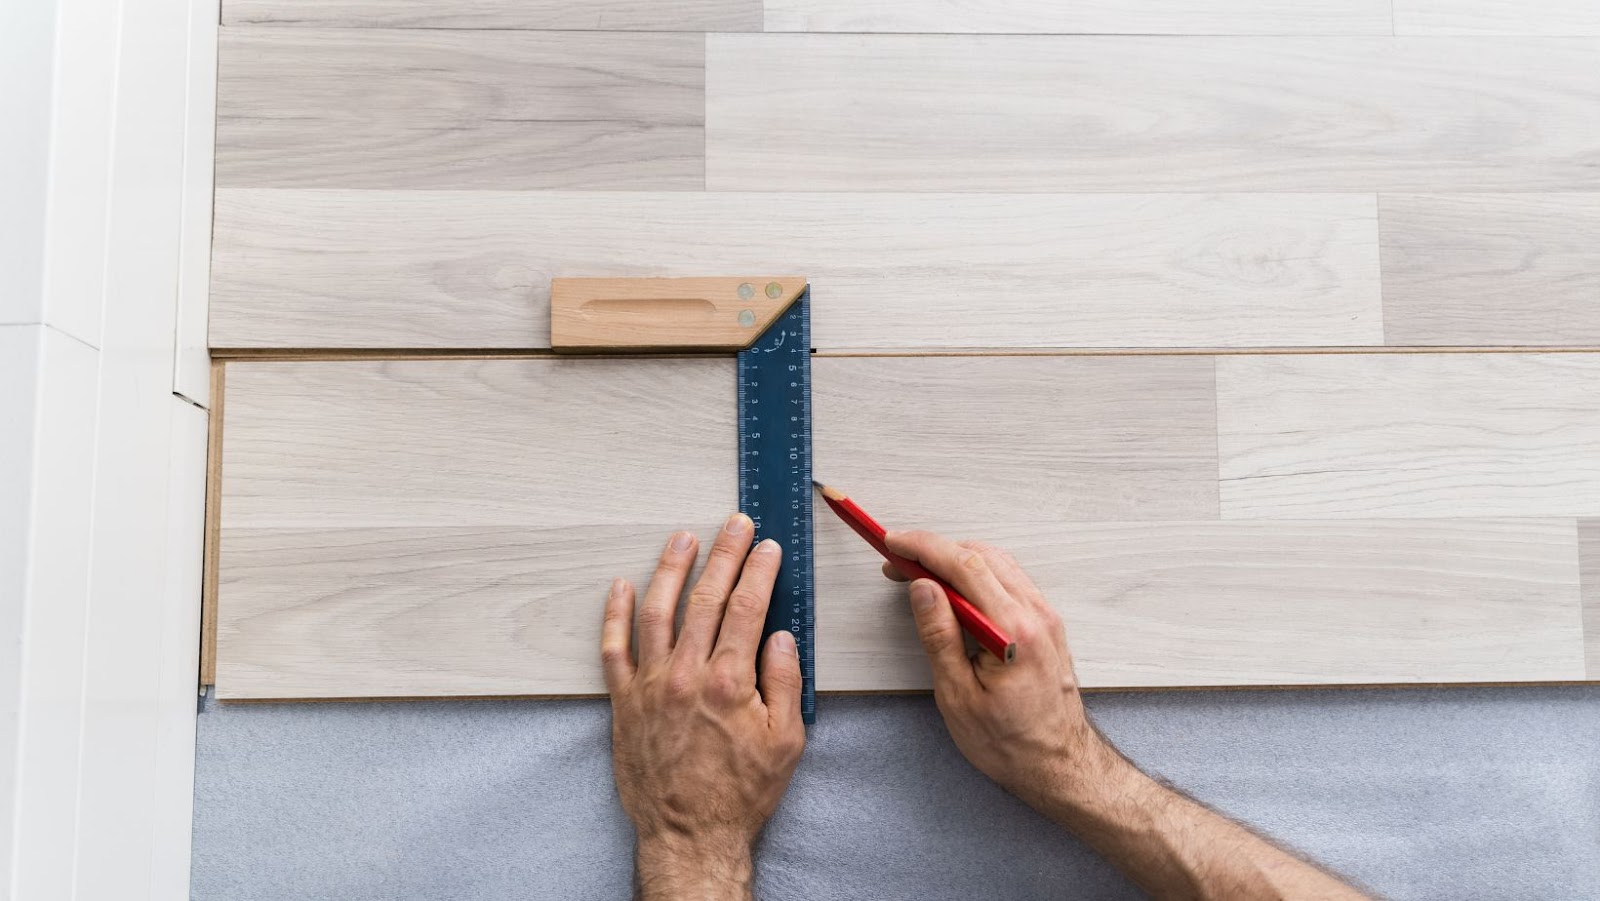
Cut the laminate planks to fit
To ensure a professional installation, you should cut the planks to fit carefully and exactly. Measure the area where you will install the laminate planks precisely to ensure an exact fit. Once you have made measurements, compare these with your cut lines on the boards, making sure to adjust gaps as needed for an aesthetically pleasing result.
You may use a sharp utility knife or a saw equipped with a fine-toothed blade. Depending on the shape of your flooring, you may need special tools such as a jigsaw, circular saw, or miter saw. When cutting is complete, remember to check that all edges fit snugly together and make adjustments if necessary.
Secure the planks with nails or glue
Once the planks have been cut to the desired length and any necessary underlayment has been laid, it is time to secure them to the subfloor. Depending on the manufacturer’s instructions, this can be done with nails, staples, or glue.
If using nails or staples, consult with a flooring specialist on exactly how many and where to place them. Generally speaking, they should be placed near the edge at a 45-degree angle. When nailing boards together, be sure that there is no gap between them as this will cause warping in time.
If using glue instead of nails or staples, spread it evenly across the entire surface of your planks with a trowel or putty knife before placing them into position. Allow sufficient time for the glue to dry before fixing another plank down in order to prevent unwanted lifting due to premature moving of pieces that are not yet secured.
Finishing Up
After you have prepared the existing floor and subfloor, now it is time to install your new laminate flooring. Installing laminate flooring is a straightforward job when done according to the manufacturer’s instructions.
This section will describe the steps you need to take to complete the installation process:
Install the trim pieces
When the floor is finished and the newly installed laminate flooring is level and firmly attached to the subfloor, it’s time to install the trim pieces. Trim pieces cover the outer edges of your laminate flooring, and there are a few types of trim pieces that are typically used.
The most common type is quarter round moldings and these are narrow strips that fit in corners or seams between two laminate boards. They hide rough edges or abrupt changes in direction, plus they give floors a neat and finished appearance. Edging strips are also known as ‘T’ moldings, which come with a metal strip underneath that when hammered into place add an extra layer of protection.
These edge strips can also be used at doorways, where two floors of different heights meetup; edge strips bridge this gap effectively while meeting safety standards set by building codes. End moldings will finish off any exposed edges against walls; these pieces come in various depths from 5/16” along the full length to 1/4” at the end.
To ensure that all of these finished pieces match your flooring sample, securely fix them onto your new laminate using construction adhesive and finishing nails, provided by the manufacturer instructions, paying close attention when cutting around doors or slots making sure to leave enough clearance for expansion if necessary.
Clean up the area
Once you have finished installing the new laminate flooring, it’s important that you properly clean up the area before you finish. Start by cleaning up any sawdust and debris from during installation with a vacuum or a damp cloth. If needed, sweep any remaining dirt and dust away for a clean finish.
Next, make sure to inspect your work and make sure everything is in order before moving on to the finishing touches. Check for any visible nails or staples in your flooring and remove them with a hammer or pliers. Make sure there are no ridges under any of the seams and that they remain relatively even. Finally, inspect the entire area to make sure there are no damage or lumps left behind that may cause permanent damage once furniture resumes to be used on the new laminate flooring.
Once you have inspected the entire area, apply an extra layer of sealant around any places where water could tend to seep through over time such as corners and other tight spots near walls or doorways. This extra layer of sealant will provide additional protection against wear-and-tear as well as liquid spills throughout its lifetime. With this final step complete, you can now enjoy your brand new laminate flooring!
Enjoy your new floor!
Now that you have successfully installed your new laminate floor and it has been properly secured, it is time to enjoy your beautiful new space! All that is left to do is clean and care for the floor and laminate.
To keep your laminate flooring in good condition, sweep regularly with a dry mop or vacuum cleaner designed for hard floors. Avoid using any type of wax or polish on the surface. If any dirt or residue accumulates, you can wipe the surface with a damp cloth and mild detergent. For tougher cleaning jobs, use a manufacturer-approved cleaner specifically designed for your brand of laminate flooring.
When cleaning a water spill, be sure to remove as much water as possible immediately by wiping it up with an absorbent cloth or sponge. Do not allow standing water to sit on the surface as this could cause warping or swelling of the wood pieces underneath. Avoid using a steam mop on your laminate floor as excessive moisture may penetrate the seams between planks and cause damage from underneath.
It’s also important to inspect your new laminate periodically for signs of possible damage such as lifting boards or broken planks, using tools like foam wedges inserted between planks to detect gaps that indicate potential structural issues before they become worse over time. Use caution when moving heavy furniture around; place protective pads on chair legs and box springs so that this does not scratch up your lovely new installation. Abrasive scrubbing can also cause discolouration so use a light touch when cleaning away dirt particles embedded in between boards grooves or corners where two pieces meet together perfectly flush.
With proper care, maintenance and timely inspections, you can enjoy the beauty of long-lasting laminate floors in both form and function!