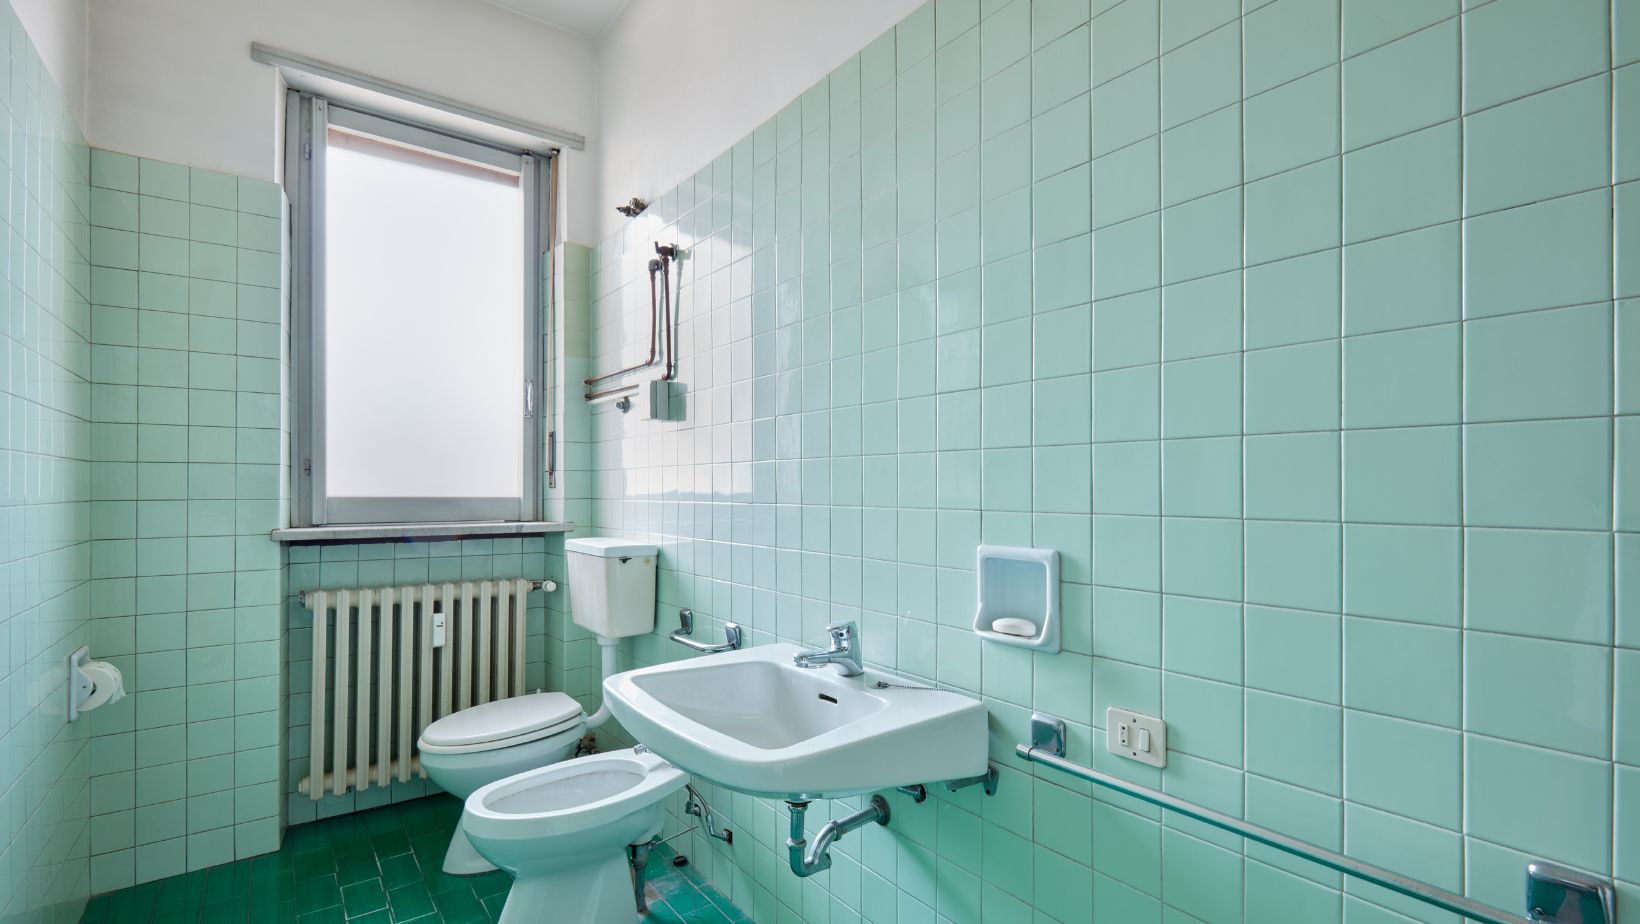
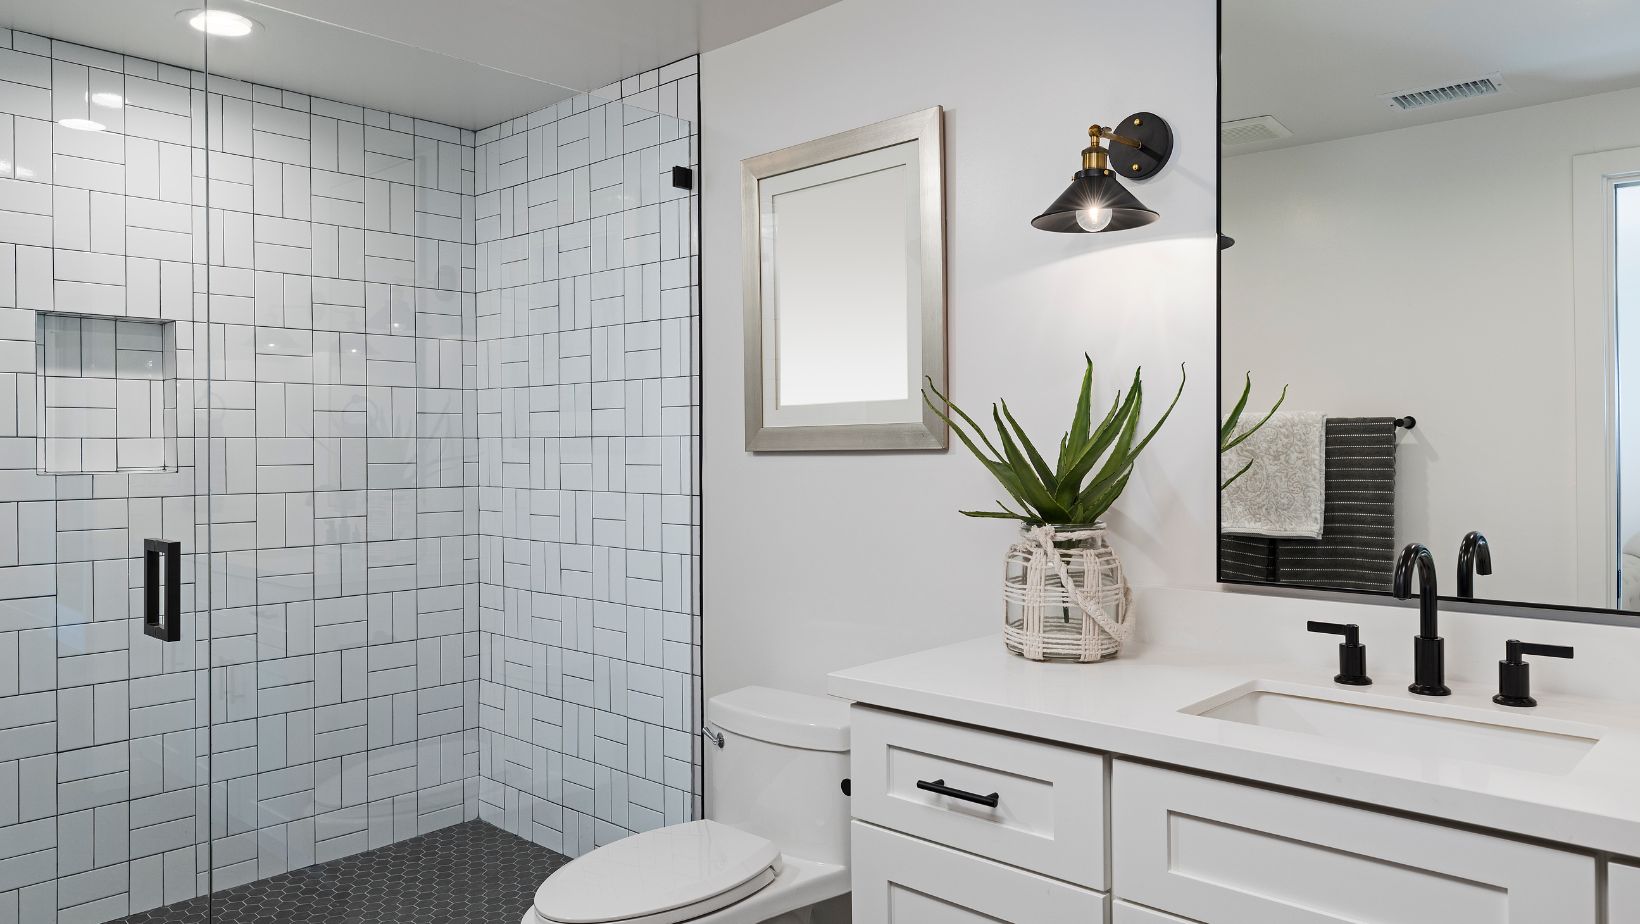
If you want to upgrade your bathroom from an outdated design to a stylish one, the first thing that comes to mind is the removal of old tiles from the bathroom’s wall. Removing the ceramic tiles from the wall becomes challenging if you are conscious about damaging the wall.
But if you have a basic knowledge about it, you can easily detach these ceramic tiles without damaging the wall. This guide completely covers this topic and provides you with basic information regarding How to remove old bathroom tile without damaging the walls to save your bathroom’s walls and cost.
Guide To Remove Old Bathroom Tile
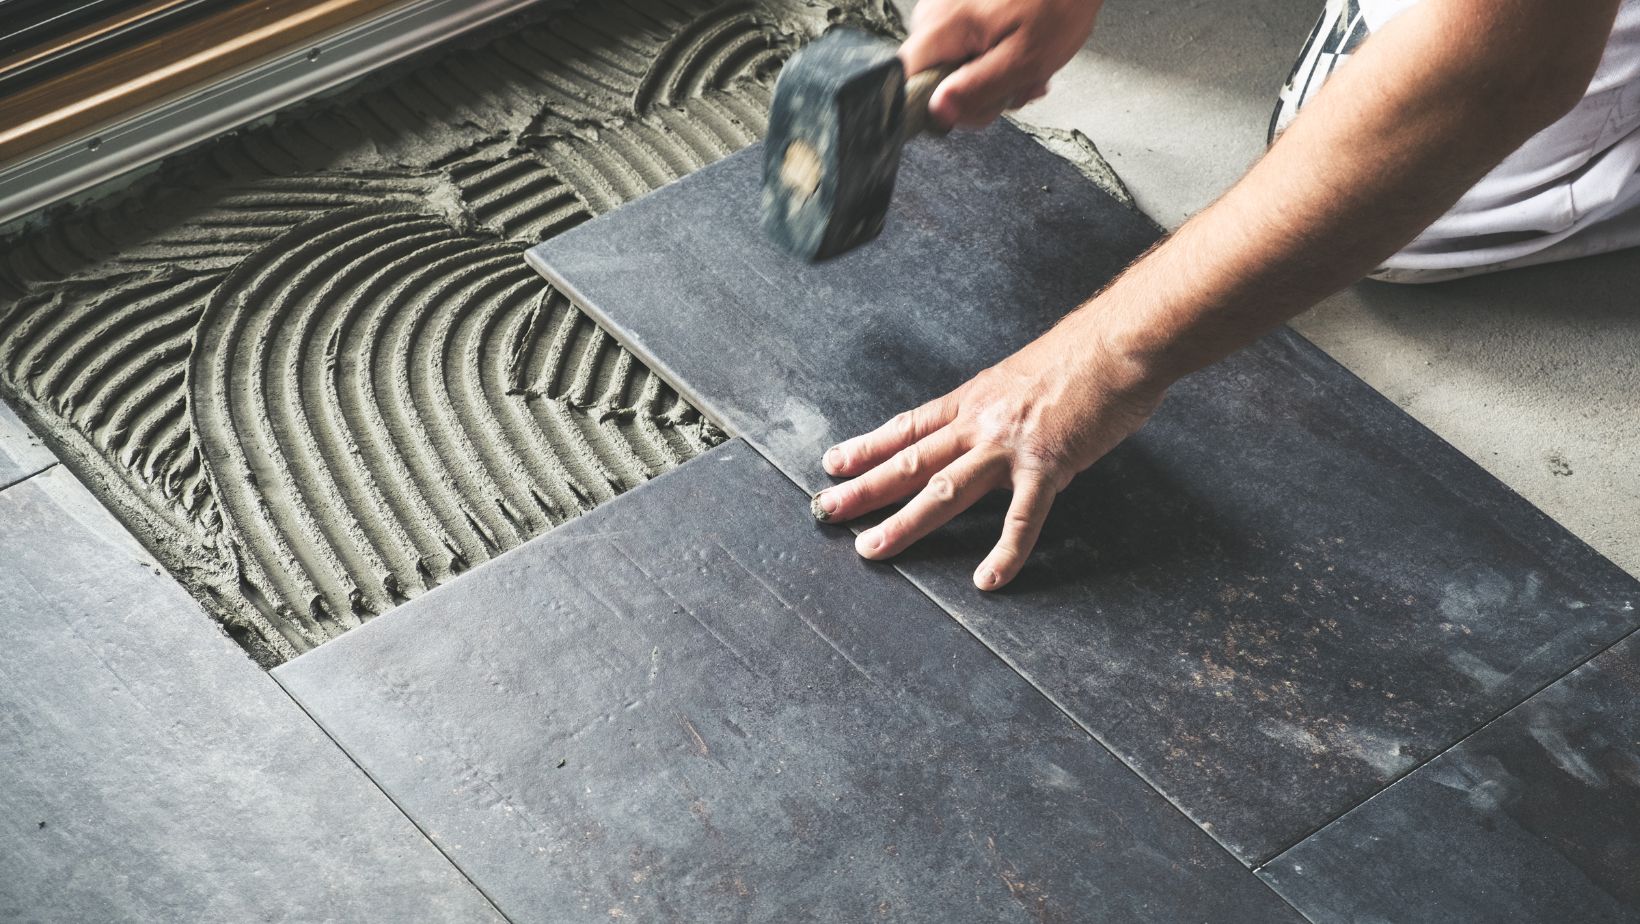
If you want to upgrade a specific part of the bathroom or the entire bathroom, it is important to remove the old tiles carefully without damaging them. Let’s explore the tips and tricks to make your tasks easier. Never use harsh material to remove it otherwise it directly harms the bathroom’s wall. Follow the step-by-step guide to remove old tiles without damaging the wall. If you find the entire process challenging, you can contact Bathroom Renovations Manhattan for a hassle-free process.
Assess the Situation
The first thing for the safe process is to analyze the situation of the existing tiles and ensure they are safe from loose areas and damage. Moreover, check the condition of the grout to analyze its integrity. It helps to identify whether it becomes hard to remove the tiles or it is easy to remove.
Also, assess the wall behind the tiles to know the exact situation of attaching so that you can make a proper plan to remove it. Once you properly assess the entire walls and tiles, you can easily remove them without damaging them.
Prepare the Area
There are several steps needed for tile removal from the wall. Remove all the unnecessary items from the bathroom and clean it properly to access the workspace. Now, use a plastic sheet or drop cloth to protect its surrounding surfaces and fixtures. Keep the doors and windows open for adequate ventilation so that I reduce the dust or debris. Your electricity connection must be turned off to prevent any kind of accident during the process. Wear the proper accessories like gloves and goggles to ensure the safety of the individuals. The purpose of this entire practice is to organize the environment for removing the tiles from the wall.
Remove Grout and Caulk
It is necessary to remove the caulk and grout to prepare the tile removal. You can use a steam cleaner or grout remover to soften the grout between the tiles. Divide the entire process into small sections. Use the scraper or grout saw to remove softened grout. Complete the entire process with patience to reduce the risk of cracking the tiles.
Once you remove the grout successfully, use the razor blade or utility knife to cut the caulk around the edges of the tiles. Remove all the remaining residue or debris with a damp cloth.
Loosen and Pry Tiles
Start the process from a specific corner by using a tool like a putty knife or chisel and loosen it from the wall. Now, you have to process carefully to remove further tiles. If tiles are strict, you can use the hairdryer or heat gun to remove them. When you remove all the tiles successfully, remove all the remaining adhesive and clean the wall surface.
Remove Adhesive Residue
It’s time to remove all the remaining adhesive residue with the help of a putty knife or scraper. You can slightly press on the wall but it does not damage the wall at all. Besides this, you can also use the commercial adhesive remover to remove the adhesive. Clean the remaining residue with damp cloth. Wait for some time until it gets completely dry.
Clean UP
Clean all the dust and debris from the floor with the help of sweeping or vacuuming. You must use damp clothes to clean the surface and remove debris and dust. If you find sticky spots there, you can scrub it using a gentle cleaner. You can rinse the wall using clean water and dry it with a towel.
Inspecting For Damage
Double-check the wall to examine the damages like water stains, cracks or holes. Must check the areas where tiles are removed. You can use the flashlight to check the hidden cracks and spots. If you find any holes or cracks there, use the patching material or spackling compound to fill it to give a smooth finish.
Conclusion
You must have to plan properly before starting the process and perform the action with a patient to remove the old bathroom without damage from the wall. Use the step-by-step guide given above to deal with this challenging process smoothly. Analyzing the wall after removing the tiles is also necessary to check whether it is ready for renovation or not.
It is necessary to start with the clean slate sets whether you are planning to install new tiles, repaint the wall or upgrade your bathrooms. For the successful removal of ceramic tiles, you have to follow all the steps carefully to remain safe from any kind of challenges.