Removing closet doors can be a straightforward process that can instantly transform the look and functionality of your space. If you’re wondering how to remove closet doors, I’ll walk you through the steps to make it as simple as possible.
How to Remove Closet Doors
When it comes to removing closet doors, having the right tools can make the process much smoother and more efficient. In this section, we’ll explore some key considerations for choosing the right tools for the job.
Consider the door type
Before diving into your toolbox, take a moment to consider the type of closet doors you’re working with. Different door types may require specific tools or techniques for removal. Here are a few common types and their corresponding considerations:
- Sliding doors: Sliding closet doors typically have rollers at the top and bottom that allow them to glide along a track. To remove these doors, you may need a screwdriver or Allen wrench to loosen any screws or bolts securing them in place.
- Hinged doors: Hinged doors swing open on hinges attached to either side of the frame. Removing these doors often involves unscrewing hinge pins using a hammer and flathead screwdriver or using a cordless drill with an appropriate bit.
- Bi-fold doors: Bi-fold closet doors consist of two panels hinged together that fold open when pulled from one side. To remove bi-fold doors, you’ll usually need a screwdriver or drill to detach them from their tracks or pivot points.
Understanding your door type will help you determine which tools are necessary for successful removal.
Evaluate the available tools
Once you’ve identified your door type, it’s time to assess your tool collection. Chances are you already have several of the essential tools needed for removing closet doors; however, here are some common ones that can come in handy:
- Screwdriver: A versatile tool used for loosening screws on hinges, brackets, or tracks.
- Allen wrench: Necessary if your sliding door has bolts secured by Allen screws.
- Hammer: Used for tapping out hinge pins during hinged door removal.
- Cordless drill: Makes quick work of unscrewing hinges or brackets.
- Pry bar: Useful for gently prying stubborn doors off their tracks or frames.
By evaluating the tools you have on hand, you can determine if any additional items need to be purchased or borrowed before starting the removal process.
Check for any additional materials needed
Aside from specific tools, there may be other materials required to ensure a smooth removal experience. Here are a few examples:
- Replacement hardware: If you plan to install new doors after removing the old ones, make sure you have the necessary screws, hinges, or track components.
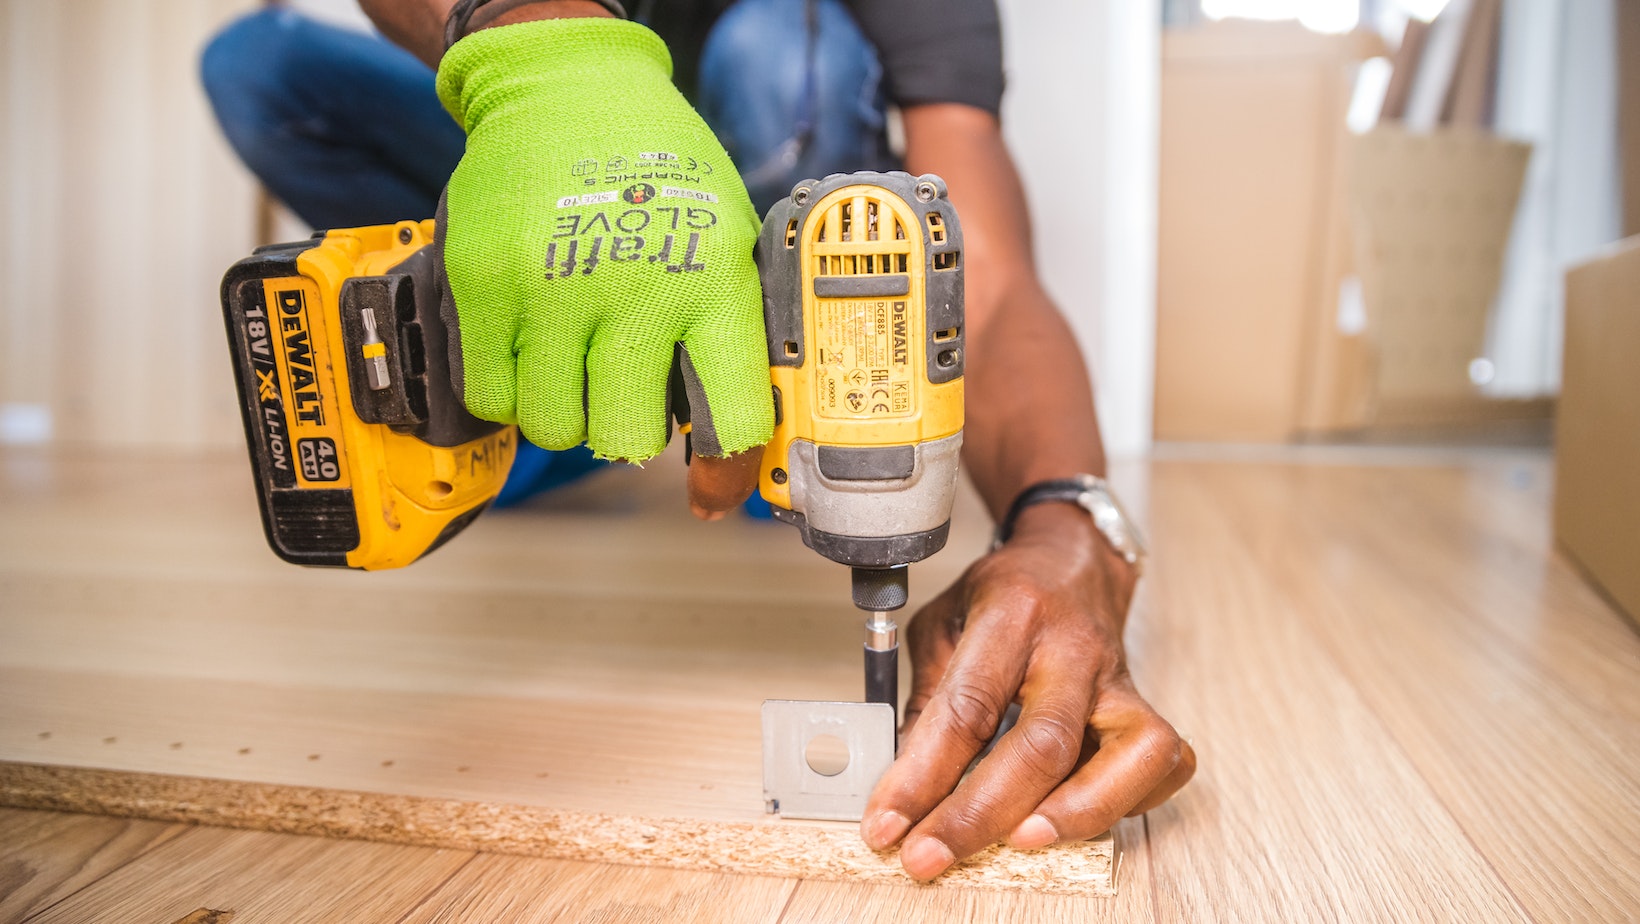
- Protective gear: Depending on the door type and your personal preferences, you might want to consider wearing gloves and safety glasses for added protection during removal.
Inspect the Closet Doors for Any Damage
Before diving into the process of removing your closet doors, it’s crucial to assess their condition. Take a close look at each door and inspect for any signs of damage or wear. Look out for cracks, peeling paint, or loose hinges that may affect the removal process. Identifying these issues beforehand will help you plan accordingly and determine if any repairs or replacements are necessary.
Remove Any Decorative Hardware or Handles From the Doors
To ensure a smooth removal process, start by removing any decorative hardware or handles attached to your closet doors. This includes knobs, pulls, hooks, or any other accessories that might interfere with the door removal. Use a screwdriver or an appropriate tool to carefully detach these items from the doors. By doing so, you’ll minimize the risk of damaging them during the removal process and make it easier to work with just the bare doors.
Clear the Surrounding Area to Create Space for Work
Creating ample workspace around your closet is essential before you begin removing its doors. Start by clearing out any items that might obstruct your movement while working on this project. Take out clothes hangers, shoe racks, storage containers, and anything else stored near the closet area. Ensure there’s enough room for you to maneuver comfortably without worrying about accidental bumps or obstacles hindering your progress.
Once you’ve inspected your closet doors for damage, removed any decorative hardware or handles, and cleared the surrounding area for work, you’re ready to move on to actually taking off those pesky closet doors!