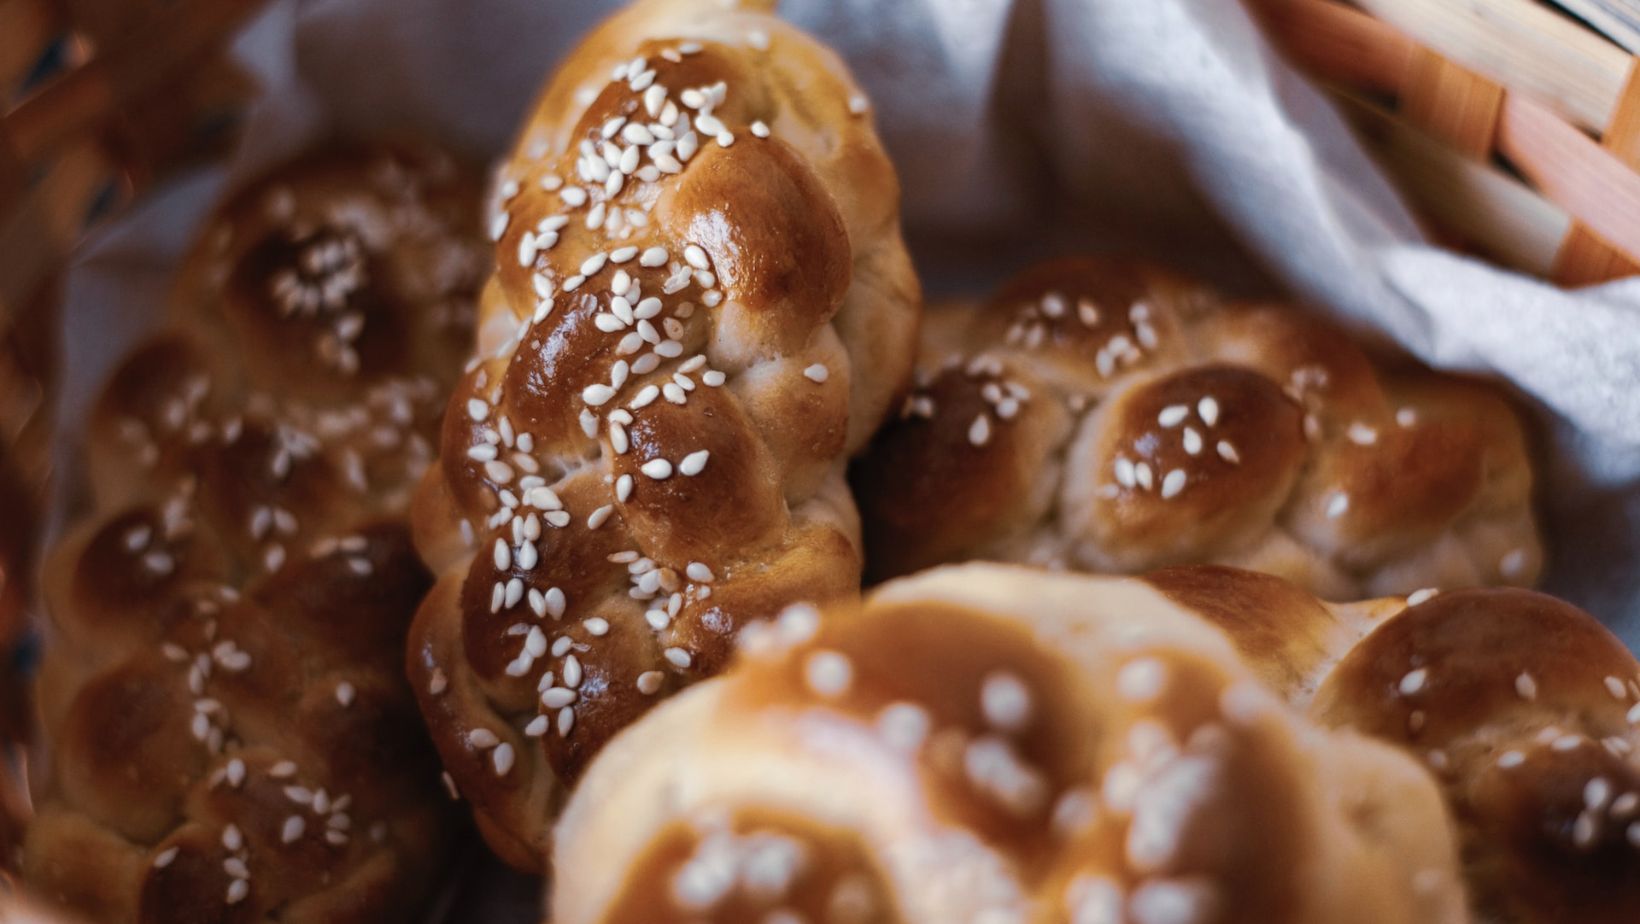
Whether you are a member of a Jewish family or you have recently had dinner with Jewish friends, challah is the kind of bread that sticks with you. Originating in Eastern Europe, this is a ceremonial Jewish food that is most commonly eaten during the dinner of Shabbat.
Unlike other ceremonial foods and accompaniments you might find on a Jewish table during the holidays, like a silver kiddush cup or the sacred etrog fruit, challah is not considered holy in and of itself, which means it can be made and eaten at any time.
And this is good because if you’ve tried challah once, the chances are you’ll want to try it again and again!
But what happens if you don’t live close to anywhere that regularly sells challah bread, and you have to make it yourself? How exactly do you do so, and what is the secret to braiding the challah in just the right way? Below, we’ve concocted a little guide on making and braiding challah, ensuring that you’re always able to act on your craving whenever it comes:
Making Challah From Scratch
Despite its flaky texture and sweet taste, challah is no more difficult to make than any other bread. The dough itself is enriched with two large eggs, one egg yolk, some vegetable oil, and sugar.
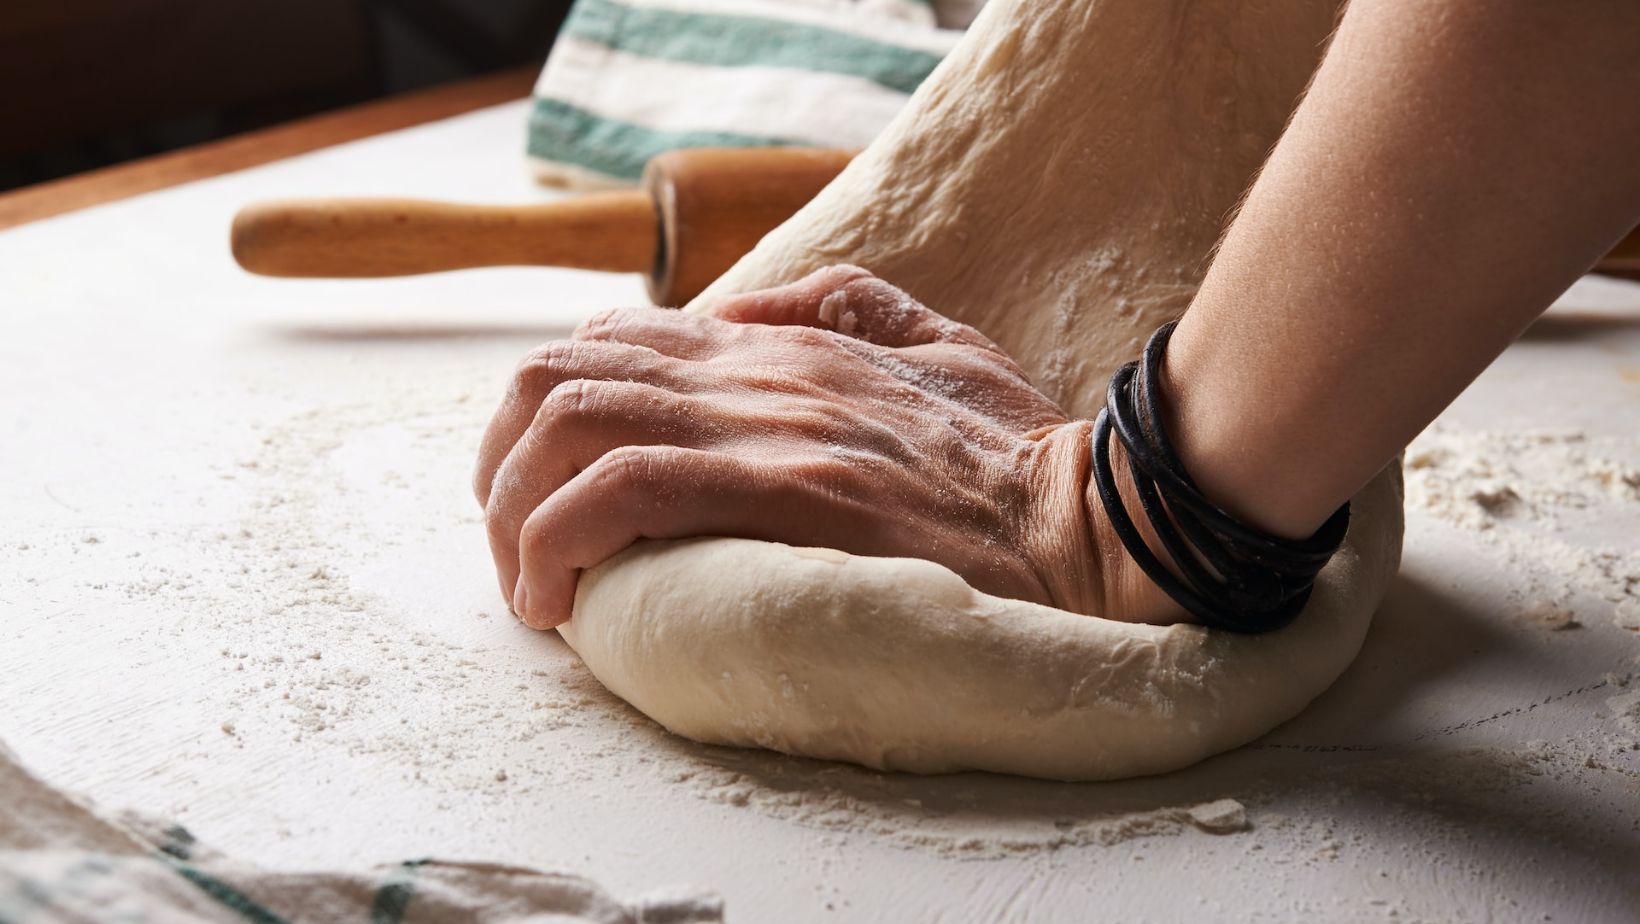
You mix all of this together and then knead on a low speed for around eight minutes – or knead by hand on a work surface for ten. It is finished kneading when soft and smooth.
This mixture is then allowed to rise for around two hours or at least until the dough has doubled in size. This is then when you will divide the dough up into three separate pieces and begin the braiding process.
Braiding the Challah
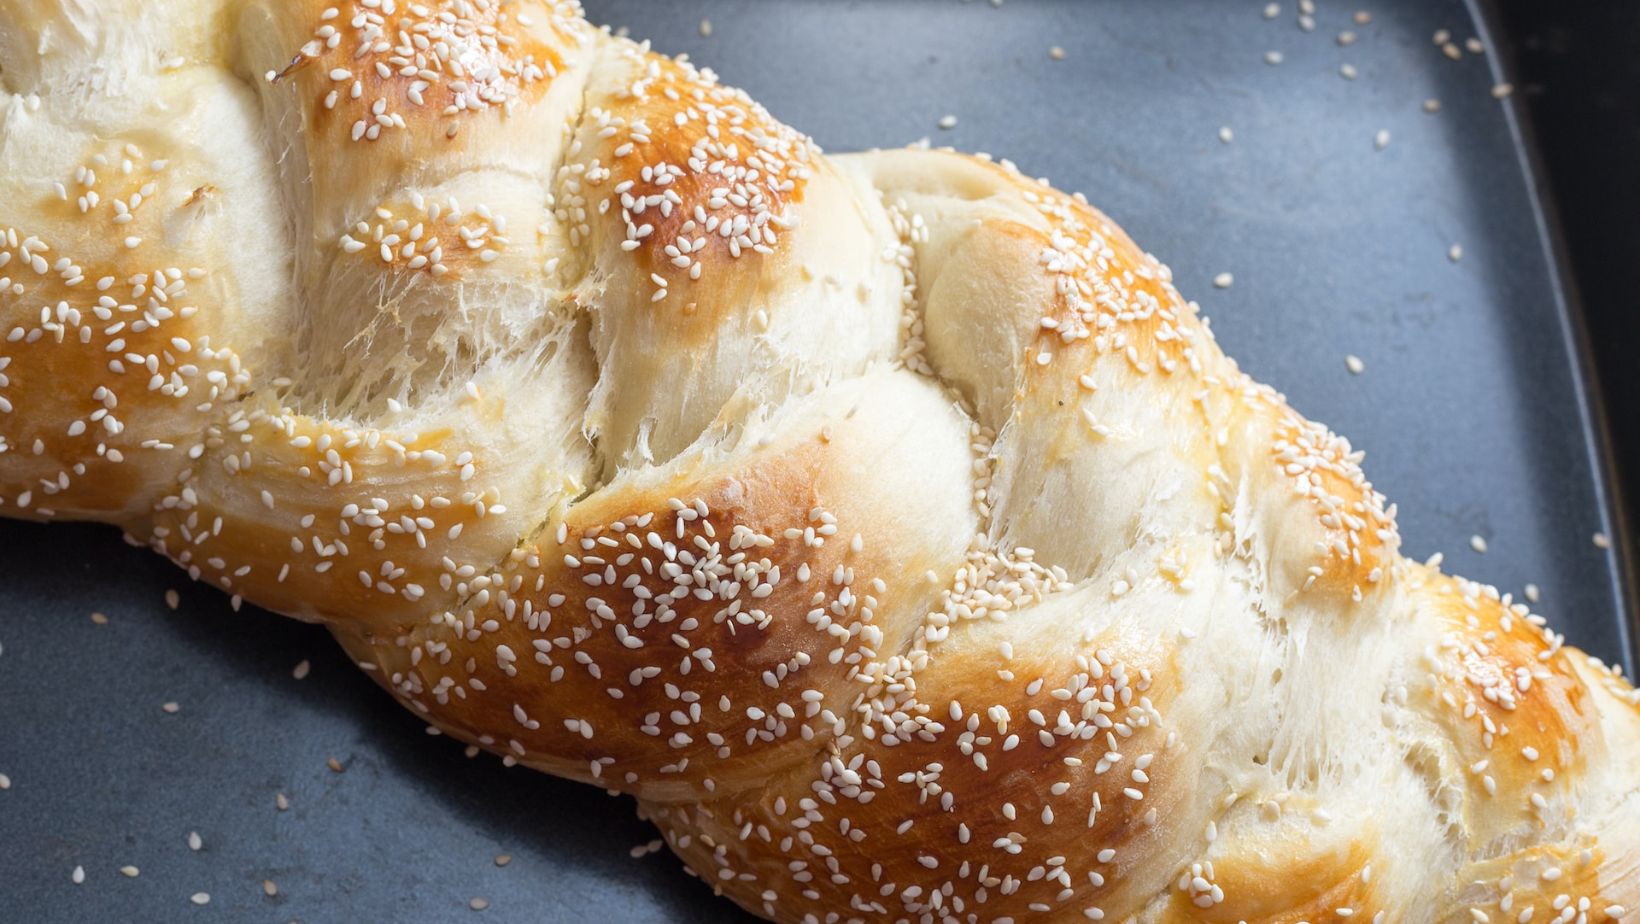
Since you’re a beginner, we’re going to help you through the easiest challah braid to master – three-strand braids. What you should do is cut the dough into three separate pieces and shape them each into a long rope. Place some more flour down onto a work surface and then place the ropes on top.
With your left hand, you will take the left strand and pull it over the middle strand; then, you will use your right to move the right strand over the middle. You will then do the same thing again, moving the left and right strands over and under the middle strand and alternating between the two until you can tuck the dough underneath on both ends. Once this is done, you can adjust the ends and sides until it looks even.
Baking the Challah
Once you have placed the challah onto a baking pan, you should brush it down with beaten egg and sprinkle on a topping – some popular toppings include poppy seeds, sesame seeds, cherry tomatoes, or even chocolate chips.
Bake the dough at a high heat for 35 minutes, and make sure you rotate the pan halfway through. Once all of this is done, voila, you have your first home-baked challah! Now, all you have to do is invite your friends or family around and let them tuck in. Or you can just save it for yourself… Don’t worry, we won’t judge you!