Are you tired of your old, worn-out closet doors? Are you looking to upgrade your space with stylish and functional walk-in closet doors? Look no further! In this article, I’ll guide you through the step-by-step process of installing walk-in closet doors. Whether you’re a seasoned DIY enthusiast or a beginner, this installation is something anyone can tackle with a little patience and the right tools.
First things first, before diving into the installation process, it’s important to choose the right type of walk-in closet door for your space. There are various options available such as sliding doors, bi-fold doors, or hinged doors. Consider factors like the size of your closet, the style of your room, and your personal preferences when making this decision.
Different Types of Walk-In Closet Doors
- Swing-Out Doors: These traditional hinged doors swing open on hinges attached to one side of the door frame. They offer maximum accessibility but require sufficient clearance space in front of the closet.
- Sliding Doors: Sliding closet doors operate by sliding along tracks installed above and below the opening. They are ideal for tight spaces since they don’t require any swinging room.
- Bi-Fold Doors: Bi-fold doors consist of multiple panels that fold in on themselves when opened, allowing partial or full access depending on preference. They work well when you want to maximize the use of space.
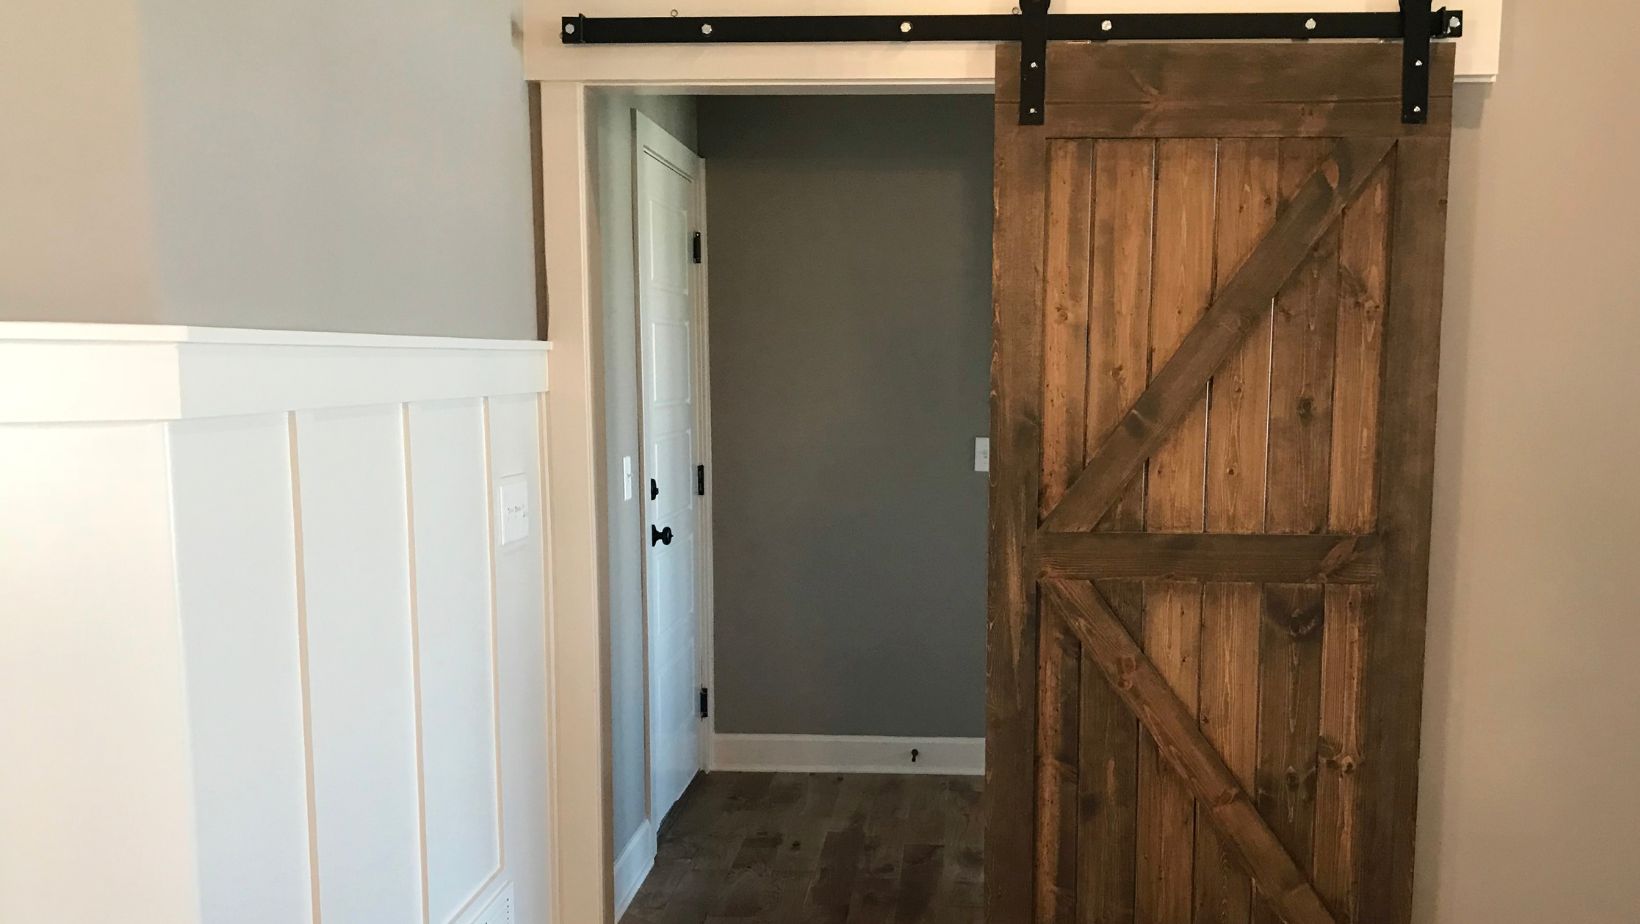
Double Sliding Barn Doors For Closet
- Seek Professional Help: Unless you have experience with door installation, it’s best to hire a professional to ensure proper alignment and functionality. This will save you time, effort, and potential frustration in the long run.
- Consider Door Hardware: Don’t forget about selecting the right hardware for your walk-in closet doors. Handles, knobs, and hinges should not only match the style but also be durable enough to withstand daily use.
- Regular Maintenance: Once your walk-in closet doors are installed, make sure to maintain them properly. Clean and lubricate any moving parts regularly to ensure smooth operation and prevent any damage or wear over time.
One of the most important steps in installing walk-in closet doors is accurately measuring your space. Taking precise measurements ensures that your doors will fit perfectly and function smoothly. Here are the key steps to follow when measuring your walk-in closet for doors:
- Start with a clean and organized space: Before you begin measuring, make sure your walk-in closet is clear of any obstacles or clutter. This will give you an accurate representation of the available space and prevent any measurement errors.
- Measure the width: Begin by measuring the width of your closet opening from wall to wall. Use a tape measure and take note of the measurement in inches or centimeters, depending on your preference.
- Measure the height: Next, measure the height of your closet opening from floor to ceiling. Again, use a tape measure and record this measurement accurately.
- Consider door type: Think about what type of doors you want for your walk-in closet – sliding doors, bifold doors, or hinged/swinging doors? Each type requires different measurements and considerations, so be sure to research which option suits your needs best.
- Account for additional clearance: When measuring for swinging or bifold doors, it’s important to account for additional clearance needed for proper operation. Leave enough space between the door frame and any nearby walls or furniture to ensure smooth opening and closing.

Preparation Steps Before Installing Walk-In Closet Doors
Gathering the Necessary Tools and Materials
Before diving into the installation process, it’s crucial to gather all the essential tools and materials. Here are some of the items you’ll need:
- Tape measure
- Screwdriver (both flathead and Phillips)
- Drill
- Level
- Screws and anchors
- Door hardware (handles, hinges, etc.)
- Paint or stain (if desired)
Clearing and Cleaning the Closet Space
Creating a clean slate is an important step in installing walk-in closet doors. Begin by removing any items that may obstruct the door’s path or impede its functionality. Take this opportunity to declutter your closet space as well. It’s amazing how much more efficient a decluttered closet can be!
Removing Any Existing Doors or Hardware
If there are already existing doors in place, remove them carefully before proceeding with the installation process. This includes taking off any associated hardware such as handles, hinges, tracks, or guides.
To remove doors with hinges:
- Open the door fully.
- Unscrew each hinge from both the door frame and door itself.
- Lift off the door from its hinges.