There’s something special about sourdough.
Maybe it’s the care and attention bakers have to pay when crafting the dough. Maybe it’s the love and nurture that goes into creating and keeping a starter. Or maybe it’s simply because it tastes so damn good. Whatever it is, sourdough baking at home is beyond just a passing fad. It’s a trend that is here to stay and is now a lifestyle and adoration of bakers around the world.
I’m going to share everything you need to get baking a genuinely stunning loaf. Starting with a starter, right through the dough recipe, and into the bake itself.
Fair warning, this recipe is written by a British person so you might need to use a gram to cups calculator if you’re not sure of the recipe measurements.
The Starter: The First Step
Before you can even think about baking sourdough, you need to think about a starter. Some lucky people will be gifted a starter from family or friends, and that’s a good place to start. It’s a far simpler process than making your own, and there are still lots of great starters that people have kept going. Especially since the boom of sourdough baking during Covid lockdowns.
If you can’t get hold of an already established one, then you’ll need to create your own. That’s precisely what I did and, thankfully, it’s a really straightforward process but it takes a bit of time and patience.
Making A Sourdough Starter
Two ingredients! That’s all you need. Flour and water. Given the right conditions, this is enough to begin a fermentation process that creates a living yeast-based starter. This is how you’re able to bake sourdough and achieve a rise without the need for yeast. You’ve created your own within the starter! You’ll note that the starter is alive, and like all living things it needs to be fed. That’s the part that you’ll play going forward.
Bear in mind that this recipe will take at least 6 days before you’re anywhere near a usable starter. It all depends on your climate and home temperature. Colder climates will see a far greater amount of time before the starter is able to be used in a bake.
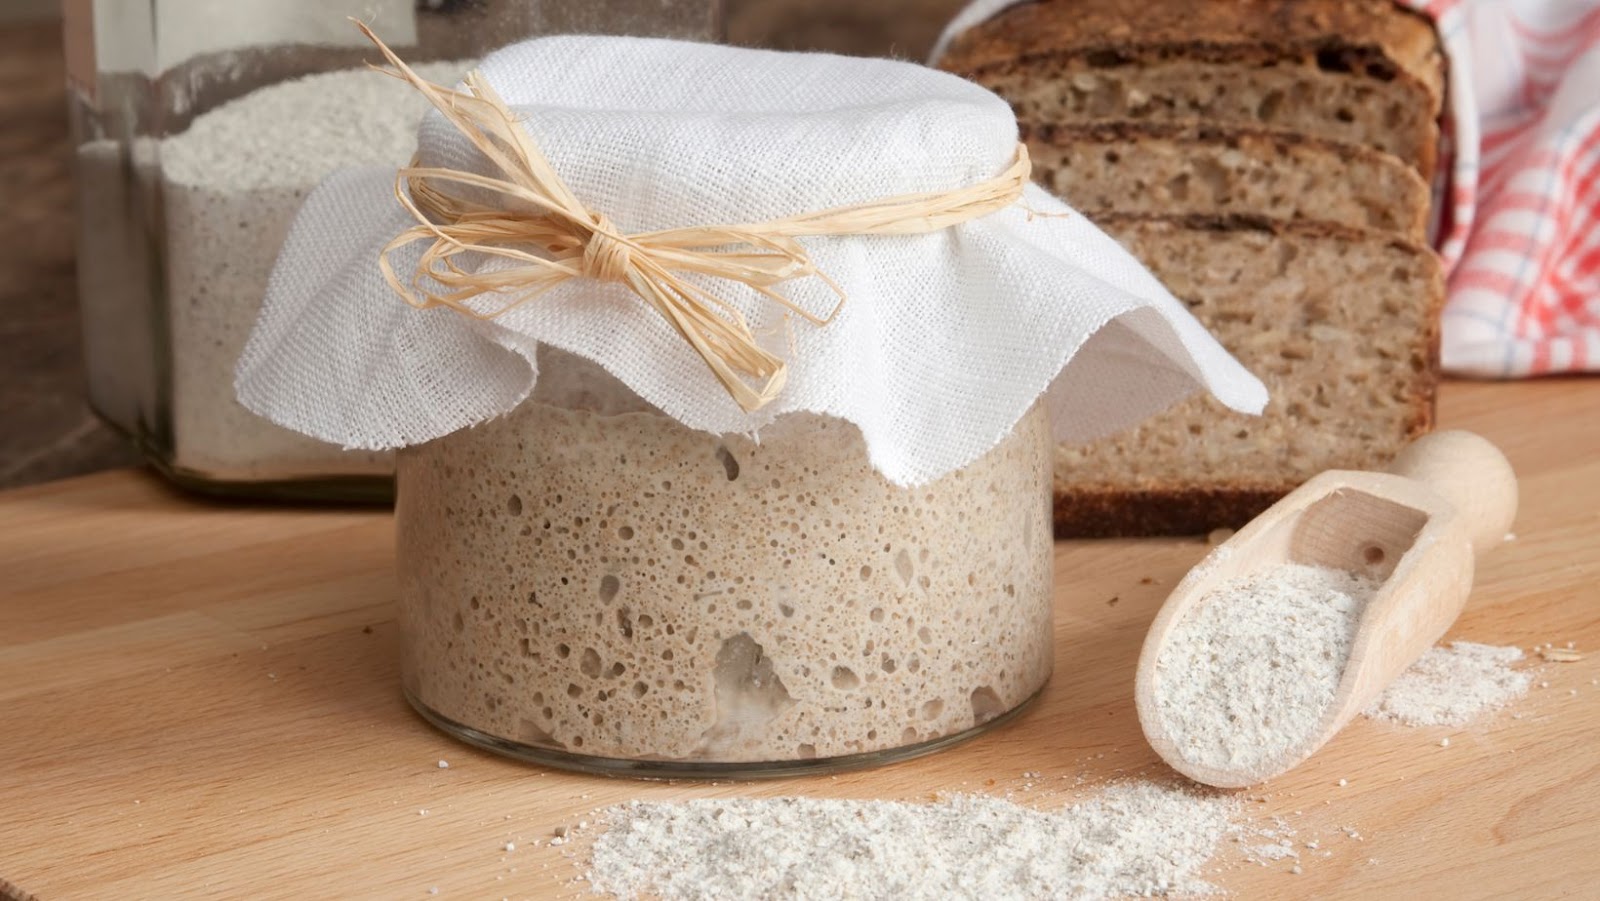
- Day 1 (morning or night): Grab a decent-sized home for your starter, Mason jars work well, I used a pint glass, and some people use measuring jugs. Whatever you pick, give it a good clean and then drop 20 grams of strong bread flour into it with 30g of whole wheat flour. Match the flour with the same amount of room temperature water, 50ml. Give it a good mix using a fork until you can’t see any dry flour. You’re looking for a thick peanut butter consistency.
At this point loosely cover the jar. If you have a screw lid just rest it on top. A loose piece of cling film or damp towel works well too. Take a rubber band and wrap it around the jar at the level of the mixture, this will act as your rise gauge. Leave it on your kitchen counter at room temperature for at least 24 hours.
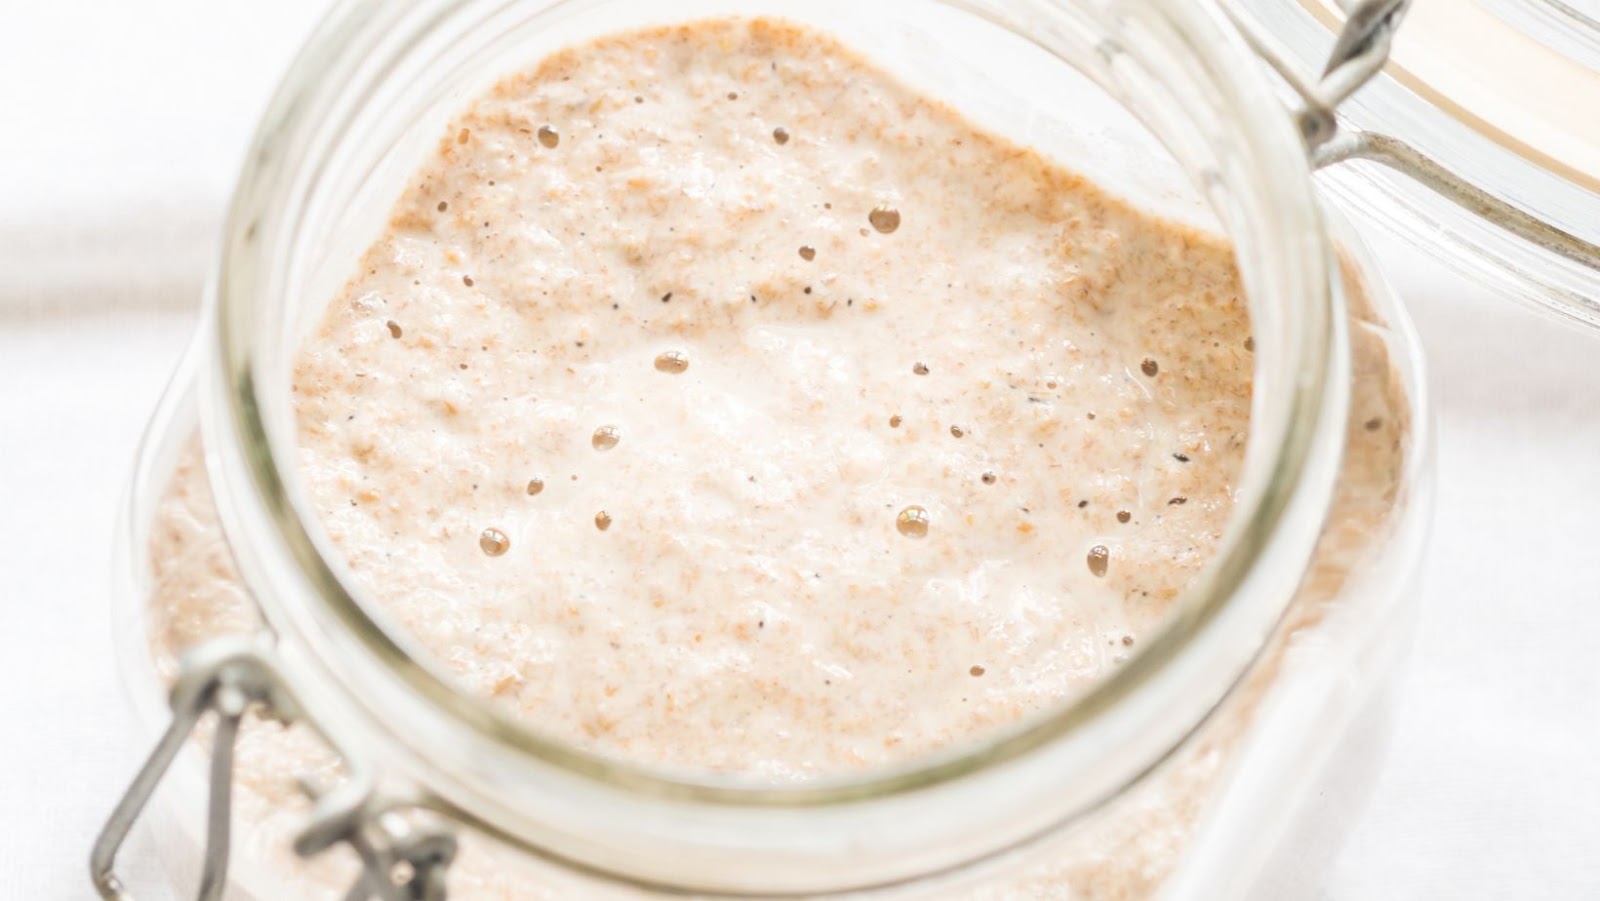
- Day 2, 3, and 4: 24 hours later check your starter for some bubbling and see if it has risen above the band. You might spot some, but don’t be disheartened if you don’t. Chances are you’ll begin to smell a fermenting smell which is a great sign.
Discard all but 25g of the starter and then, in the same unwashed jar, add another 20g of bread flour, 30g of whole wheat flour, and 50g of room-temperature water. You’ve just fed your starter! Repeat this process until you reach day 5. At this point, you’ll see the starter beginning to rise and fall in the jar using the rubber band as a gauge and the streaks on the inside of the jar.
- Day 5 and 6: Your growing starter is getting hungry! You’ll now need to feed it every 12 hours (which is why we want to start the process in the morning or at night on day 1, otherwise it’ll be like having a newborn…). It’s the same ingredient amounts as the previous days but on a quicker schedule.
Discard all but 25g of the starter and then, in the same unwashed jar, add another 20g of bread flour, 30g of whole wheat flour, and 50g of room-temperature water.
- Day 7: You’ll definitely be seeing your starter rise and fall at this point. Your starter is ready to make bread! On day 7, or whenever you’re 12 hours from wanting to make some dough, take 30g of the starter and then, in the same unwashed jar, add another 50g of bread flour, 50g of whole wheat flour, and 100g of room-temperature water. Note the increased measurements here. This increase means you’ll have plenty of starter to use in your dough, and some left over to feed for the next batch.
Not ready to make bread? Just keep repeating the smaller feeds until you are ready.
- Dough Making Time: To check if your starter is ready to be used, take a small spoonful and drop it into room temperature water. It should float! If it doesn’t float, don’t be tempted to make dough. Trust me, it won’t work. Patience is important here, otherwise, you’ll end up with a flat, solid, inedible loaf.
- Name Your Starter: This is an obligatory step. All starters need a name, it helps you foster a connection with your starter. Plus it’ll be so much more momentous when you hand over a child of your starter to start a new life with a friend.
The Show: Baking Sourdough
Equipment
- Large bowl
- Fork or whisk
- Proving basket
- Dutch Oven
- Cooling Rack
- Kitchen Towel
Ingredients
- 400g Water at room temperature
- 100g Starter
- 400g strong bread flour (I use the same as the starter)
- 100g whole wheat flour of your choice for flavor
- 10-14g flakey salt (Maldron is best)
Sourdough Baking Instructions
Before you get started, bear in mind that dough will take the best part of a day to make and the fermentation process here takes a whole night. Make sure you start a decent amount of time before you need the loaf.
- Step 1: Fill your bowl with the water and drop in the starter, give it a good whisk until the starter is dissolved.
- Step 2: Mix in both flours until you have a wet doughy mixture with no dry ingredients remaining.
- Step 3: Cover and rest for 30 minutes.
- Step 4: Sprinkle half of the salt onto the dough. Mix until it’s well combined, then repeat with the rest of the salt. You want to avoid pockets that aren’t combined.
- Step 5: Cover and rest for 1 hour.
- Step 6: Grab the furthest side of the dough from you, stretch it, and fold it onto the side nearest you. Turn the bowl a quarter and repeat. Do this around 6-8 times.
- Step 7: Cover and rest for 1 hour.
- Step 8: Repeat steps 6 and 7 another 2 times. After the 3rd set of folds is completed, leave the dough to rest for between 1-3 hours, you’re looking for the dough to double in size.
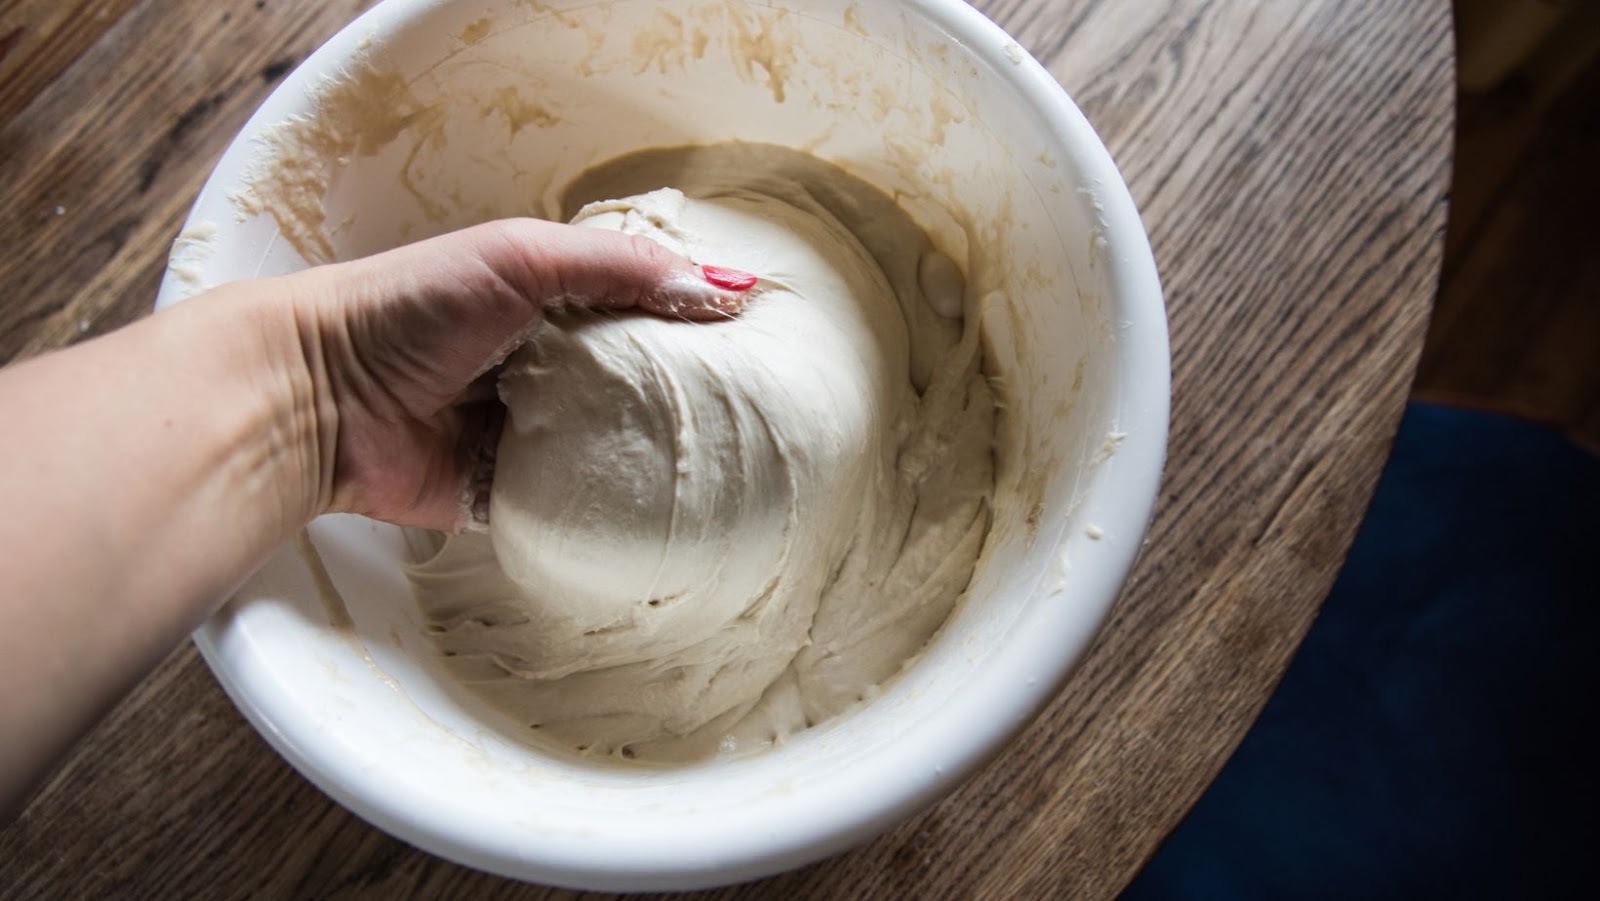
- Step 9: Tip the dough out onto a floured surface and lightly shape it into a round shape using your hands. Dust the top with flour and cover with a kitchen towel for 30 minutes.
- Step 10: Dust with a bit more flour, then flip the dough. Fold the furthest edge towards you, rotate a quarter, and fold again. Repeat twice and you’ll find that the bottom of the dough is now the top, form this into a uniform ball.
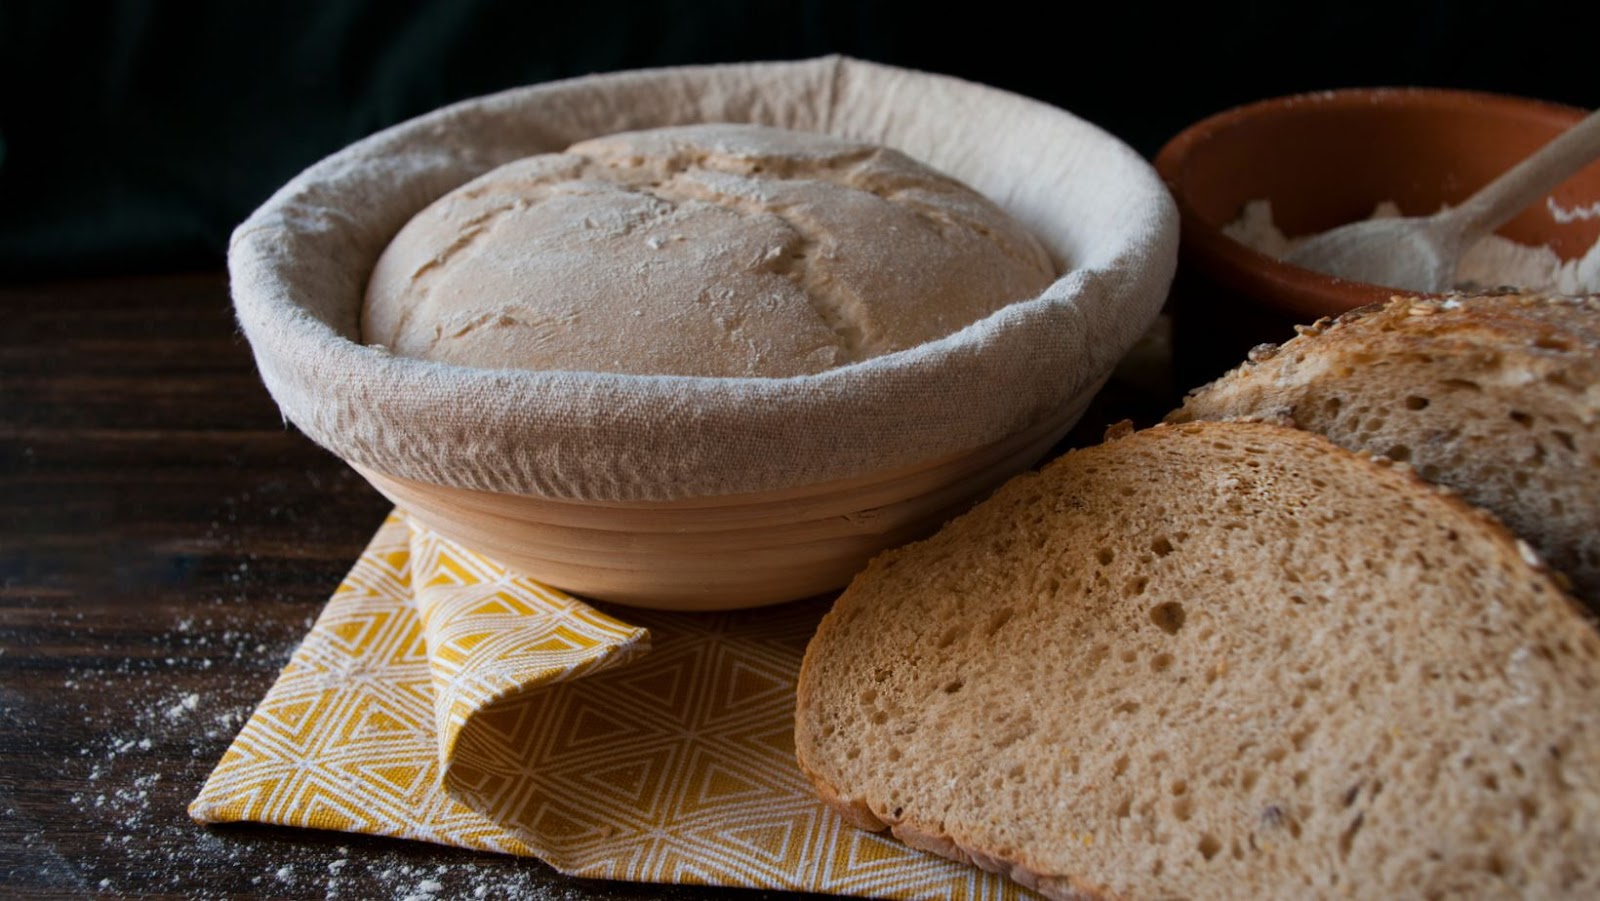
- Step 11: Flour your proving basket and flip the dough into it (smooth side down). Gently pinch any sides together so that they are sewn together.
- Step 12: Cover the basket with a towel and put it into the refrigerator overnight. This is the fermentation time. You want to leave it at least 12 hours but whatever you’re working with overnight is usually fine.
- Step 13: The next morning, preheat your oven to 430°F with the Dutch oven inside.
- Step 14: Tip the dough into the preheated Dutch oven and scour on top however you like. Ideally 1cm deep. This lets steam escape and stops explosions.
- Step 15: Bake with the lid on the Dutch oven for 20-30 minutes, it really depends on your oven.
- Step 16: Remove the lid and check on your dough, if you’re happy with the color then remove it and let it cool. If you’d like a darker crust, pop it back in the oven with the lid off for 2-4 minutes. It’ll brown very quickly.
- Step 17: Cool for around 30 minutes, or for as long as you can wait, serve with whipped butter and flakey salt for best results.
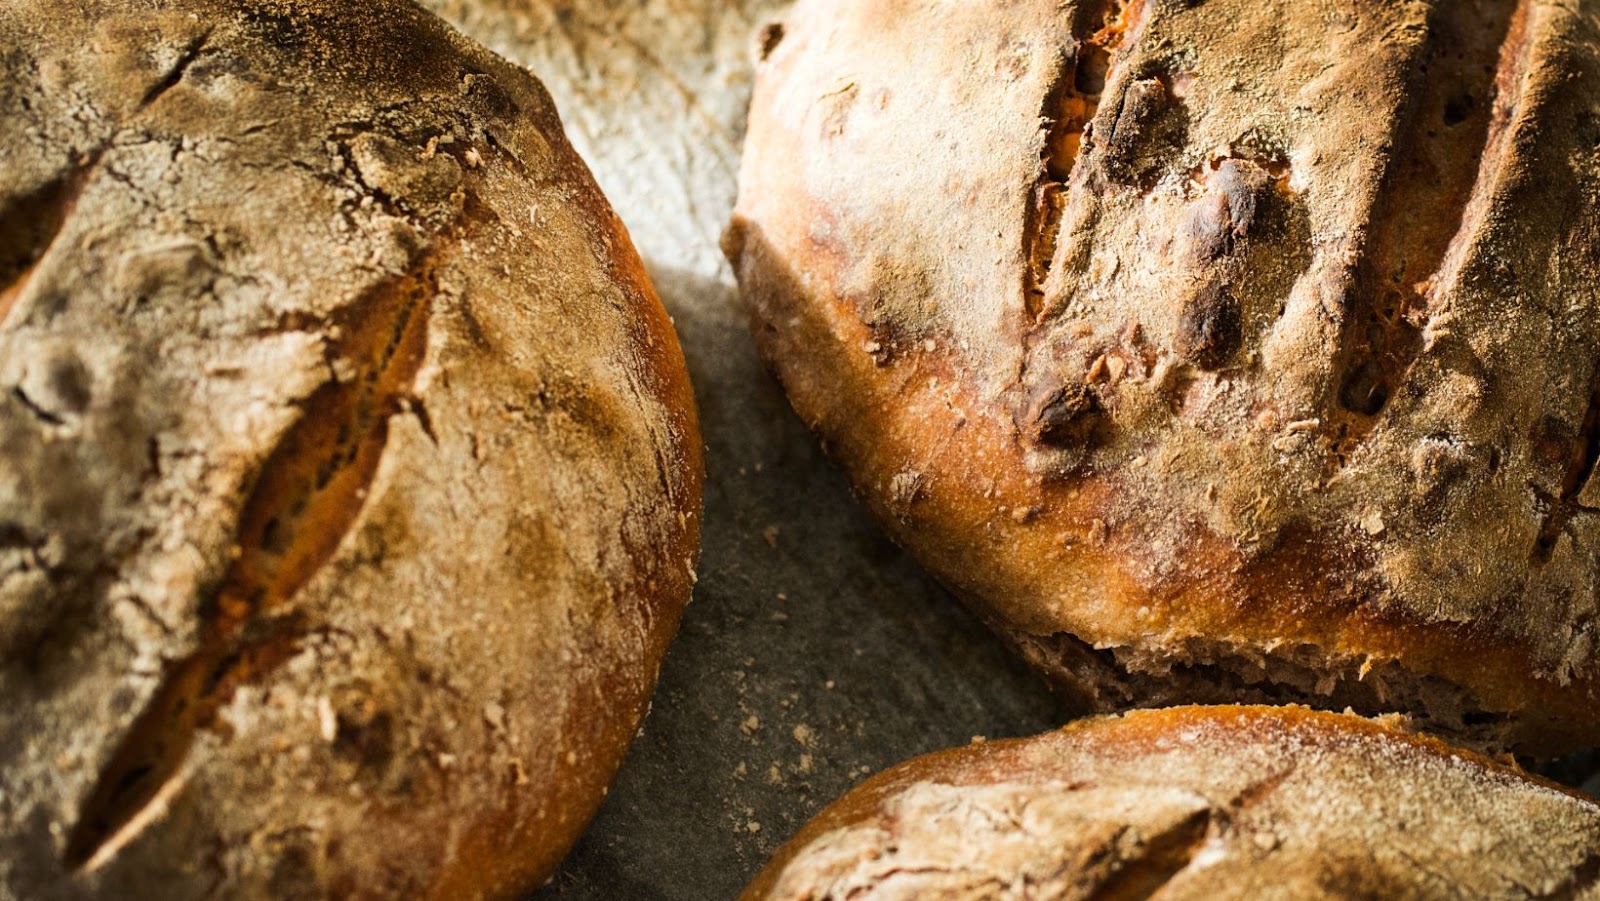
Key Takeaways
There you have it, sourdough baked and ready to enjoy. From the beginnings of a starter to a freshly baked, crusty, bubbly load that is just begging to be devoured by you, your friends, your family, and anyone that can get their hands on it. Trust me when I say that once you share this loaf with anyone else, that’s it. Your life is now one of a sourdough baker. Every weekend it’ll be requested. And that’s a nice place to be.
- Make sure that you leave plenty of time for each step. Rushing will get you nowhere fast.
- Naming your starter is a crucial step of the process.
- Don’t expect a perfect loaf the first time, this is an art form that takes practice and time.