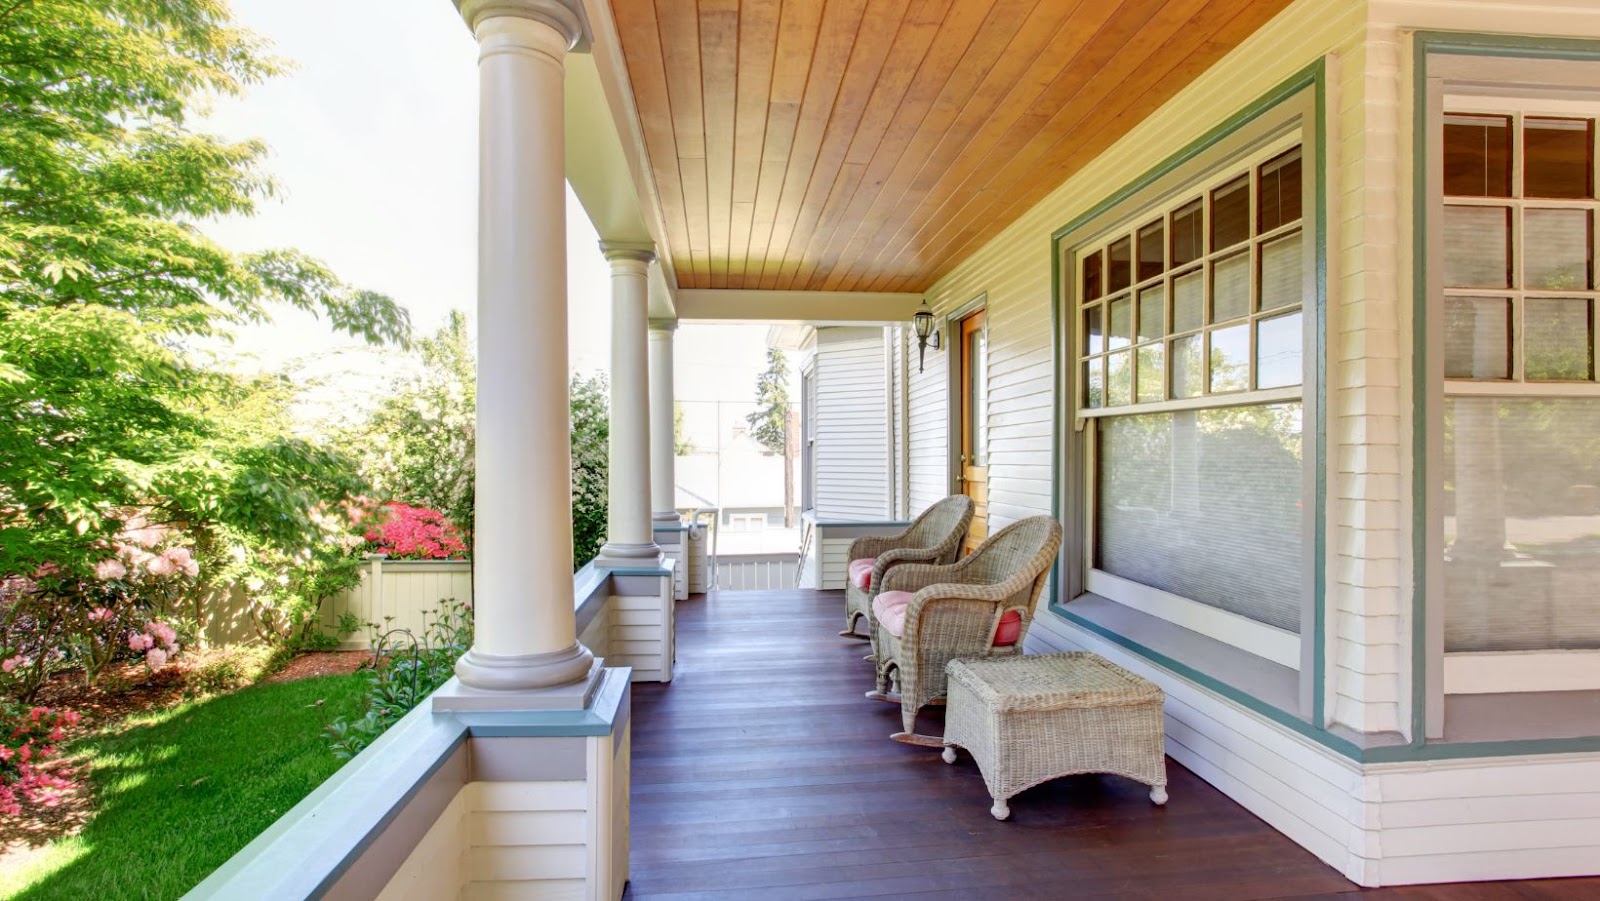
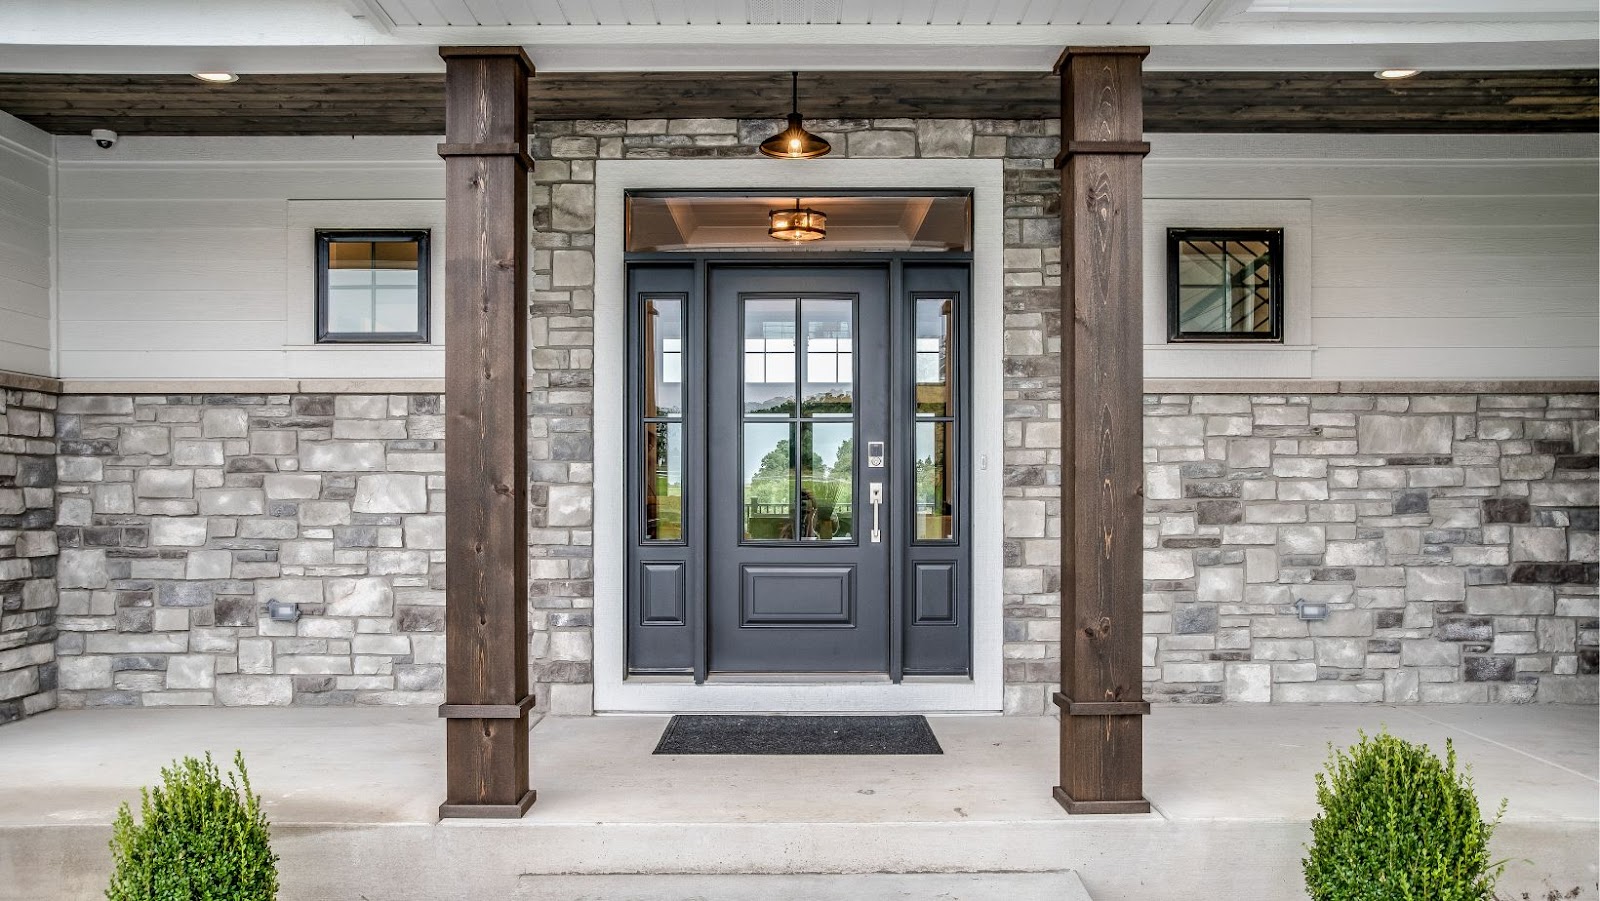
How to build stacked stone porch columns
Before you can begin the process of building stacked stone porch columns, you must first complete the excavation process. The excavation process involves digging and removing the soil from within the proposed construction area in order to create a level base for the foundation and any other structures. It also involves setting up support structures such as shoring systems and/or retaining walls, if necessary. The excavation process is important as it will ensure that the foundation is properly supported and that everything is level. Let’s look at the details of the excavation process.
Determine the size of the column
Once the column has been placed and guarded in its upright position, it is important to measure the appropriate size for the base of your column. The base should be at least 6-12 inches larger than the circumference of your column. This allows for enough space to fit a 1” bed of concrete between your stone and column as well as a 1-2” mortar/grout pocket behind each layer. Once you have determined the dimensions of the columns base, excavate a trench 8-10 inches deep where your column will be built. Use care when digging near plumbing, irrigation lines or other underground structures. Fill this trench with 3/4” gravel or crushed stone and replace the tamped soil. This will provide an even support underneath the columns foundation ensuring it is stable and secure.
Calculate the excavation depth
It is important to calculate the depth of excavation before beginning any construction project involving a foundation. The depth of the excavation will depend on which type of foundation is being used and the type of soil, among other factors. For example, if you plan to construct stacked stone porch columns, you must ensure that an adequate amount of soil is removed from the area in order for the column’s foundation to be firmly placed.
The typical depth for a shallow foundation excavated for stacked stone porch columns should be measured at minimum 6 inches (15 cm) deep or deeper if local building regulations require additional depth for stability. It is also wise to consult your local building department for additional information and guidelines related to foundations and excavations.
To ensure safe digging, trenching and excavation practices, you can analyze safety guidelines provided by the Occupational Safety & Health Administration (OSHA). By following these general tips and safety measures provided by OSHA – such as visually inspecting all tools before use, using hard hats while atop an excavated space and ensuring that workers remain in visible areas near each other – you can work with peace of mind and reduce potentially hazardous situations during your construction project.
Excavate the area
Before starting any structural work, you need to make sure that the area for your stacked stone porch columns is the correct size and shape. Depending on where the porch columns will be built, start by excavation or digging a hole in which a footer can be laid. The footer is an essential component of any building structure as it is secured below ground level and acts as an anchor or base to support its weight. Remember to also factor in additional room for materials such as mortar, gravel, sand and rebar which will also need to be placed into the hole along with the concrete footer. When it comes time to mix and pour your concrete, always bear in mind measurements such as thickness, width and depth of both the footing and foundation wall. Be sure that you follow local building codes when measuring these items. Once your excavation is complete and all material measurements are recorded for future reference, you can move on to laying down the foundation for your stacked stone porch columns.
Foundation
A strong and solid foundation is essential for any construction project, including a stacked stone porch with columns. The foundation should be carefully built, using the right materials and proper techniques in order to ensure that the structure lasts. In this article, we will discuss the different types of foundation and how to build them in order to create a safe and secure foundation for your stacked stone porch columns.
Install the footing
Once you’ve dug the area for your new porch column and filled it in with gravel, it’s time to start on the footing. A footing is necessary to pour a concrete form before you begin stacking stone. The form helps set the stone vertically, providing strong support and preventing any swaying due to external forces. Here are some tips for ensuring a sturdy footing:
-Use at least two sacks of ready mix concrete per linear foot of column. Pro tip: mix one part cement, two parts sand and three parts gravel for increased strength/stability.
-Dig around the area at least 18 inches deep and fill with gravel or crushed stone until it is level with the ground on all sides of your excavated area.
-Form a ring from 2” × 6” wooden planks using deck screws (the ring should be no larger than 12” wide)
-Drill 3/8” holes in each corner of the ring approximately 4-6 inches from its edges for tie wire (allowing straps to hold up keystone)
-Mix concrete as instructed above
-Pour concrete into footing and insert 3/8 inch rebar (reinforcement bar) into wet concrete
-Allow concrete to sit overnight before removing wooden forms
Footing installation is an important step in how to build stacked stone porch columns — if done improperly, your columns may not only be unstable, but also prevent stone from setting properly. If you have any doubts about working on or around a subterranean construction site, consult an engineer or a qualified contractor before undertaking this type of project
Level the footing
Before you can begin to build a stacked stone porch column, you will need to level the footing. This is best done using a shovel and shoveling it out to the desired depth and adjusting as necessary until level. If needed, use a hand tamp or mechanical compactor to make any additional adjustments.
Once the footing is level, install rebar at 12-inch intervals and lightly tamp into place. Add gravel fill around the rebar until even with the top of footing and tamp in place if necessary. Now it’s time to lay down your concrete forms – usually consisting of doubled 2×4 boards for a 4-inch footing – or readymade prefab forms for larger footings up to 6 inches deep. Nail the columns into place, being sure that they are level from side to side but not completely flush against each other so that concrete can be added between them at the end of the pour.
Using a transit or laser level, place stakes at either end of the form and adjust until both are perfectly aligned with one another when viewed from any angle. You may need assistance for this procedure since it requires two people moving back and forth adjusting since it’s challenging to observe vertically from one spot only (referred to as aiming with “gravity”). Secure your stakes in place by partially burying them alongside each corner form post on either side. Once everything is aligned make sure all joints are sealed tight with concrete bonding tape if needed before pouring your wet mix into forms through these same stakes using several different points along its length until full. Adjust as needed along its length until completely filled up flush with boards/forms above which will act as screed board/s when troweling off excess material later on once set up has begun or attached readymade loops which will assist in doing this same task later on just before vibrating down slab during finishing process when complete (if applicable). Allow poured slab time to cure before beginning the stacked stone installation process over top of it once properly cured prior too (about 7 days).

Set the column in place
Once the desired location for the column has been determined, the excavation should be deep enough to support the base of the column securely and should be widened at the bottom to provide a more stable foundation for it. Depending on your soil type, you may need to add some gravel into the foundation area as well.
Once you’ve got a secure excavation, carefully lower the column into place and backfill with aggregates or dirt mixed with cement. Make sure that you evenly distribute any support material near and around each side of the column so that it is evenly supported when there is pressure placed on it from any direction. You can use shims in certain applications to provide additional support if needed, which can be achieved by cutting small pieces of wood or metal according to size and inserting them between each stone segment if needed.
You can use strategically placed landscape fabric below slabs or stones in order to make sure that your columns are properly supported during installation and remain secure after completion. Ensure that all air pockets are filled with additional layers of compacted stones or soils as part of your overall foundation support system before you go ahead with installing larger stones around its base. Make sure to fill in any remaining gaps in between stones with mortar, so that everything stays firmly in place over time.
Stacked Stone Installation
Installing stacked stone columns to build a porch is an easy and effective way to add a stylish, sophisticated look to any outdoor space. In this article, we’ll discuss how to properly prepare and install stacked stone porch columns. We’ll cover the basics of excavation, foundation, and installation – so you can rest assured that your stacked stone project will look great and last for many years to come.
Prepare the stones
Once the foundation is in place, it’s time to prepare and lay the stones. Depending on the type of stone being used and its size, it can either be cut to fit the space or left intact. Stacked stone is usually laid flat and will do best if it’s placed directly on the foundation in an overlapping pattern, with larger slabs at the bottom and smaller stones towards the top.
Start by laying one large piece — this will become your base layer. Use a leveler to make sure this first layer is properly aligned with any nearby structural elements such as a house wall or stairwell. Place any smaller stones around this main base piece depending on what shape you’re aiming for. Taper each piece slightly downwards as you add them, taking care not to overlap them too tightly and allowing adequate space for mortar to adhere between pieces without affecting your design.
Finally, brush off any remaining dust from each stone before adding mortar — be sure to sweep away any debris that may have caused a gap between layers and re-level if necessary. Now you are ready for installation!
Lay out the stones
Before beginning to set the stones, it is important to lay them out with a plan in mind. This should include any joints and around the edges, as these will be next critical points for the project. The first step is to identify an appropriate foundation depth that allows the stones to sit safely and have enough room for bedding material. Mark this depth in each corner block where digging needs done.
Next, make a shallow outline footprint of each stone across the entire area with an edger or some other easily removable tool. Make sure that you don’t dig too deeply as this can lead to instability of surrounding stones. At this stage, it’s important to check for variations in elevation or slopes that may show up within your design pattern. Also look out for any obstructions like tree roots or hard surfaces which could interfere with successful installation of the stacked stone columns.
Finally, mark off a center line and layout precisely where each stone should go along its perimeter at a rough level keeping in mind overall aesthetic goals. A laser grade can be helpful if your goal is precise alignment of stones and columns at various heights, rather than just setting them up within certain parameters without being too fussy about small imperfections.
Secure the stones
Once the foundation is complete, it’s time to start stacking the stones. Begin by laying out every stone to ensure a proper fit before you move forward with installation. Place each stone into its designated spot, check for level and leave a 1/4-inch gap between them.
To ensure that the stones remain tightly secured for years to come, use a high strength cement-based mortar such as Sakrete Type N Mortar Mix. This type of mortar offers superior bonding ability ideal for vertical and horizontal surfaces that will be exposed to outdoor weather conditions. To alleviate any future cracks or breakage, apply a layer of bond coat (also known as scratch coat) over the foundation before applying mortar to the backs of your stacked stones.
When mixing mortars make sure to use a mixing drill where possible as this will really help with incorporating all materials together until you achieve a wet-sand consistency. A standard mud pan can be used but again call on your mixing drill if available; this really helps get things mixed appropriately. Using only clean cold water will also help guarantee that your mix has the strengths needed to hold those stones in place so be sure not to skip or miscalculate any component when creating your mix! Then spread this moist mortar onto the back side of each individual stacked stone and carefully push it into place in its designated spot making sure that it’s level every step of the way.
Be careful when packing stacked stones around corners as there is always potential for uneven walls due to their weightier profile when compared against other types of masonry products such as brick or block; always leave about 1/4’’ spacing between each stack so that you don’t experience any unwanted cracking or settling down in those particular areas! Allow the mortar and stones ample time before continuing with next steps in order for everything they are soundly set in place..
Finishing
Finishing is an important step when building stacked stone porch columns. Before you begin to finish, you must ensure all the excavation and foundation work has been completed properly. This includes making sure all the footing, drainage and other elements are installed correctly. Finishing the stacked stone porch columns involves adding the stones, mortar and other materials needed to give them their unique look. Let’s take a look at the steps for completing the porch columns.
Apply mortar to the stones
Once your base layer of stacked stones is firmly in place, it is time to begin applying the mortar. This can be done by hand-mixing a portland cement-based mortar or using a premixed bag of mortar specifically designed for stone veneer projects. If a premixed product is used, always follow the instructions on the bag for proper mixing and use. Once mixed up to the correct consistency, apply the mortar evenly with a trowel or other appropriate tool until all the stones are securely attached to their neighbors and there is an even layer of mortar across all of them. Make sure that each stone has enough mortar underneath it so that it remains secure and properly supported while you complete your project.
Seal the stones
The final step in building your stacked stone porch columns is sealing the stones. This is an important step that helps to protect the stones from moisture and stain damage. To complete this task, you will need masonry sealer (also referred to as water repellent) which can be purchased at your local hardware store. Start by thoroughly cleaning the surface of the column using a cloth and mild cleansing solution before you apply the sealant. Depending on which type of sealant your are using, you may need to apply multiple coats for maximum protection, being sure to allow each coat time to dry thoroughly before applying another coat. Once your columns are sealed and dry, your stacked stone porch columns will be finished and looking great for years to come!
Add any decorative accents
After pouring the concrete foundation and building the stacked stones for the porch columns, you may wish to add any decorative accents such as lighting fixtures, column caps or finials. If desired, add light fixtures that match the design and architecture of your home and columns. Installing column caps can fit nicely on top of pavers or stacked stones for a professional finish, giving your porch an added elegance. Finials are perfect decorative touches which can be made out of a variety of materials such as wood, brick, cement blocks or metal rods. Finally, if you would like to incorporate planters or other features into your porch columns at any point, it is best to wait until all construction is completed before adding them.