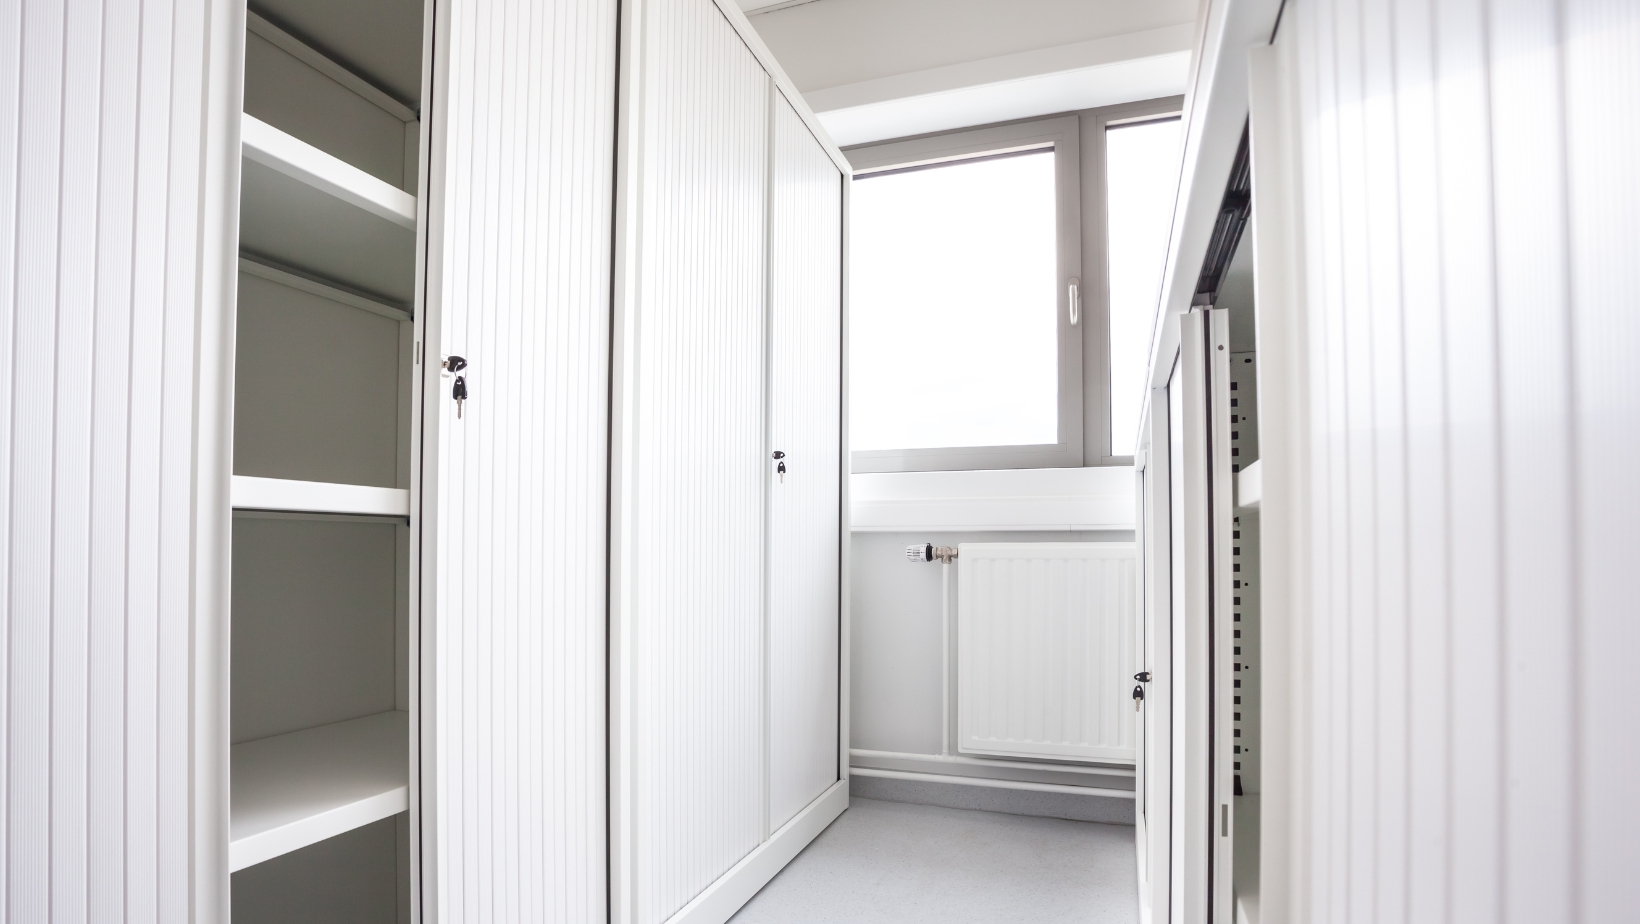
Are you tired of dealing with clunky, outdated closet doors that take up valuable space in your home? Well, I’ve got the solution for you! In this article, I’ll be sharing my expert tips on how to make sliding closet doors. Sliding doors not only save space, but they also add a modern and sleek touch to any room.
Whether you’re a seasoned DIY enthusiast or a beginner looking to tackle your first project, I’ll guide you through the process step by step, making it easy for you to transform your closet into a functional and stylish space.
When it comes to making sliding closet doors, there are a few key factors to consider. In this article, I’ll be covering everything from choosing the right materials to installing the doors with precision. With my years of experience in the field, I’ve learned the ins and outs of this project, and I’m excited to share my knowledge with you.
Materials Needed
Tools
To make sliding closet doors, you’ll need a few essential tools. Here are the tools you’ll need to gather before getting started:
- Measuring tape: This will help you accurately measure the dimensions of your closet space.
- Circular saw: You’ll need a circular saw to cut the materials to the desired size.
- Drill: A drill will be necessary for creating holes and attaching hardware to the doors.
- Screwdriver: You’ll use a screwdriver to tighten screws and secure the doors in place.
- Level: A level is essential for ensuring that your doors are installed straight and level.
- Clamps: Clamps will help you hold the materials together securely while assembling the doors.
- Safety glasses and gloves: It’s important to protect yourself while working with power tools and sharp objects.
Supplies
In addition to the tools mentioned above, you’ll also need the following supplies to make sliding closet doors:
- Wood or composite material: Choose a durable and attractive material for your doors, such as solid wood or composite materials like plywood or MDF.
- Door hardware: You’ll need sliding door hardware, including tracks, rollers, and handles.
- Screws: Select screws that are appropriate for the thickness of your chosen material.
- Wood glue: Use wood glue to reinforce the joints and ensure the strength and stability of your doors.
- Sandpaper: Sandpaper will be necessary for smoothing any rough edges or surfaces.
- Paint or stain: If desired, you can paint or stain your doors to match your room’s decor.
- Paintbrushes or rollers: These will be needed to apply paint or stain evenly to the doors.
Now that you have gathered all the necessary materials, it’s time to move on to the next step in the process: measuring and cutting the doors.
How to Make Sliding Closet Doors
Mounting the Top Track
The top track is an essential component of your sliding closet doors as it provides stability and guides the doors along the opening. Here’s how to mount it:
- Measure and mark the desired height for the top track on the inside of the door frame.
- Use a level to ensure the track is perfectly horizontal.
- Secure the top track in place using screws or nails, making sure it is firmly attached to the frame.
By following these steps, you’ll ensure that the top track is installed securely, allowing the doors to glide effortlessly along the track.
Hanging the Door Panels
With the top track in place, it’s time to hang the door panels. This step requires precision and careful attention to detail. Here’s how to do it:
- Lift one of the door panels and insert the rollers into the top track.
- Slowly lower the door panel until the bottom rollers align with the bottom track.
- Gently push the door panel onto the bottom track, making sure it sits securely and moves smoothly.
Repeat these steps for the second door panel, ensuring that both panels are aligned and hang evenly. This will ensure a seamless and professional-looking finish.

Adjusting the Rollers
Once the door panels are hung, it’s important to adjust the rollers to achieve optimal performance. Here’s how to do it:
- Locate the roller adjustment screws, usually located on the bottom edge of the door panel.
- Use a screwdriver to turn the adjustment screws clockwise or counterclockwise to raise or lower the door panels.
- Test the doors by sliding them back and forth to ensure they move smoothly and without any dragging or sticking.
Adjusting the rollers may take some trial and error, so don’t be afraid to make small adjustments until you achieve the desired result. Remember to test the doors after each adjustment to ensure they are functioning properly.
By following these steps and taking the time to properly mount the top track, hang the door panels, and adjust the rollers, you’ll be able to create sliding closet doors that not only save space but also add a modern and stylish touch to any room.


