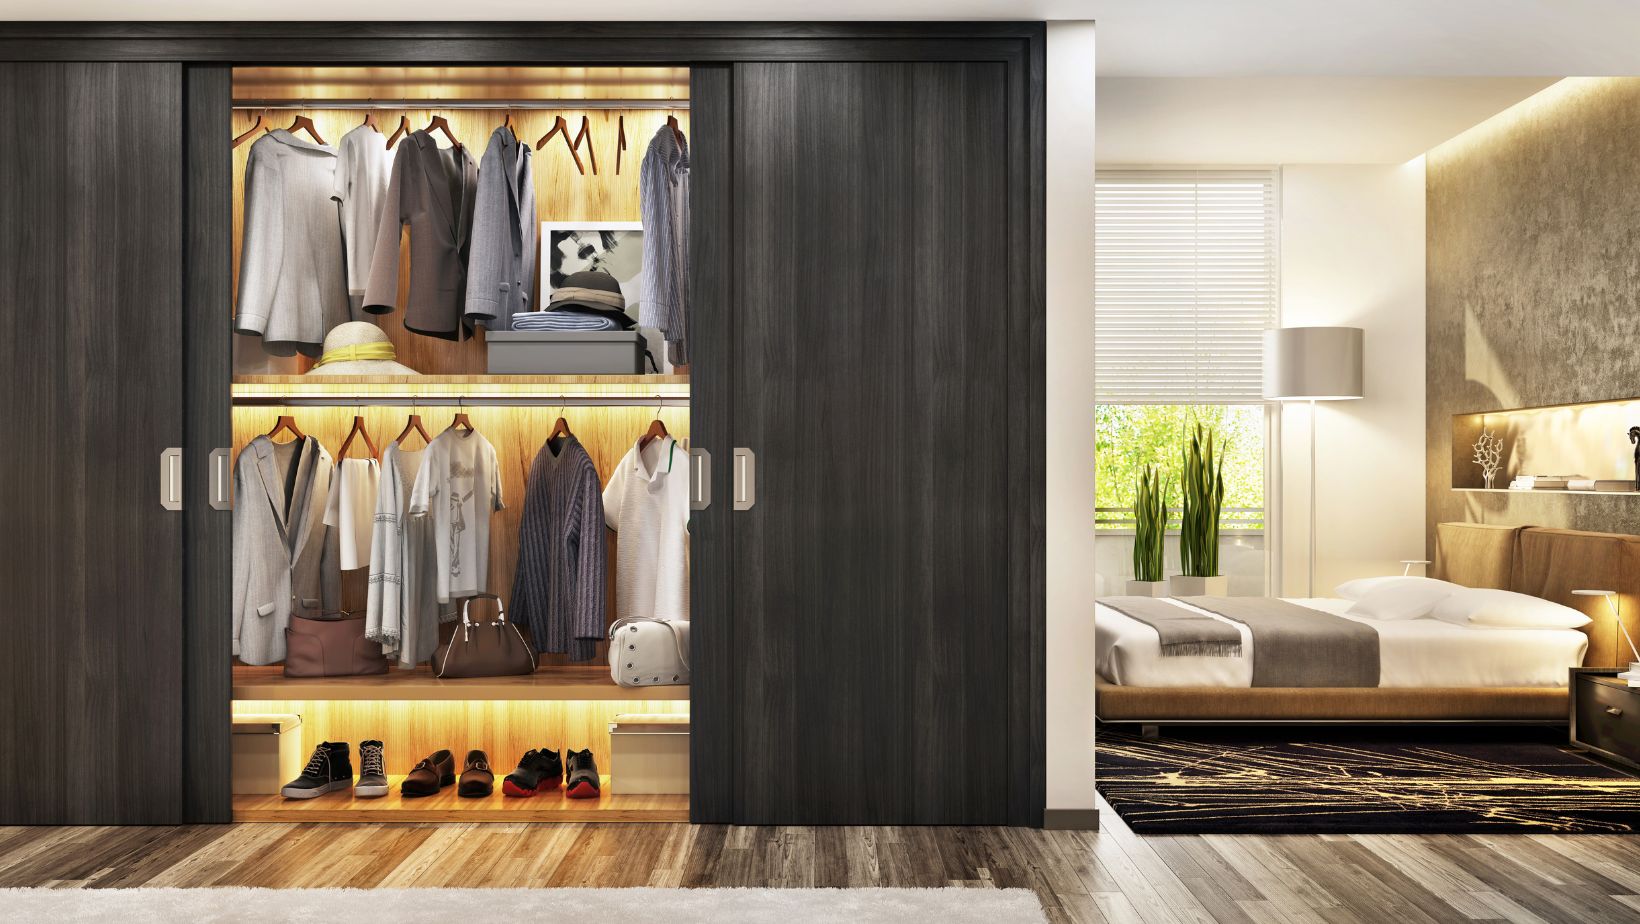
Removing Sliding Closet Doors
If you’re looking to give your room a new look or create more space, removing sliding closet doors can be a great option. Whether you want to replace them with curtains, bi-fold doors, or leave the space open, taking down the sliding doors is a straightforward process that can be done in no time.
To begin removing sliding closet doors, start by examining the tracks and rollers. Look for any screws or bolts that are securing them in place. Use a screwdriver or wrench to remove these fasteners and detach the tracks from the frame. Be sure to have someone assist you as sliding doors can be heavy.
Once the tracks are removed, carefully lift each door off its rollers and set them aside. If needed, you may need to tilt the door slightly upwards before lifting it out of its position. Take caution not to damage the floor or surrounding walls during this step.
With all the doors removed, you now have a clean slate to explore different design options for your closet space. Whether you decide on curtains for a softer touch or prefer bi-fold doors for easier access, this is an opportunity to get creative and transform your room according to your personal style.
In conclusion, removing sliding closet doors is a simple DIY project that can instantly change the look and feel of your room. By following these steps carefully and enlisting some help if necessary, you’ll be able to take down those old doors and embrace new possibilities for your closet space in no time at all!
Preparation for Removing Sliding Closet Doors
Gathering the Necessary Tools
Before embarking on the task of removing sliding closet doors, it’s essential to gather all the necessary tools. Having the right tools at hand will not only make the process smoother but also help prevent any damage to the doors or surrounding areas. Here are a few tools you’ll need:
- Screwdriver: A screwdriver is essential for loosening and removing screws that hold the door panels in place.
- Pry Bar: A pry bar can be handy for gently prying off any trim or moulding around the doors.
- Hammer: You may need a hammer to tap lightly on stubborn parts or assist with removing nails.
- Putty Knife: A putty knife can be useful for scraping away any caulking or adhesive around the door frame.
- Masking Tape: Applying masking tape along the edges of adjacent walls and floor can protect them from accidental scratches during removal.
By ensuring you have these tools ready before starting, you’ll be well-prepared to tackle each step of removing your sliding closet doors efficiently.
Clearing the Area Around the Closet Doors
To remove sliding closet doors safely, it’s crucial to clear out any obstacles and create enough space around them. This will prevent accidents, provide ample room to work, and reduce potential damage. Follow these steps to clear the area effectively:
- Remove Items: Take out all items stored inside your closet so they won’t obstruct your movements during removal.
- Move Furniture: If there’s furniture near your closet, temporarily move it away or cover it with protective sheets to avoid any accidental bumps or scratches.
- Protect Flooring: Lay down drop cloths or old towels over your flooring within proximity to catch any debris that may fall while removing the doors.
Clearing the area around your sliding closet doors ensures a safe working environment while minimising potential complications during removal.
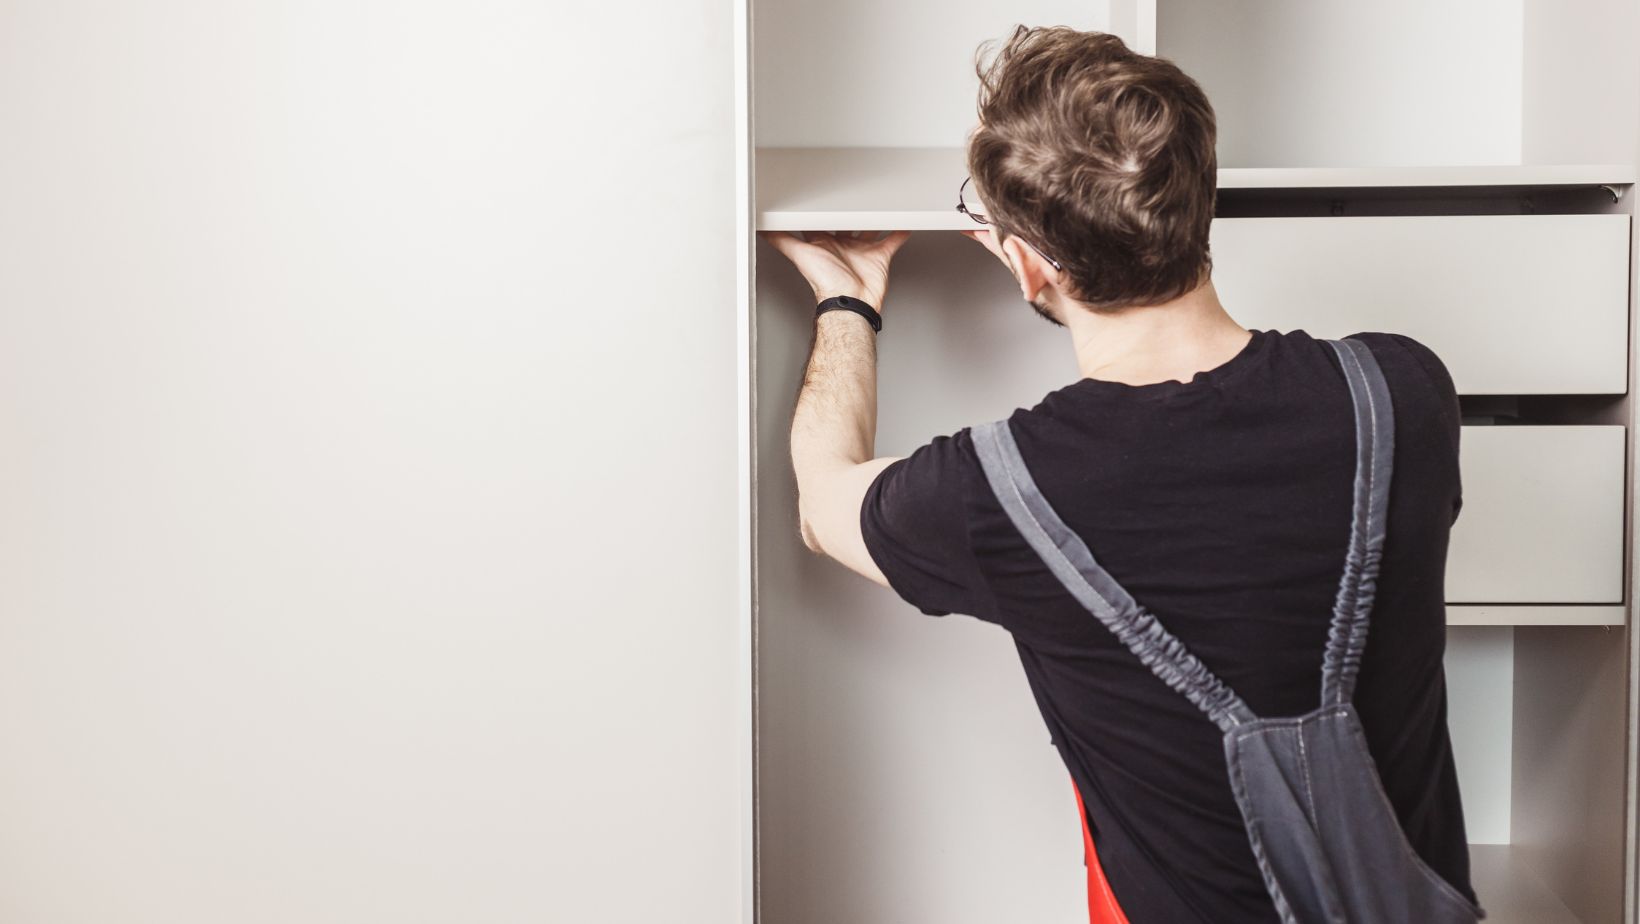
Removing Door Panels
With the necessary tools gathered and the area cleared, it’s time to start removing the door panels. Follow these steps as a general guide:
- Locate Screws: Identify the screws holding the door panels in place. These are usually found on the top track, bottom track, or along the sides of each panel.
- Loosen Screws: Using a screwdriver, carefully loosen and remove all screws that secure each panel to its respective track or frame.
- Lift Panels: Once all screws are removed, gently lift each door panel up and tilt it towards yourself until it disengages from the tracks.
Remember to work methodically and take your time when removing each door panel to avoid any damage or mishaps.