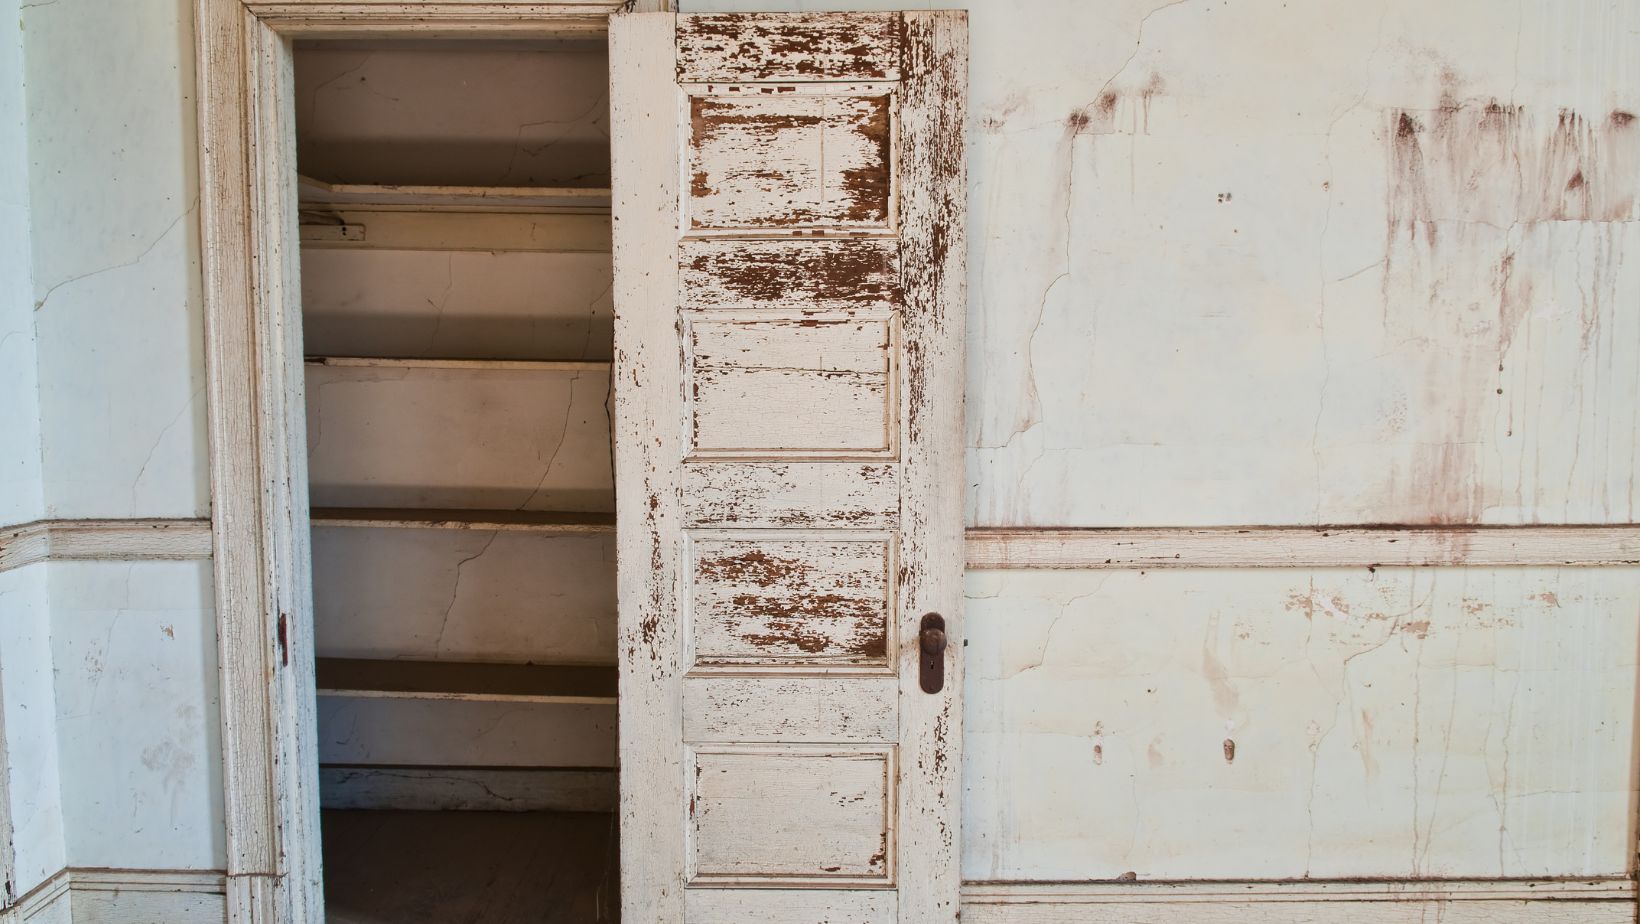
Used Closet Doors
Looking to give your old used closet doors a fresh new look? You’ve come to the right place! In this article, I’ll share some creative ideas and tips on how you can remake your old closet doors into stylish and functional pieces that will enhance the overall aesthetic of your space.
One option is to paint your closet doors with a vibrant color or a trendy pattern. A fresh coat of paint can instantly transform the look of any door and breathe new life into your space. Consider using bold colors like deep navy or emerald green for a dramatic statement, or opt for soft pastel shades for a more serene atmosphere. You could also experiment with stencils or geometric designs to add visual interest.
Step-by-Step Guide to Refinishing or Repainting Your Closet Doors
Preparing Your Old Closet Doors for a Makeover
Before diving into the exciting process of refinishing or repainting your old closet doors, it’s essential to prepare them properly. This step will ensure that the finish adheres well and lasts longer. Here are some key steps to follow:
- Remove any hardware: Start by taking off any handles, hinges, or knobs from your closet doors. This will make it easier to work on the surface and prevent these elements from getting damaged during the makeover.
- Clean the doors thoroughly: Give your old closet doors a good cleaning to remove dirt, grime, and any grease buildup. You can use a mild detergent mixed with warm water and a soft cloth or sponge for this task. Make sure to dry the doors completely before moving on.
- Sand down the surface: Using fine-grit sandpaper (around 120-150 grit), gently sand the entire surface of each door. This step helps remove any rough spots, imperfections, or existing finish that may be present on the doors.
- Fill in any holes or gaps: Inspect your closet doors for any dents, scratches, or holes that need filling. Apply wood filler with a putty knife and smooth it out evenly across the damaged areas. Once dry, lightly sand again to achieve a smooth surface.
Removing Your Old Closet Doors for Refinishing
To ensure an easier refinishing process and avoid accidental damage while working on your old closet doors, it’s best to remove them from their frames temporarily:
- Open all hinged closet doors: If you have hinged closet doors, fully open them so they’re parallel with their frames.
- Locate hinge pins: Look for small metal pins inserted at the top and bottom of each hinge attached to the door frame. These pins hold the doors in place.
- Tap out hinge pins: With a hammer and a small nail or screwdriver, gently tap the bottom of each hinge pin upward until it starts to come out from the top. You may need to use pliers to pull them out completely.
- Lift off the doors: Once all hinge pins are removed, carefully lift each closet door up and away from its frame. It’s advisable to have someone assist you with this step, especially if the doors are heavy or large.

Getting Rid of the Existing Finish on Your Closet Doors
To achieve a fresh new look for your old closet doors, you’ll want to remove any existing finish before refinishing or repainting them:
- Choose an appropriate stripping method: There are several methods available for removing paint or varnish from wood surfaces, such as chemical strippers, heat guns, or sanding. Select a method that suits your preference and follow the instructions provided by the manufacturer.
- Apply stripping agent: If using a chemical stripper, apply it generously over the entire surface of each door using a brush or roller. Ensure even coverage and let it sit for the recommended amount of time specified on the product label.
- Scrape off loosened finish: After allowing sufficient time for the stripping agent to work its magic, use a scraper tool to gently scrape off the softened finish from your closet doors. Be careful not to damage the wood underneath while doing so.
- Clean and prepare for refinishing: Once all traces of old finish have been removed, wipe down your closet doors with a clean cloth dampened with mineral spirits or denatured alcohol to remove any residue left behind by the stripping agent. Now you’re ready to move onto refinishing!
By following these step-by-step instructions for preparing your old closet doors and removing their existing finish, you’ll be well on your way to giving them a stunning makeover. Stay tuned for the next section, where we’ll explore different refinishing and repainting techniques to bring new life to your revamped closet doors.


