Roof flashing is a crucial component of your home’s roofing system, often overlooked until a problem arises. Flashing is the material, usually metal, used to direct water away from critical areas such as chimneys, vent pipes, and roof valleys.
Properly installed flashing prevents leaks and other forms of water damage. This can lead to costly repairs down the line.
In this essential guide, we’ll cover everything you need to know about roof flashing repair. We’ll help you maintain the integrity of your roof installation and extend its lifespan.
So let’s dive in!
Understand Roof Flashing
Flashing is typically made from galvanized steel, aluminum, or copper. It is strategically installed around joints and seams in your roof where water is likely to penetrate.
Proper flashing plays a significant role in preventing storm damage. It acts as a barrier against wind-driven rain and melting snow. Without adequate flashing, you risk severe water damage that can compromise the structural integrity of your home.
Identify The Problem Areas
The first step in roof flashing repair is to identify the areas that need attention. Common problem spots include the base of chimneys, around skylights, along roof valleys, and near vent pipes.
Look for signs of water stains on your ceiling or walls, which indicate a leak. You should also inspect your attic for moisture, mold, or mildew. These are telltale signs of inadequate flashing.
If you notice any of these issues, it’s time to consider either a roof repair. In more severe cases, a roof replacement by these Roofers or local roof services in your area.
Choose the Right Materials
When it comes to roof flashing repair, choosing the right materials is crucial. The most common materials used are aluminum, copper, and galvanized steel, each with its own set of advantages.
Aluminum is lightweight and resistant to corrosion but can be easily damaged in strong winds. Copper is durable and offers a high-end finish but comes at a higher cost. Galvanized steel is robust and cost-effective, making it a popular choice for many homeowners.
Ensure that you select a material compatible with your existing roof installation. This will help you maximize the effectiveness of the repair.
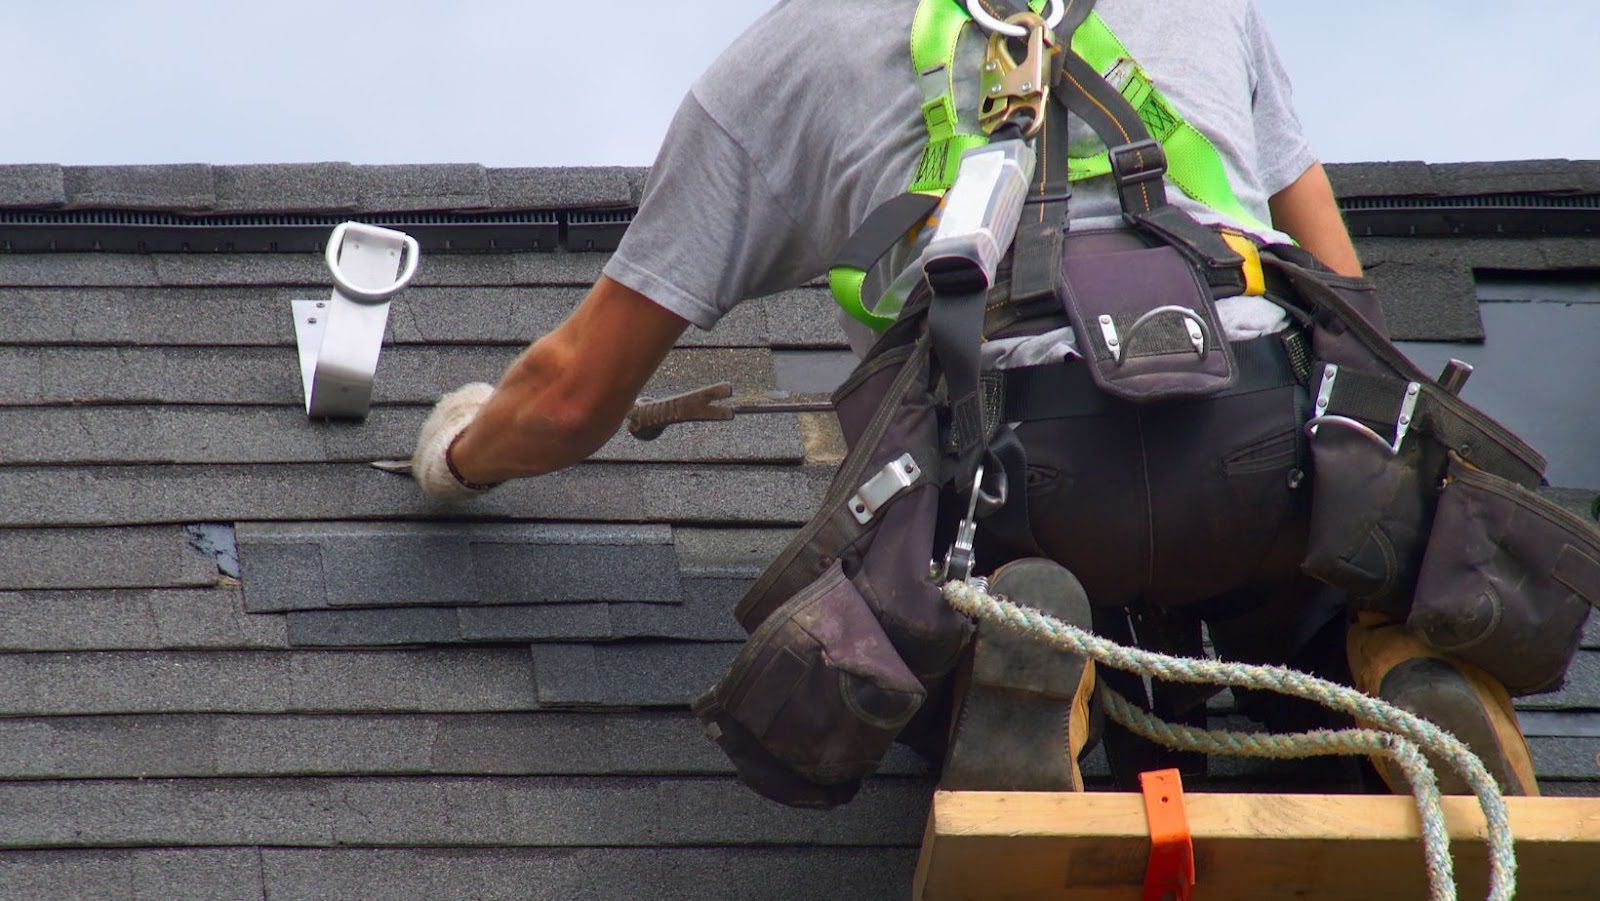
DIY vs. Professional Roof Service
Repairing roof flashing can be a daunting task, especially for those without experience in roofing. While some minor repairs may be possible to do yourself, it’s always advisable to seek professional help for more extensive and complex issues.
Professional roofers have the necessary skills, tools, and expertise to identify problem areas accurately. They can provide long-lasting solutions. They also have access to high-quality materials and they use proper installation techniques.
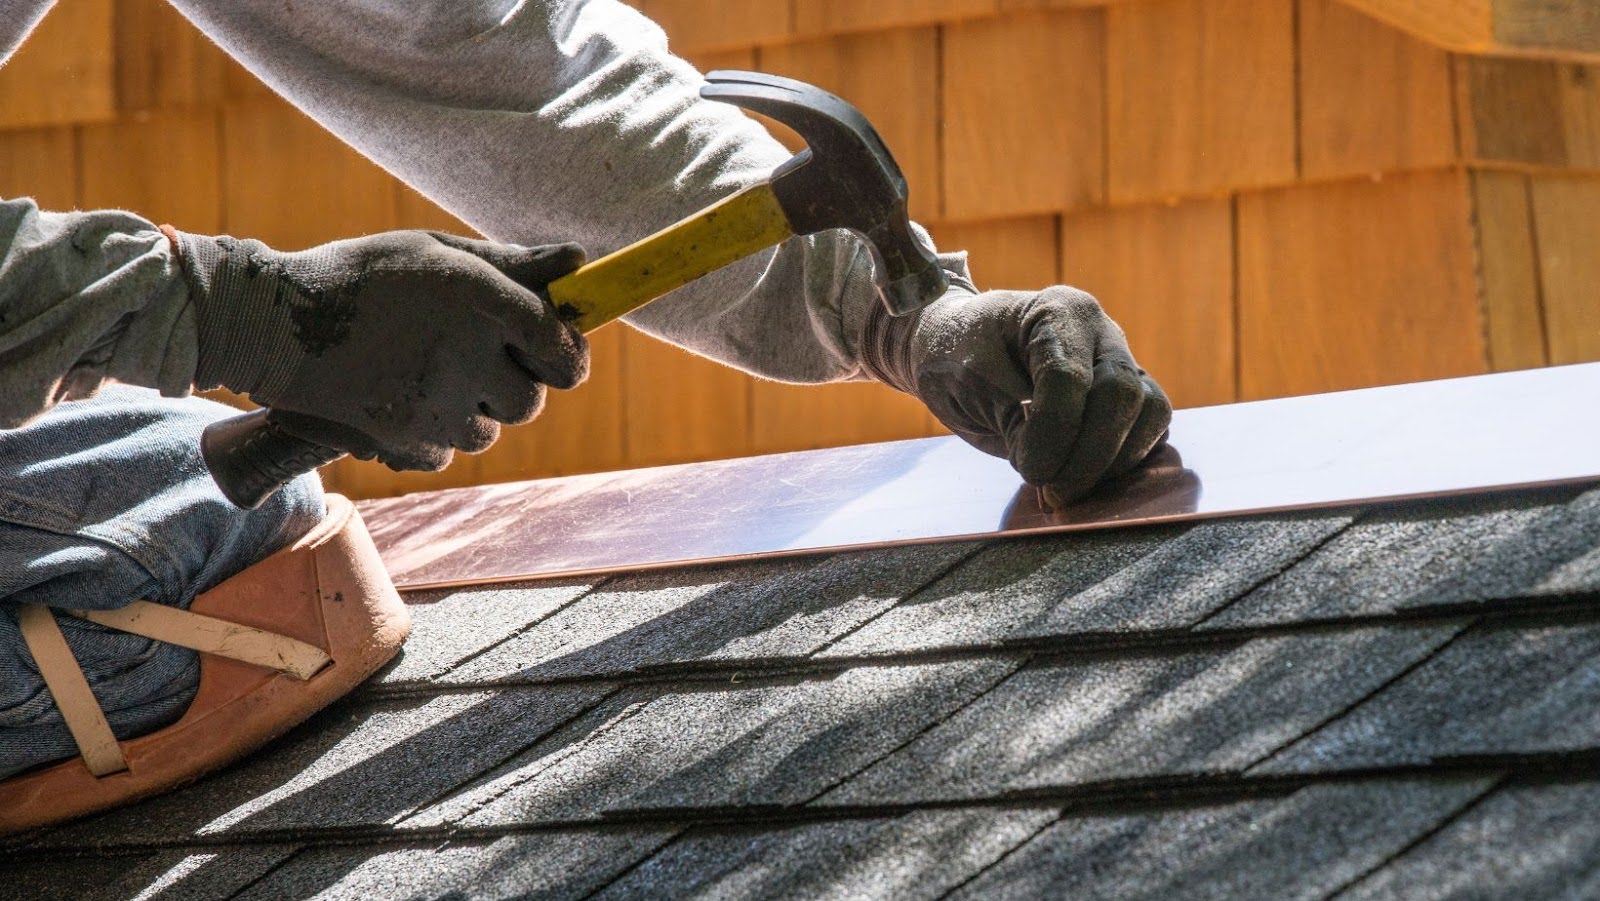
The Repair Process
The repair process for roof flashing will vary depending on the extent of the damage and the type of material used. Generally, it involves removing damaged flashing, prepping the area, replacing any rotted wood or underlayment, and then installing new flashing.
For more critical repairs, additional steps may be required. This includes reinforcing weak areas or adding sealant for extra protection against water infiltration.
Roof Flashing Repair: A Cost-Effective Solution
Neglecting roof flashing repair can lead to damage and costly repairs in the long run. So while it may seem like an added expense, investing in flashing repair is a cost-effective solution. It helps prevent further damage and extends the lifespan of your roof, saving you money in the long term.
So don’t overlook the importance of roof flashing. Make sure to address any issues as soon as they arise. Your home’s residents will thank you!
Was this article helpful? Then check out the rest of our site for more.