The installation of air filters is a cornerstone of indoor air quality control practices. To create a healthier and cosier living environment, these inconspicuous gadgets are essential for absorbing and eliminating airborne pollutants. The chore of correctly installing a 20x36x2 air filter, however, may appear like an overwhelming burden to many homeowners. You don’t need to worry, though, since we’ll walk you through every step of the installation process of an air filter in this thorough tutorial, giving you the best possible performance and quality of air in your house.
Understanding the Importance of Air Filters
To maintain indoor air quality (IAQ) in houses, air filters are necessary. By keeping dust, pollen, pet dander, mold spores, and germs from moving about, they help avoid allergies and respiratory conditions. Additionally, filters improve the efficiency and robustness of HVAC systems, which leads to energy savings and the enhancement of their features. It is essential to comprehend the installation procedure to use these filters efficiently. Air filters are, therefore, essential for preserving a healthy home atmosphere.
Choosing the Right Air Filter:
However, before appointing installation, you must check for the type of air filter that is suitable for the HVAC system in question. For example, in this guide, you will learn how to go about getting a 20x36x2 air filter fixed into your system. The chosen size of the filter is crucial because if it is too large or too small, it may not fit correctly and will not filter the air as it should, or worse, harm the HVAC system. Before buying the filter, one should read the user manual of the HVAC system or contact a specialist to know the right filter size and type.
Step-by-Step Installation Guide:
Now, let’s dive into the step-by-step process of properly installing a 20x36x2 air filter:
Step 1: Assemble the Required Equipment and Materials:
Before you begin, gather all the tools and supplies you’ll need for the installation.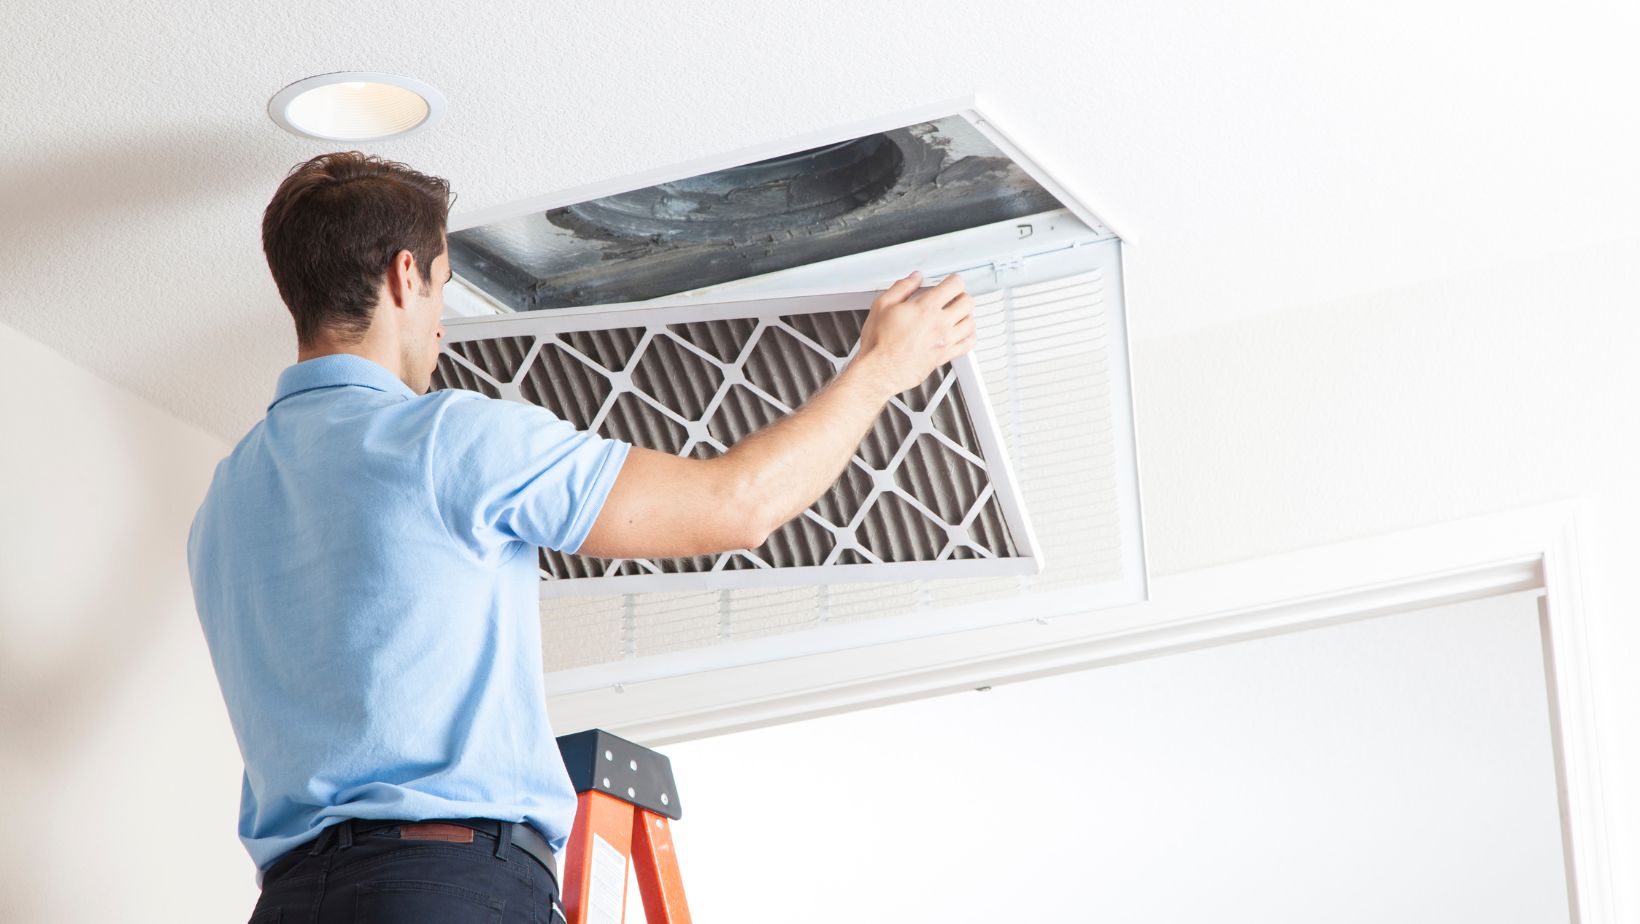
- A 20x36x2 air filter
- Work gloves (optional but recommended)
- Flashlight (if operating in a poorly lighted environment)
- Step ladder (if needed to reach the HVAC system)
Having these items readily available will streamline the installation process and ensure a smoother experience.
Step 2: Locate Your HVAC System:
Next, find the location of your home’s HVAC system. Attics, utility closets, basements, and specialized mechanical rooms are typical places. Once your HVAC system is found, find the air filter chamber. This compartment is usually located close to the blower motor or return air duct.
Step 3: Turn Off Your HVAC System:
Turning off your HVAC system is essential before moving forward to avoid any mishaps or damage during installation. Find the HVAC unit’s power switch and flip it off. For extra precaution, you should also think about shutting off the circuit breaker that powers your HVAC system.
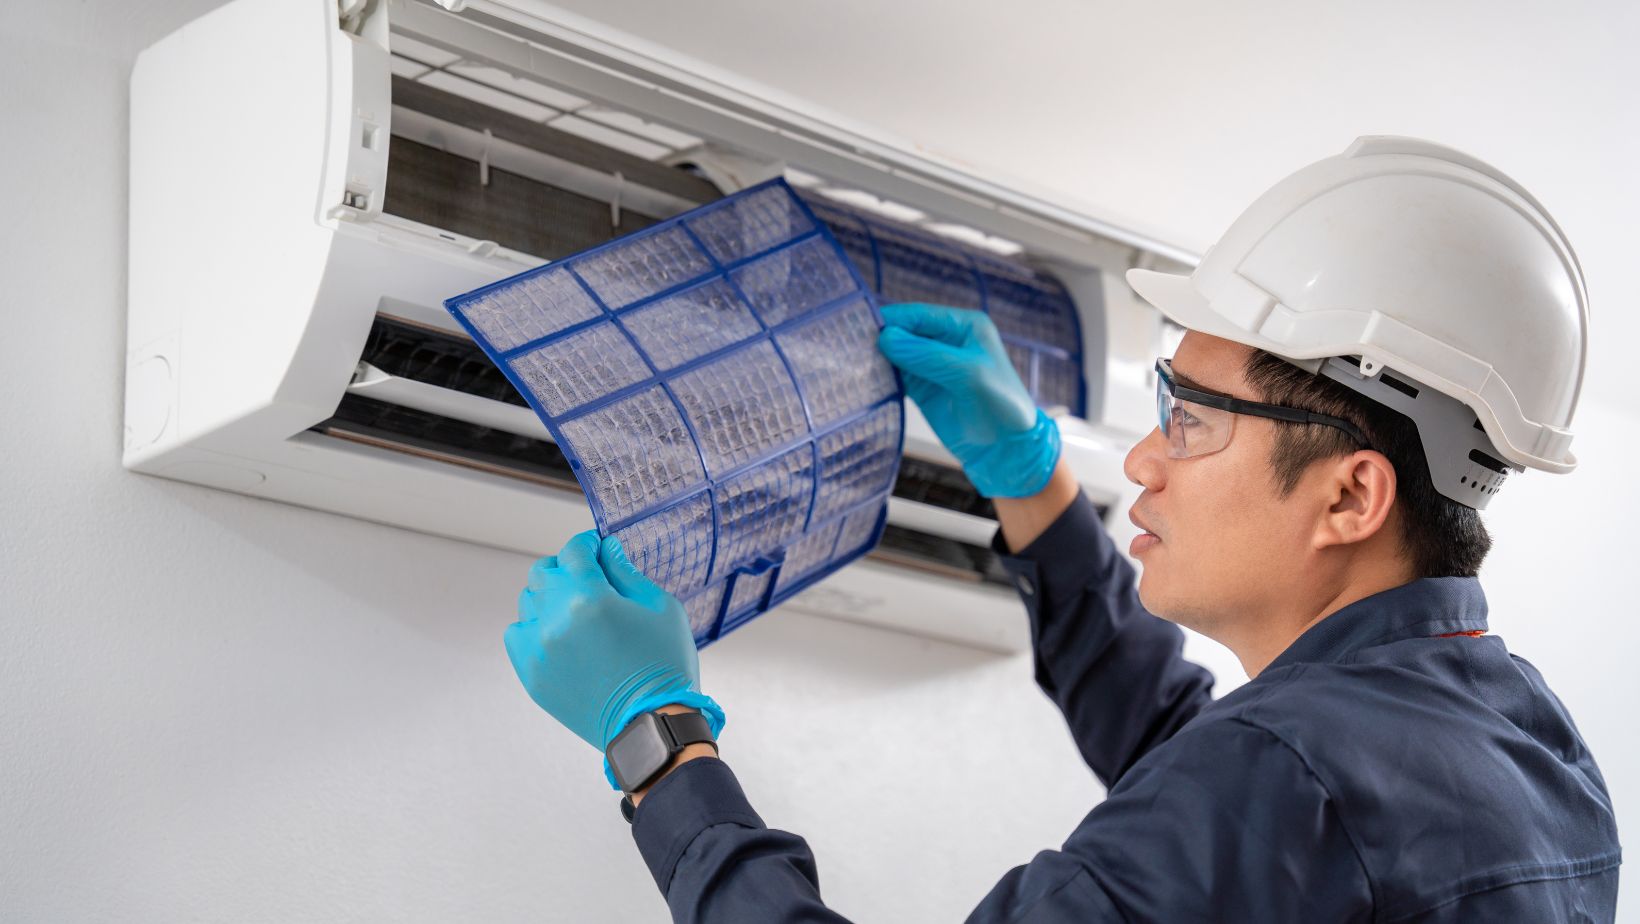
Step 4: Remove the old air filter.
Remove the old air filter from its chamber with caution, being careful not to scatter any gathered dust or debris. If the filter seems really unclean or blocked, you might want to use gloves to reduce your contact with impurities.
Step 5: Inspect the Filter Compartment:
Examine the filter compartment for any accumulated dust, dirt, or blockages while the old filter is being removed. To ensure ideal airflow and filtration effectiveness, remove any debris with a vacuum cleaner or a moist cloth.
Step 6: Install the new air filter.
Carefully place the new 20x36x2 air filter into the filter container. Make sure the filter is placed correctly for optimal airflow by paying close attention to the direction arrows on it. The direction of airflow is usually indicated by arrows on most air filters; these arrows usually point in the direction of the blower motor or the airflow inside the HVAC system.
Step 7: Secure the air filter in place.
Make sure the replacement air filter is firmly in place within the filter compartment once it has been positioned appropriately. Certain filter compartments include integrated mechanisms or clips designed to secure the filter in place. Make sure the filter is firmly positioned and lined up within the container by checking twice.
Step 8: Power On Your HVAC System:
Upon proper installation of the new air filter, the next course of action is to switch on the HVAC system. It is a power switch on the HVAC unit; turn it on. Turning off the circuit breaker and then making a call afterward is recommended if you did it earlier, so it is crucial to restart your HVAC system. Closely observe the behaviours exhibited by the system after you have initiated it by turning on the power: 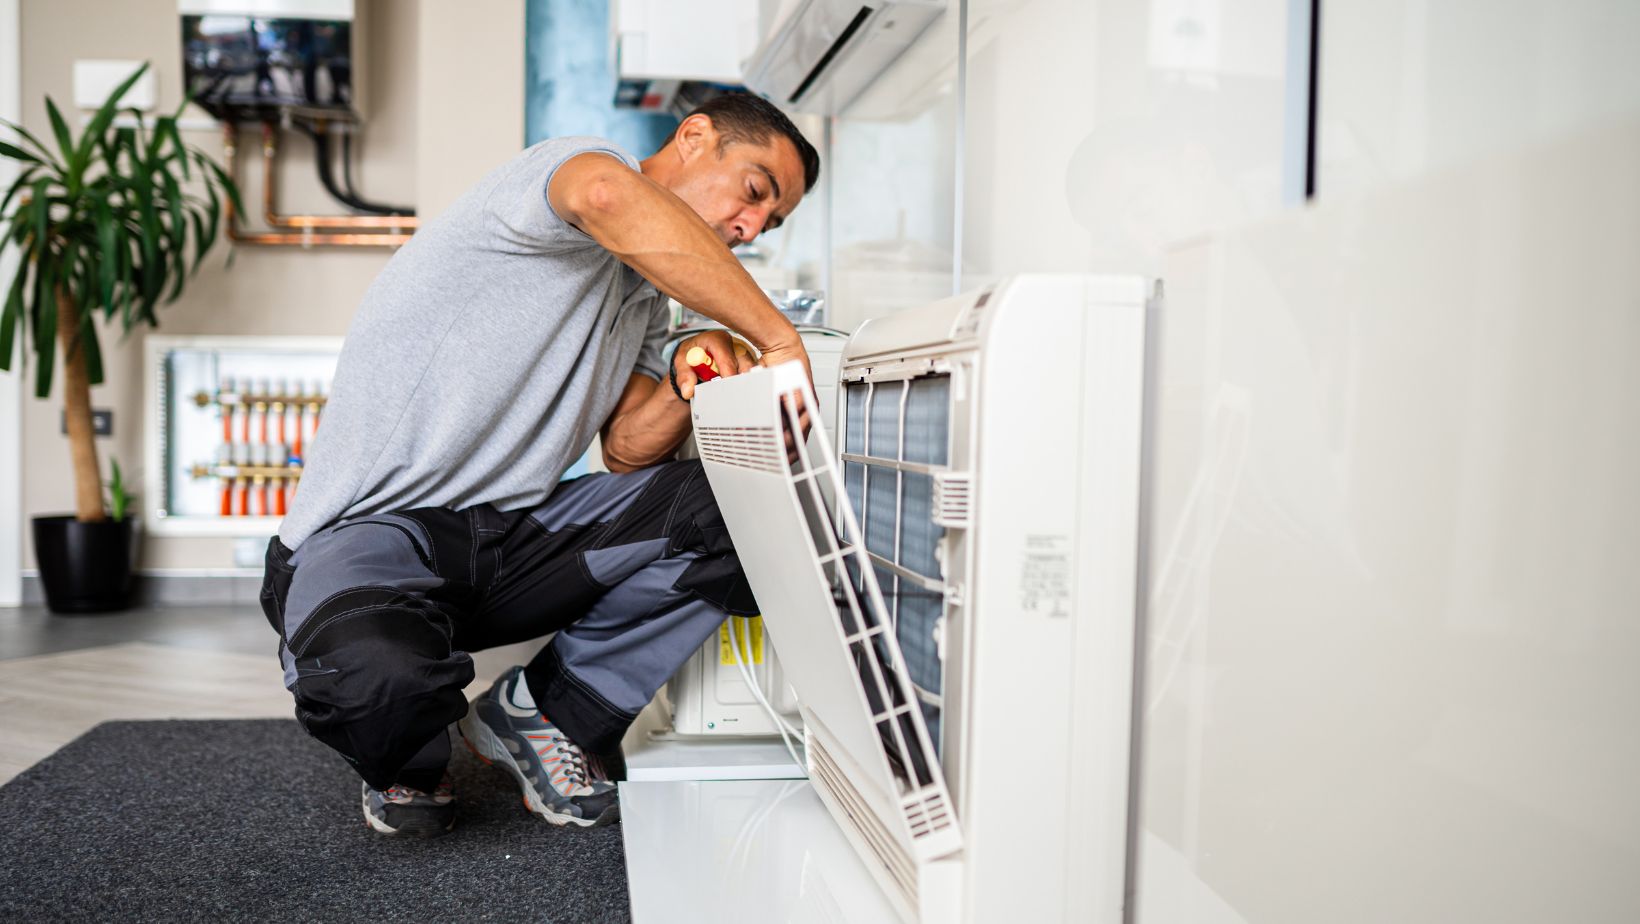 Listen for any unusual sounds or feel any movement that may be indicative of a mislocation of a component or a defect in the system.
Step 9: Set a Reminder for Future Filter Changes:
It is important to observe the filter often and ensure that it undergoes consistent maintenance in the best interest of both the air quality and the HVAC systems. If the type of filter you use, the presence and age of people living in the home, or the quality of the indoor air is high, set a reminder for your phone or planner to check and replace the air filter every month or once every three months.
Conclusion:
In conclusion, maintaining an HVAC system and managing interior air quality both depend on the correct installation of a 20x36x2 air filter. Homeowners may prolong the life of their HVAC systems and promote cleaner, healthier indoor air by installing air filters appropriately and following the step-by-step instructions provided in this article. Recall that maintaining ideal air quality and system efficiency requires routine filter maintenance, so be sure to check your air filters frequently and replace them as required. You may reap the long-term advantages of better comfort and air quality in your house with a little effort and attention to detail.