If you’re looking to enhance the aesthetic and value of your home in Phoenix, installing hardwood flooring is an excellent choice. Not only does hardwood add timeless beauty and warmth, but it also provides a durable, long-lasting surface that can withstand the desert heat and dry climate. Whether you’re a DIY enthusiast or planning to hire a professional, this step-by-step guide will help you understand the basics of hardwood installation phoenix.
Step-by-Step Guide to Hardwood Floor Installation
Step 1: Choose Your Hardwood Flooring
Before beginning the hardwood installation phoenix, you’ll need to select the right type of hardwood. The most popular options include:
Solid Hardwood: Made from a single piece of wood, solid hardwood is known for its strength and beauty. It’s typically installed as a tongue-and-groove system.
Engineered Hardwood: Made from multiple layers of wood, engineered hardwood is more stable and less prone to expansion and contraction due to Phoenix’s extreme temperature changes.
When choosing hardwood, consider factors like color, grain pattern, and wood species. Lighter woods like maple or oak are popular for a bright, airy feel, while darker woods such as walnut or cherry add warmth and elegance.
Step 2: Acclimate the Wood
Wood naturally expands and contracts with changes in temperature and humidity. To ensure a proper fit, it’s important to acclimate the hardwood flooring to the room’s environment before installation.
Leave the hardwood planks in the room where they’ll be installed for at least 48-72 hours before you start.
This will allow the wood to adjust to the temperature and humidity levels of your home, preventing future warping or buckling.
Step 3: Prepare the Subfloor
A clean, dry, and level subfloor is crucial for successful hardwood installation. Here’s what to do:
Clean the subfloor: Sweep away all debris, dust, and dirt.
Check for moisture: In Phoenix, moisture problems aren’t usually a concern due to the dry climate, but if you’re installing hardwood in a basement or ground-level room, use a moisture meter to ensure the subfloor is dry.
Level the surface: Use a leveling compound to smooth out any uneven areas. This step ensures that your hardwood planks fit snugly without gaps.
Step 4: Lay Down the Underlayment
While not always necessary, laying down an underlayment provides several benefits, including sound insulation and moisture protection. Underlayment also acts as a cushion for the hardwood, extending its lifespan. Common options include foam underlayment or felt paper, which also helps with moisture management.
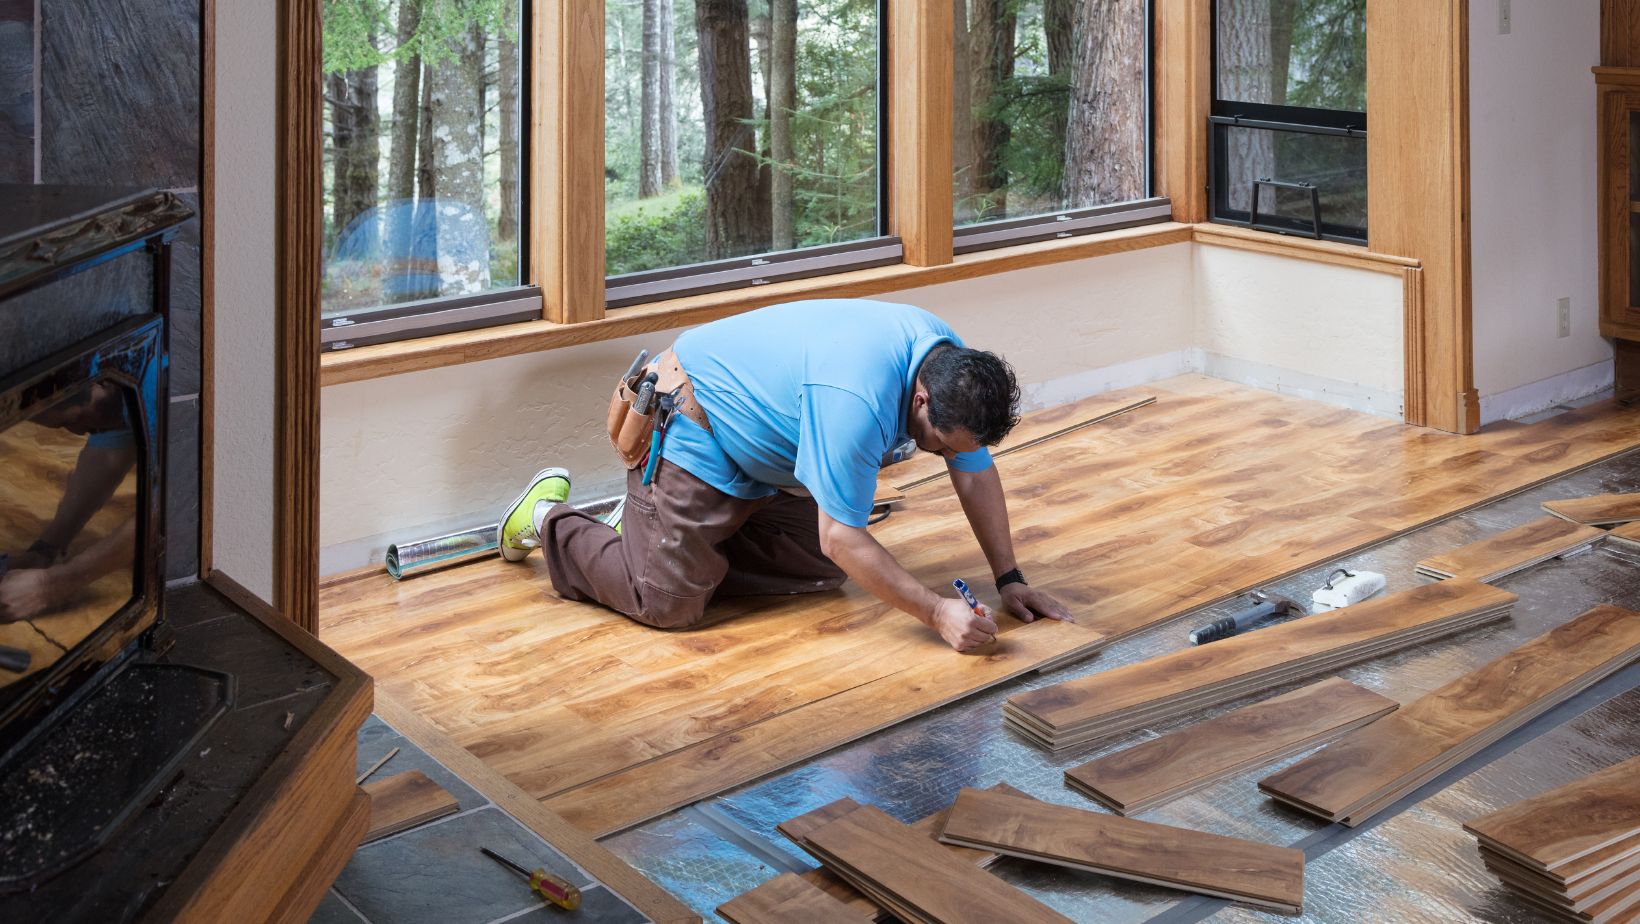
Step 5: Begin Installation
Now comes the fun part – laying the hardwood flooring! The most common methods are:
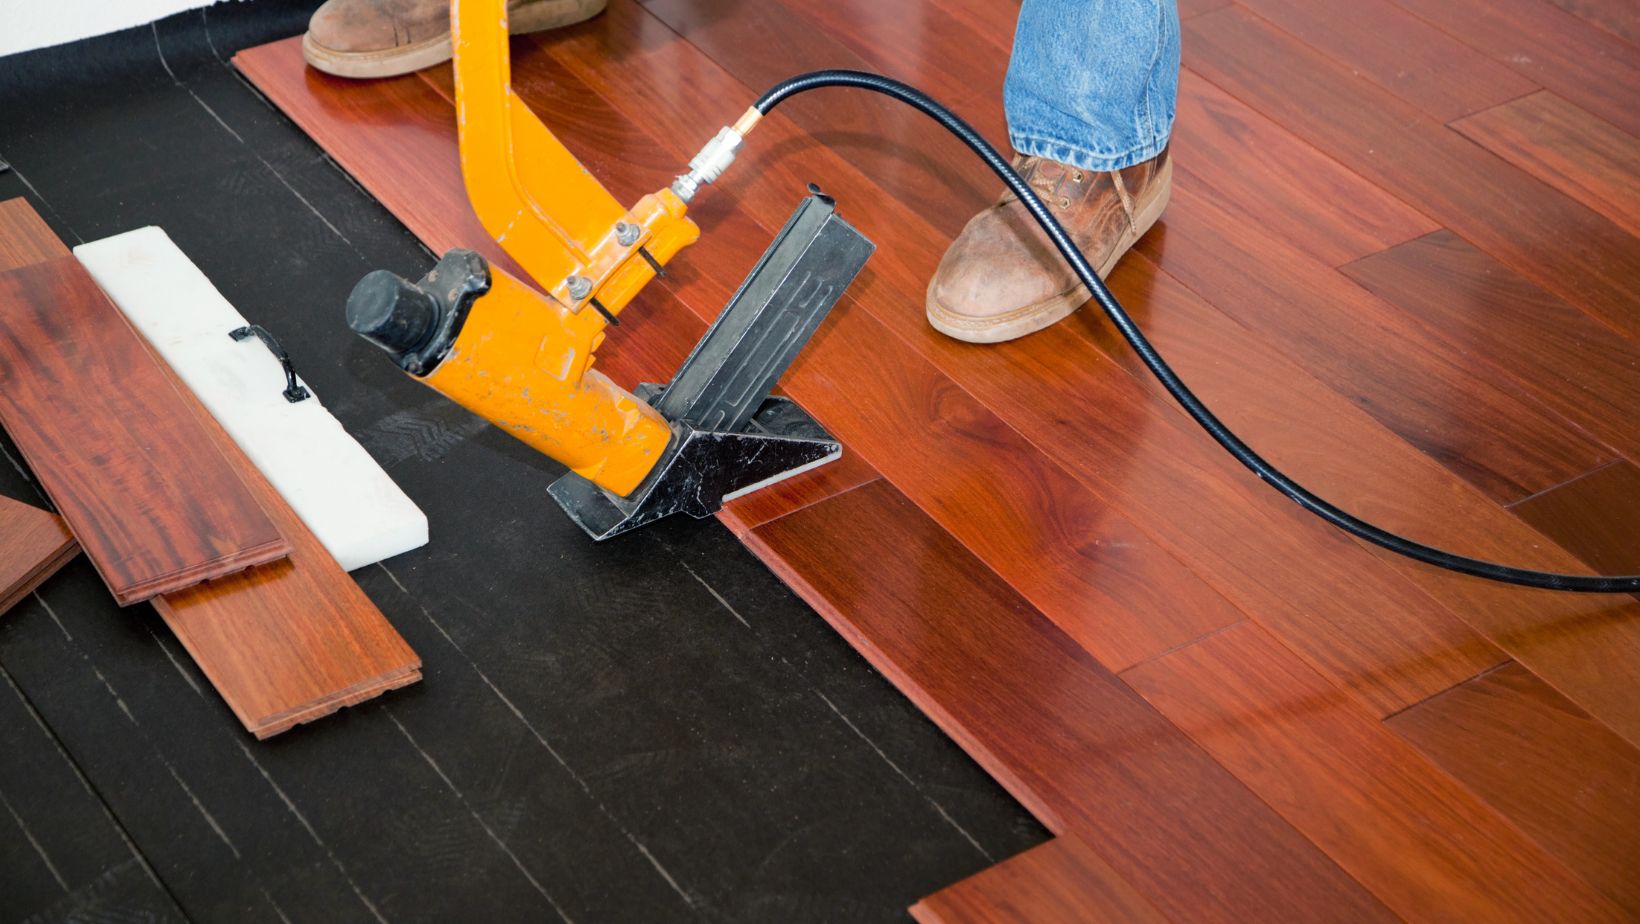
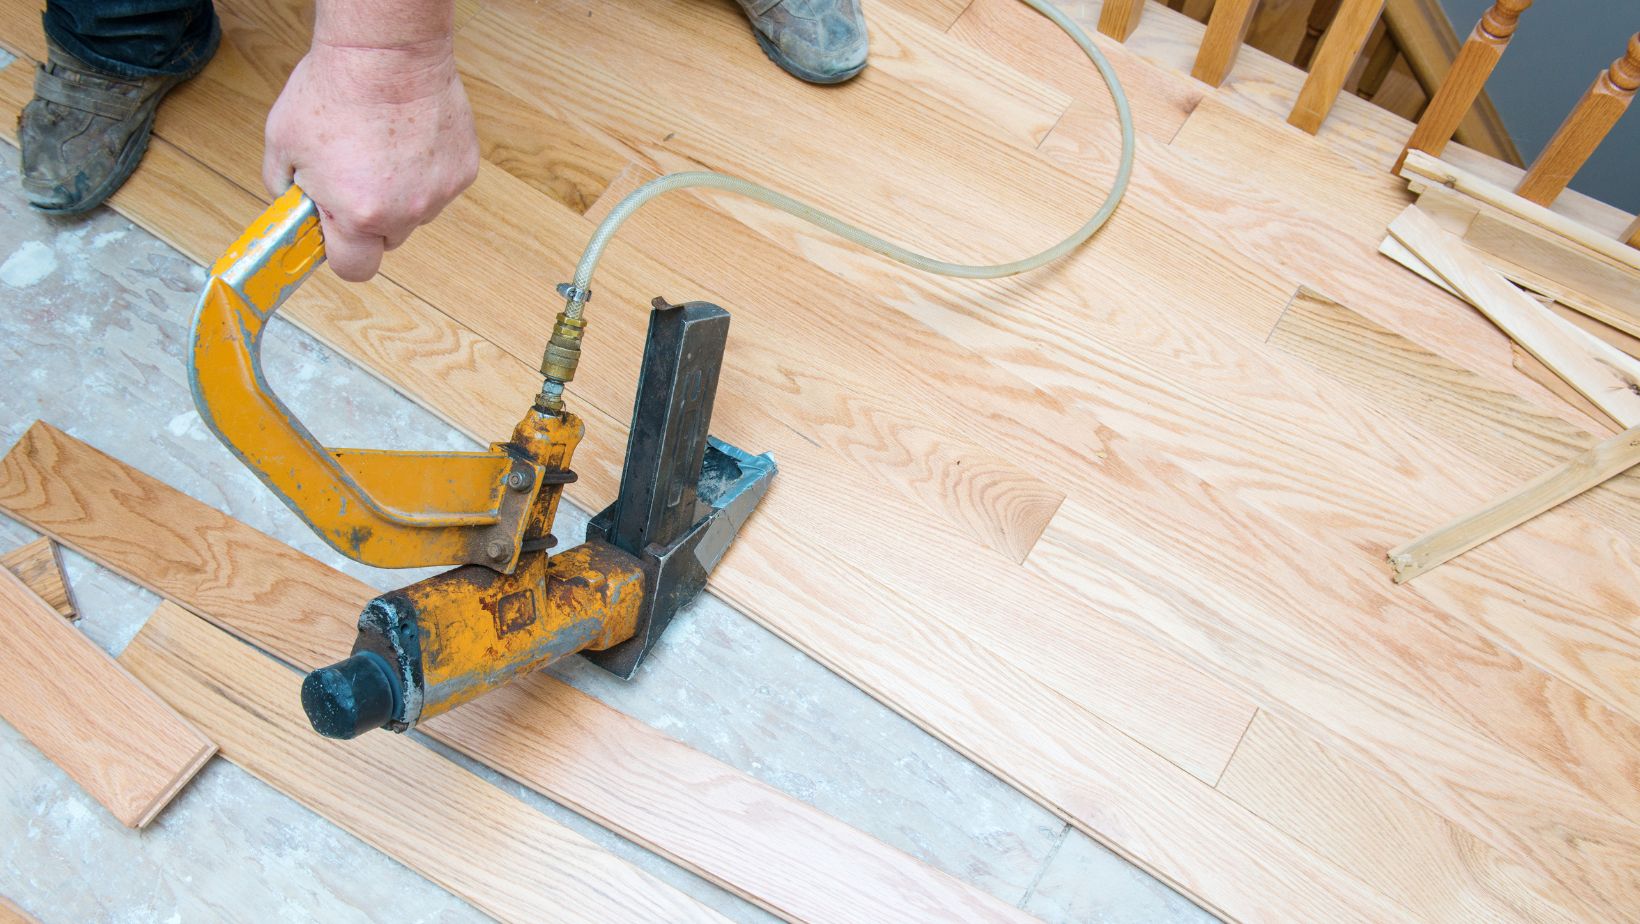
Nail Down: This method is ideal for solid hardwood floors. You will use nails or staples to secure the planks to the subfloor. Begin at one corner of the room and work your way across, ensuring the planks are tightly butted together.
Glue Down: Used primarily for engineered wood, this method involves applying adhesive to the subfloor and pressing the planks into place. It’s a good option for concrete subfloors, which are common in Phoenix.
Floating Floor: This is the easiest DIY method, especially for engineered hardwood. The planks click together without nails or glue, and the floor “floats” over the subfloor. It’s often used in areas where humidity can vary.
Step 6: Cut and Fit the Final Row
Once most of the room is covered, you’ll likely need to cut the last row of planks to fit. Use a saw to trim the pieces to size.
It’s important to leave a small gap (about 1/8 inch) between the edges of the planks and the wall to allow for expansion.
Step 7: Install the Baseboards and Trim
Once the flooring is laid, install baseboards or quarter-round molding to cover the expansion gap around the perimeter of the room. This step gives the room a polished, finished look and hides any imperfections along the edges.
Step 8: Maintain Your Hardwood Floors
After installation, it’s essential to maintain your hardwood floors properly. Regular cleaning, using furniture pads, and controlling the temperature and humidity in your home will ensure that your hardwood floors continue to look beautiful for years to come.
Final Words
Installing hardwood flooring in your Phoenix home can be a rewarding project that enhances both the beauty and value of your space. By following these steps and ensuring proper acclimation, preparation, and installation techniques, you’ll have a stunning hardwood floor that can withstand the Arizona climate for many years. Whether you choose to tackle the project yourself or hire a professional, the end result will be well worth the effort.


