The duration of a boiler installation can vary depending on several factors, including the type of boiler being installed and the complexity of the heating system. Typically, a straightforward like-for-like boiler replacement, where the new boiler is the same type and is installed in the same location as the old one, can be completed within a day.
When the installation involves switching from one type of boiler to another, such as from a combi to a conventional system or includes moving the boiler to a different location within the property, the process can take longer. This can even include the removal of the old boiler, assessing the state of current pipework, and determining whether any parts of the existing system require repair or replacement.
Pre-Installation Considerations
Before a boiler assembly and installation begins, several factors need to be considered to ensure the process goes smoothly. These include the type of boiler, the size and condition of the installation space, and the expertise of the installer.
Understanding Boiler Types
There are various types of boilers, such as combi, system, and conventional. Each type has different requirements for installation.
Combi boilers, for example, do not require a separate hot water cylinder, while systems and conventional boilers do.
Assessing Installation Space
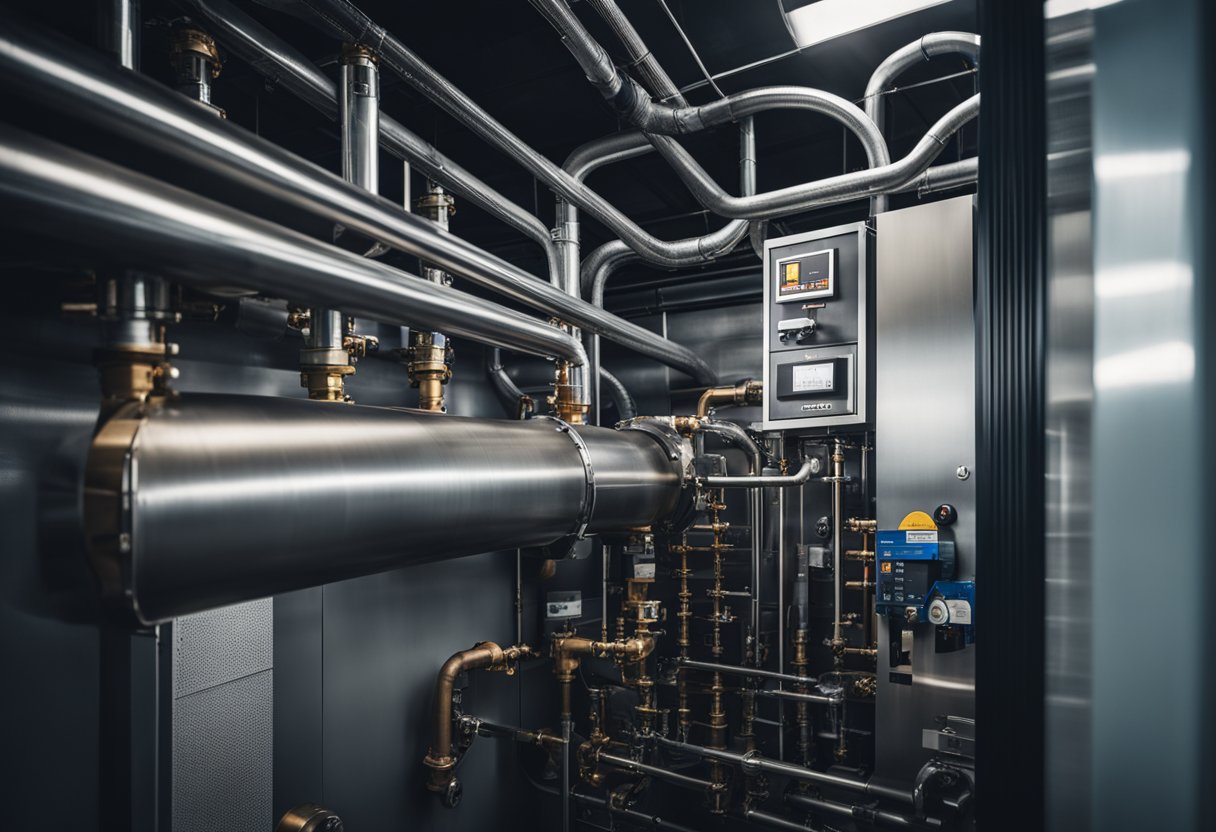
The space where the boiler will be installed must be evaluated for size, ventilation, and safety. Proper space assessment is critical for compliance with building codes and manufacturer specifications. Key dimensions and access to water lines, gas lines, and electrical outlets need to be checked.
Selecting a Qualified Installer
It is important to choose an installer who is certified and experienced. An installer’s qualifications can typically be validated through:
- Relevant certifications (e.g., Gas Safe Register in the UK)
- Customer feedbacks and testimonials
Installation Process
The section details the critical steps of a boiler installation process, focusing on the removal of the old unit, setting up the new boiler, and conducting essential tests to ensure proper functioning.
Removal of the Old Boiler
The first step they undertake is the removal of the old boiler. Technicians will:
- Turn off the water supply and power to ensure safety.
- Drain the existing boiler and disconnect it from the water pipes, gas supply, and venting pipes.
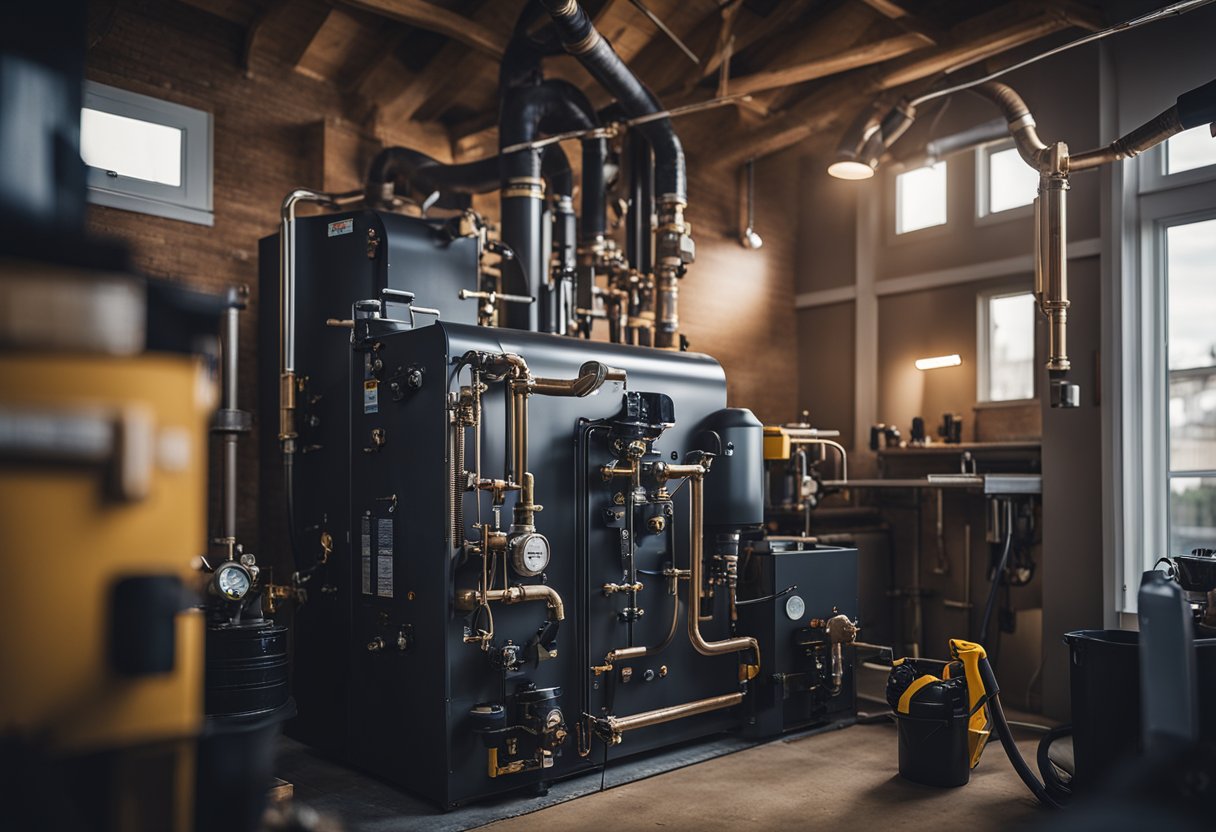
- Carefully dismantle the boiler components and remove the unit from the premises.
Installation of the New Boiler
Once the area is cleared, the installation of the new boiler begins. This includes:
- Positioning the new boiler in the designated area.
- Reconnecting the water, gas, and electrical supplies using new fixtures to reduce the chance of leaks or electrical issues.
- Attaching the flu is crucial for safe operation and proper venting of exhaust gasses.
Testing and Final Checks
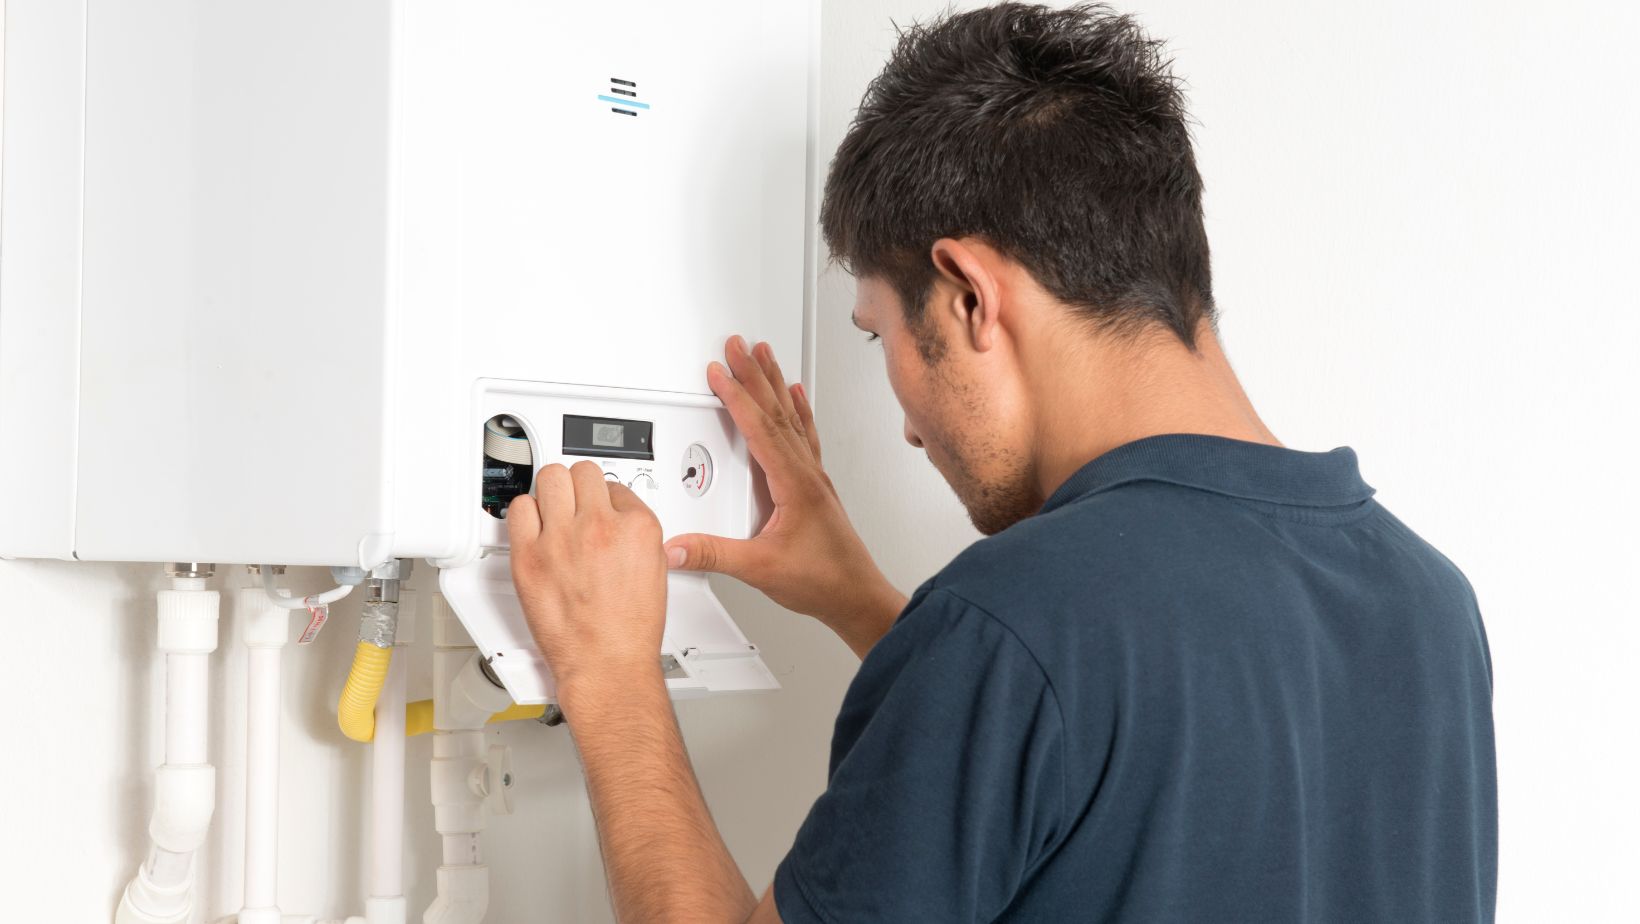
In the final stage, testing and final checks are performed to validate the installation:
- Filling the system with water and purging air from radiators and pipes.
- Testing the boiler for proper ignition and operation.
- Checking for gas leaks and water leaks and verifying the integrity of electrical connections.
This thorough assessment confirms the boiler is safe and ready for use.