Shower wall panels are becoming a popular choice for bathroom renovations, and for good reason. These panels are a stylish, sustainable, and practical alternative to traditional tile, offering a sleek look with less maintenance.
One of the biggest advantages of shower wall panels is that they are DIY-friendly. Many homeowners, property investors, and accommodation providers choose to install them themselves to save on labor costs.
However, while homeowners can feel a sense of accomplishment from completing what is a relatively straightforward installation process, it’s important to understand some key insights. By following the right steps and being aware of common pitfalls, you can make your renovation hassle-free and end up with a stunning new shower that enhances your bathroom’s look and functionality.
Planning and Preparation
Proper planning sets the foundation for a successful DIY shower wall panel installation. You’ll need to accurately measure your space, make the necessary calculations, and find the right materials and tools before starting the project.
Choosing the Right Shower Wall Panels
Shower wall panels come in various materials, each with its own set of advantages:
- Acrylic Panels: These are lightweight, durable, and resistant to mold and mildew. They come in a wide range of colors and finishes and are relatively easy to clean.
- PVC Panels: Known for their water resistance and affordability, PVC panels are a great budget-friendly option. They are also easy to install and maintain.
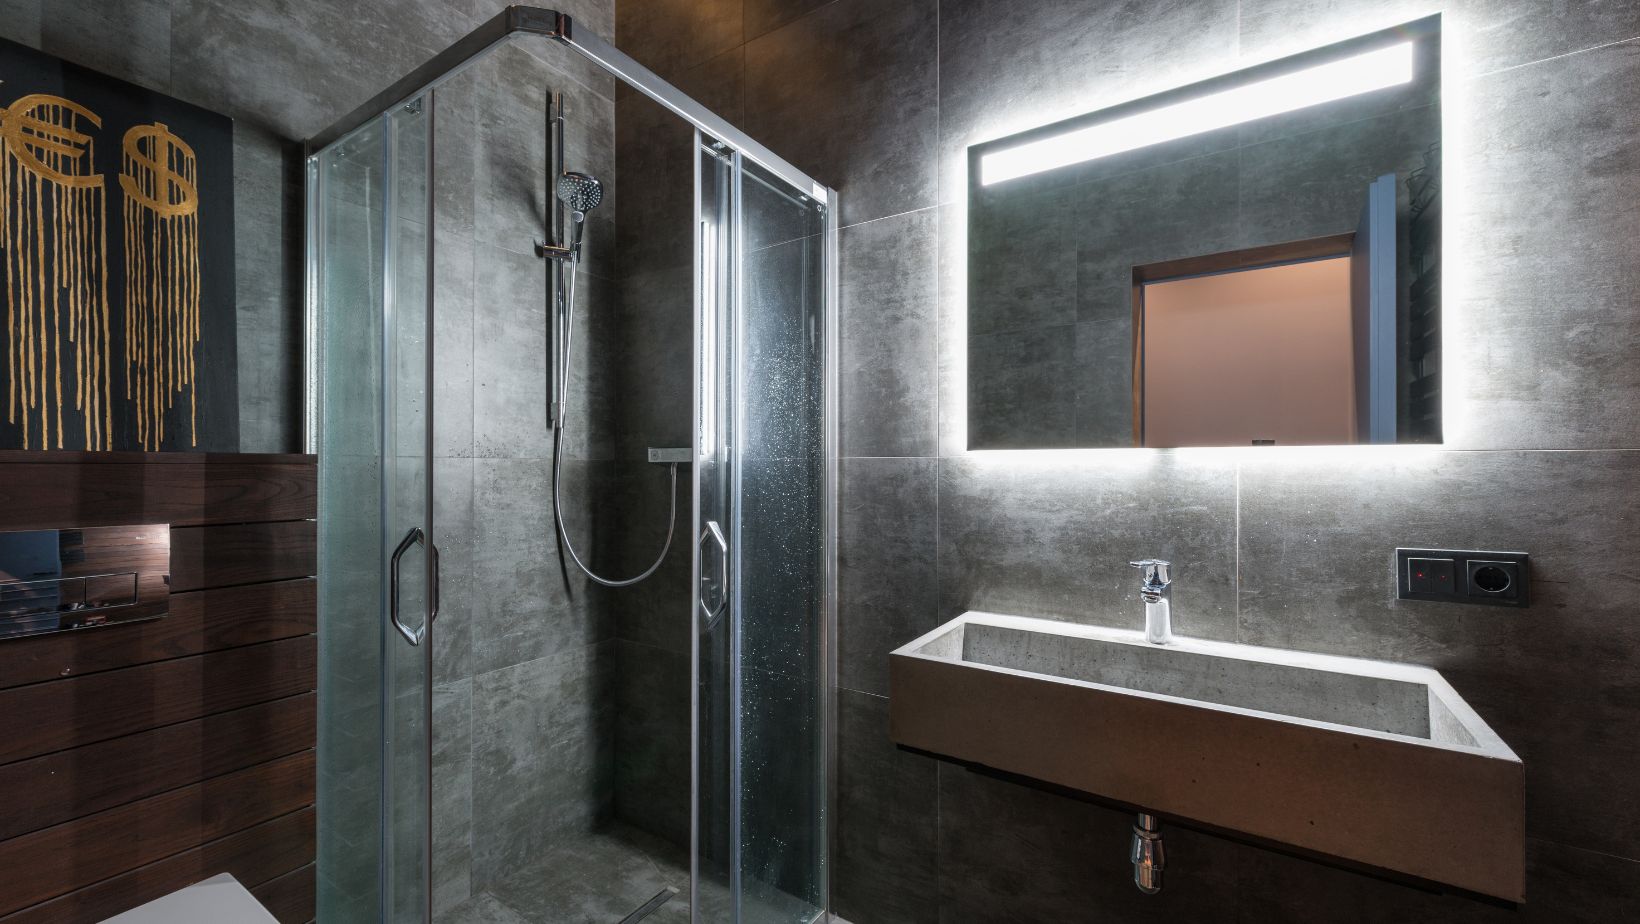
- Glass Panels: If you’re looking for a sleek and modern look, glass panels might be your choice. They are more difficult to install and require more maintenance to keep clean, but they provide a high-end finish.
Choose panels that not only fit your aesthetic but also meet your maintenance and durability requirements.
Measuring Your Space
A successful installation depends on accurate measurements. Start by measuring the height and width of each wall where the panels will be installed. Remember to account for any fixtures, like faucets or showerheads, that may affect panel placement.
To avoid mistakes, measure each wall in multiple places. It helps account for any irregularities or uneven areas in your bathroom.
You can also create a 3D model of your space to visualize how the panels will fit. It will assist you in planning cuts.
Gathering Necessary Tools and Materials
You’ll need specific tools and materials for the project:
- Essential Tools: A level, a saw (for cutting panels), tape measure, utility knife, and a drill (if needed for securing panels).
- Additional Supplies: Adhesive suitable for your panel type, sealant to prevent water leaks, and trim or molding to finish the edges.
It’s worth investing in good-quality tools and materials for a clean and durable installation. Check the manufacturer’s recommendations for specific products that work best with your chosen panels.
Preparing the Walls
Preparing the bathroom is a vital step before installing new shower wall panels. Start by removing any old tiles, panels, or wallpaper to clear the area. Depending on what materials you choose for your shower wall panels, you may need to reapply the waterproofing treatment to prevent leaks over time. Ensure the wall is thoroughly cleaned of dust and debris to help the adhesive bond effectively. Check for any damage (cracks or holes), repair it with a suitable filler, and sand the surface smooth once it’s dry.
It’s also important to make sure the wall is level and even – use a leveling compound to address any irregularities. Properly preparing the walls not only ensures a secure fit for your new panels but also helps achieve a professional, polished finish.
Installation Process Guide
Once you have prepared your bathroom, it’s time to move on to the installation process. It involves several steps, each needing to be completed with precision to ensure a secure and professional finish. Following the proper methods will help you achieve a smooth installation so that your new shower wall panels look and perform great for years to come.
Cutting the Panels
Accurate cutting is key to a successful installation. Use a tape measure to determine the exact size needed for each panel. Mark the panel with a pencil or marker where cuts are required.
Depending on the panel material, you can use a saw or utility knife to make your cuts. For acrylic or PVC panels, a fine-toothed saw or a scoring tool can help achieve clean edges. Always cut panels slightly larger than needed and trim down to fit for a precise installation.
Applying Adhesive
Proper adhesive application ensures that your panels stay securely in place. Use an adhesive recommended by the panel manufacturer. It must be compatible with the panel material and your wall surface.
Spread the adhesive evenly on the wall using a notched trowel or similar tool. Make sure to cover the entire surface where the panel will be applied to avoid gaps and ensure a strong bond.
Attaching the Panels
The final step in the installation process is carefully positioning and securing the panels. Press the panel onto the adhesive, starting from one corner and working your way across. Ensure it’s aligned properly with the wall and adjust as needed before the adhesive sets.
For a tight fit, use a rubber mallet to press the panel into place firmly. Check for level alignment frequently as you go along to keep the installation straight.
Sealing and Finishing
Sealing and finishing touches help protect your installation and give it a polished look. Once the shower wall panels are securely attached and the adhesive is fully cured, apply a waterproof sealant along the edges where the panels meet the wall and around any fixtures. It prevents water from seeping behind the panels.
Additionally, trim or molding should be attached around the edges of the panels to cover any gaps and create a finished look. Use caulk or adhesive to secure the trim in place.
Take On The Project with Confidence
Successfully installing shower wall panels can transform your bathroom with a fresh, modern look and minimal upkeep. As you embark on your DIY project, keep in mind key aspects to pay attention to:
- Ensure accurate measurements to prevent misalignment.
- Thoroughly prepare the surface to avoid issues like poor adhesion or gaps.
- Use the correct adhesive for your panel type to ensure a strong bond.
- Ensure efficient waterproofing treatments are carried out, whether it’s preparation underneath the panels or the panels’ joins, to avoid potential water damage to your property.
Remember, with careful planning and attention to detail, this project is well within your reach. Embrace the challenge with confidence, and enjoy the satisfaction of completing a renovation that enhances the functionality and beauty of your bathroom.