Taking off sliding closet doors may seem like a daunting task, but with the right tools and a little know-how, it can be a straightforward process. In this article, I’ll guide you through the steps to successfully remove sliding closet doors in no time.
Firstly, before starting any DIY project, it’s essential to gather all the necessary materials. For removing sliding closet doors, you’ll need a screwdriver (either flathead or Phillips), pliers, a putty knife or pry bar, and potentially some lubricant if the doors are stuck. It’s also helpful to have an extra pair of hands to assist with lifting and carrying the doors.
How to Take off Sliding Closet Doors
Gather the necessary tools
Before you begin removing your sliding closet doors, it’s important to gather the necessary tools to make the process smoother. Here are some essential items you’ll need:
- Screwdriver: A screwdriver will come in handy for loosening and removing screws.
- Pry bar: A pry bar can help you gently lift or pry out any stubborn parts.
- Masking tape: Use masking tape to protect the surrounding area from scratches or damage.
- Drop cloth or tarp: Lay down a drop cloth or tarp to catch any debris that may fall during the removal process.
Prepare the closet area
To ensure a safe and efficient removal of your sliding closet doors, it’s crucial to prepare the surrounding area. Follow these steps:
- Clear out any items inside the closet: Remove all clothes, shoes, or other belongings from both sides of the closet.
- Protect delicate surfaces: If there are delicate surfaces near the closet, such as mirrors or fragile furniture, consider covering them with blankets or cardboard for added protection.
- Cover the floor: Place a drop cloth or tarp on the floor near the bottom track of your sliding doors. This will help prevent any damage from falling debris.
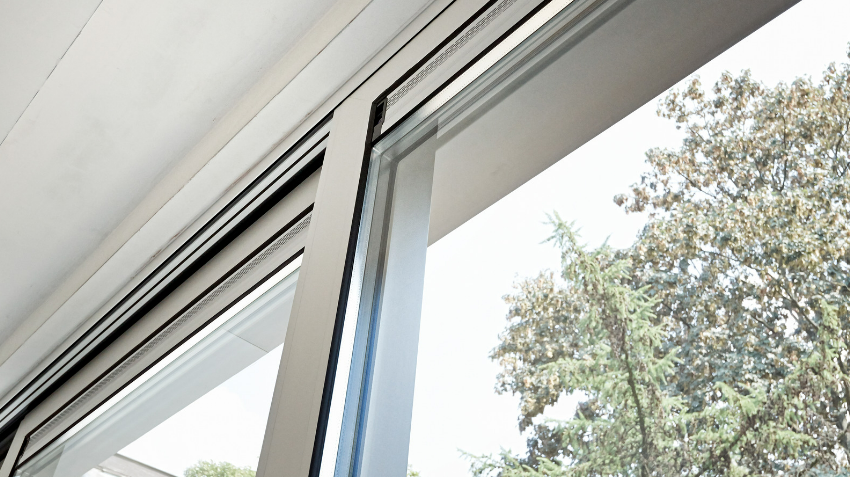
Detach the door from the track
Now that you have gathered your tools and prepared the area, it’s time to detach your sliding closet doors from their tracks. Follow these steps:
- Locate and remove any screws securing each door panel to its respective side jamb using a screwdriver.
- Lift up on one end of each door panel while simultaneously pulling it towards yourself until it clears both top and bottom tracks.
- Once both panels are removed, carefully set them aside in a safe location.
Gathering the Necessary Tools
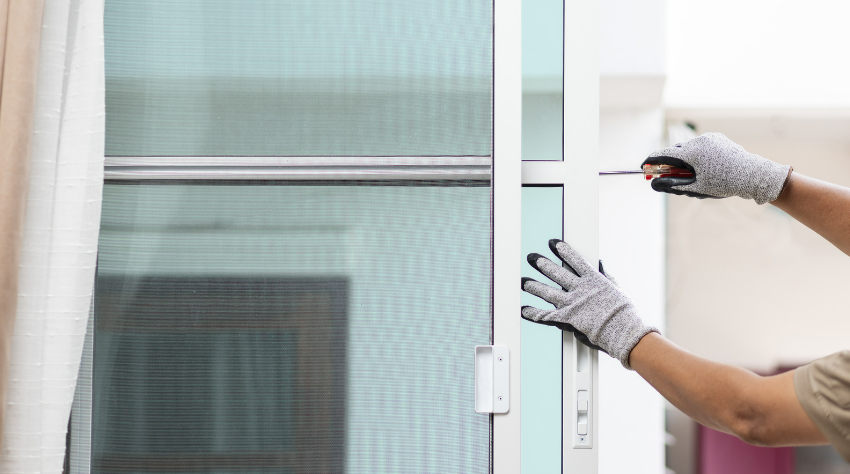
Remove the door handles and hardware
To begin the process of taking off sliding closet doors, it’s important to gather the necessary tools. One of the first steps is removing the door handles and hardware. This will ensure a smoother removal process and prevent any damage to these components.
First, locate the screws or fasteners that secure the handles in place. Use a screwdriver or an appropriate tool to carefully remove them. Keep track of all screws and small parts by placing them in a container or baggie for safekeeping.
Protect the surrounding area
As you gather your tools, it’s crucial to protect the surrounding area from potential damage during the removal process. Sliding closet doors can be heavy and awkwardly shaped, so taking precautions will help avoid any accidental scrapes or dings on walls, floors, or furniture.
Consider laying down protective materials such as drop cloths or old blankets along both sides of where you’ll be working. These barriers will act as buffers if any part of the door accidentally comes into contact with nearby surfaces.