Do you want to add a touch of modern elegance and a vibrant ambiance to your living space? Installing LED strip lights on your ceiling is a fantastic way to make it happen! LED strip lighting has become increasingly popular due to its versatility, energy efficiency, and the ability to create stunning lighting effects that can dramatically enhance the look and feel of any room. Whether you’re aiming for a cosy, warm white glow or dynamic, colour-changing displays, LED strip lights can cater to your needs. In this step-by-step guide to install LED strips, we will walk you through the entire process of how to install LED strip lights on the ceiling, ensuring a professional finish and a breathtaking lighting transformation. Let’s get started and light up your space with style!
Preparing for LED Installation
Before jumping into the installation process, it’s essential to prepare thoroughly to ensure a smooth and successful setup of your LED strip lights on the ceiling. How to set up LED lights? Here are the essential steps to get you started:
Measuring and Planning
First, measure the ceiling area where you intend to install the LED strip lights. This allows you to determine the precise length of light strips needed. Think about the layout and design you wish to create, and plan the placement of the strips accordingly. Whether you aim to outline the perimeter of the room, create a central feature, or highlight specific architectural elements, having a clear plan will guide the entire installation process.
Choosing the Right LED Lights
Select LED strips with the appropriate colour temperature and brightness level to match the ambiance you want to create. Warmer temperatures (around 2700K-3000K) are ideal for cosy, relaxing spaces, while cooler temperatures (5000K-6500K) are better for workspaces and areas requiring bright, clear light. Make sure the brightness level (measured in lumens) matches the size and purpose of the room.
Gathering Materials
Make sure you have all the necessary materials before starting:
- LED strip light: Choose high quality LED products for better performance and longevity.
- Power supply: Make sure the power supply meets the specifications of your LED strip lights
- Adhesive backing: Many LED strips include an adhesive backing for simple installation.
- Wire connectors: These are essential for joining multiple strips if needed.
- Soldering iron: Handy for securing connections, especially if you need to cut and rejoin strips.
- Extension cord: Useful if the power source is far from the installation area.
- Clean cloth: To clean the installation surface before applying the strips.
Selecting a Power Source For LED Lights
Identify a suitable power source close to your installation area. This could be a power outlet or an extension cord if needed. Verify that the power source can support the electrical requirements of the LED strip lights. A power brick might be necessary for a stable power supply, especially if you’re installing a long strip.
Preparing The Installation Surface
A clean and smooth surface is critical for ensuring the adhesive backing sticks properly. Use a clean cloth to wipe down the ceiling, removing any dust, oil, or debris. This step is particularly important for painted drywall or any textured surfaces like orange peel finishes. For drop ceilings or false ceilings, additional supports or clips might be needed to secure the strips.
Installing the LED Strip Lights Step-by-Step Guide
With your preparations complete, it’s time to install the LED strip lights on your ceiling. Follow these detailed steps to ensure a smooth and successful installation.
Step 1: Test The LED Strip Lights
Before installation, it is crucial to test the LED strip lights to confirm they are working properly. Connect the strip to the power supply and turn it on.

This preliminary check helps identify any potential issues before installation.
Step 2: Plan The Layout
Determine the layout of your LED strip lights. Decide where the power supply and connectors will be located. Mark the centre line and the edges on the ceiling where the LED strips will be placed. Planning the layout ensures an even and aesthetically pleasing installation.
Step 3: Apply The Adhesive Strip
Many LED strip lights are equipped with an adhesive backing to facilitate simple installation. Begin by removing the protective layer from the adhesive strip located on the rear side of the LED strip light. Work slowly and steadily to avoid air bubbles and ensure a firm hold. If necessary, use additional adhesive tape for extra security, especially on textured or uneven surfaces.
Step 4: Attach The LED Light Strips
Begin attaching the LED strip light to the ceiling, starting from the power source. Apply firm pressure as you go along to ensure the strip adheres well to the surface. Follow the marked centre line to keep the strip straight. For corners and edges, carefully bend or cut the strip at the indicated points without damaging the gold threads.
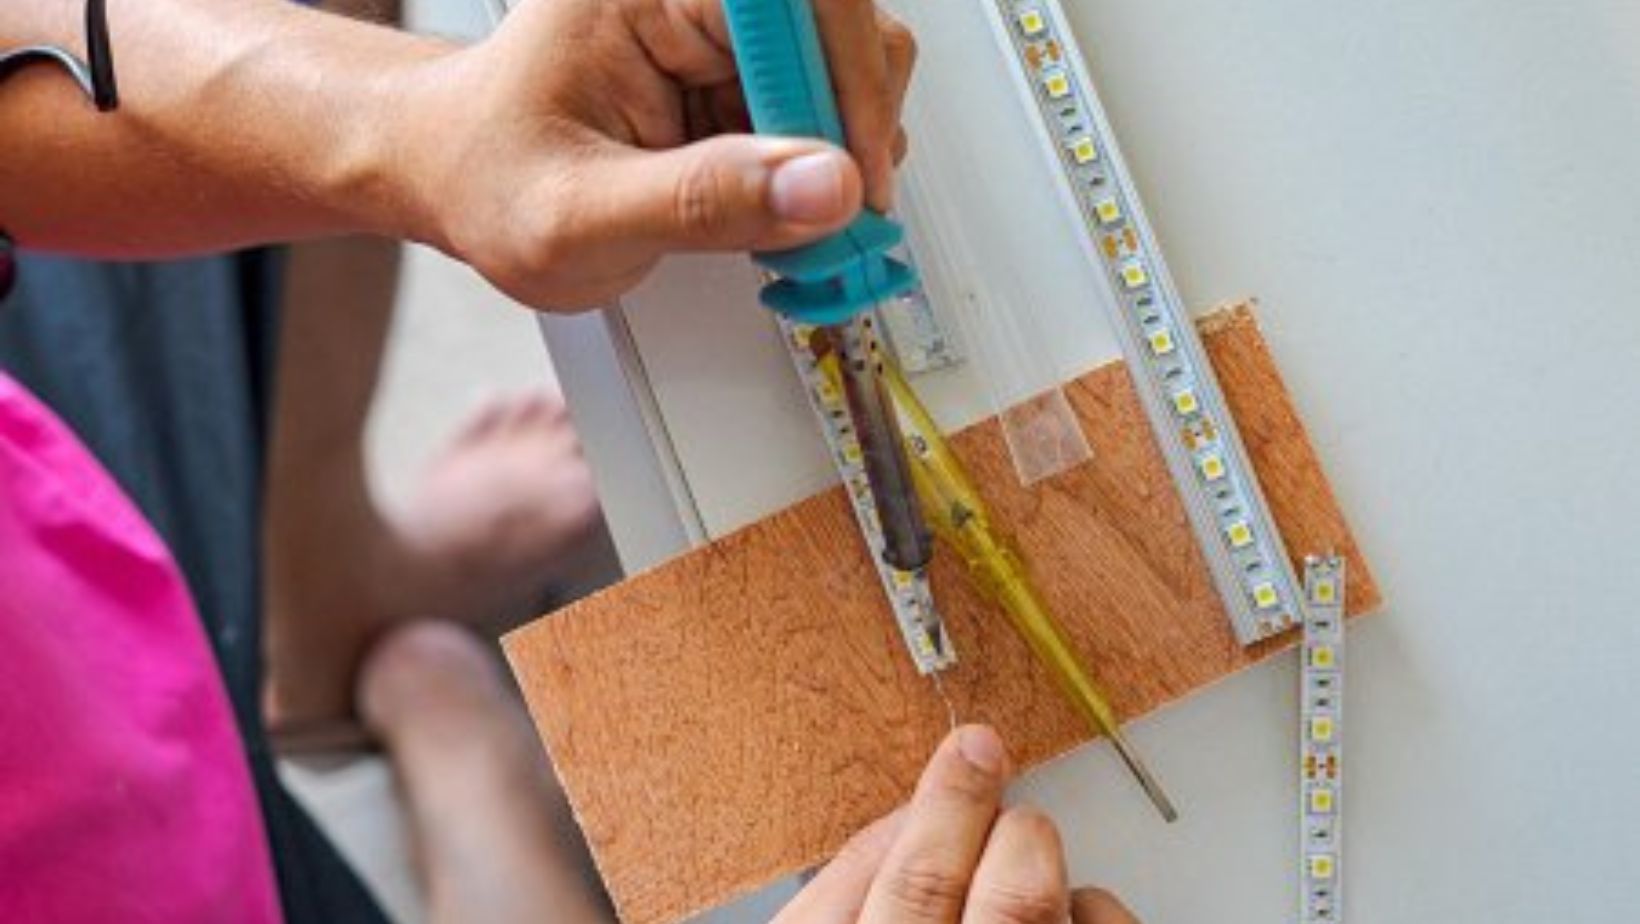
Step 5: Securing The Ends
For corners or when joining multiple strips, use wire connectors to ensure a secure connection. If the strip needs to be cut, use a soldering iron to rejoin the strips, ensuring the connections are stable. This step is essential to ensure a uniform lighting effect throughout the entire area.
Step 6: Double-Check The Installation
Once the LED strip lights are attached, double-check the installation by turning on the lights. Ensure the entire area is illuminated evenly. Check for any sections that might not be sticking properly and apply additional adhesive tape if needed. Make any adjustments needed to achieve the desired lighting effect.
Step 7: Final Adjustments
After verifying the installation, make any final adjustments to enhance the lighting effect. If you’re using addressable RGB lights, set up your control options such as voice control or remote control. This allows you to customize the lighting to suit different moods and occasions.
By following these steps, you’ll have successfully installed your LED strip lights on the ceiling, creating a beautiful and functional lighting solution. Whether it’s for ambient lighting, mood lighting, or highlighting specific areas, your new LED strip lights will enhance the overall aesthetic of your space.
Tips for Effective Installation
Installing strip lights on your ceiling can transform the ambiance of your space, but to ensure the best results, consider these practical tips. These suggestions will help you achieve a professional and long-lasting installation.
Compatibility With Ceiling Surfaces
Ensure the adhesive backing of your LED strip lights is compatible with your ceiling surface. For smooth surfaces like painted drywall, the adhesive will stick well, but for textured surfaces such as orange peel finishes, you might need additional adhesive tape or clips to secure the strips firmly.
Handling Drop Ceilings
For false ceilings, consider using extra supports or clips to secure the LED strip lights. These types of ceilings might not provide a flat surface for the adhesive backing, so additional reinforcement can prevent the strips from sagging or falling off over time.
Soldering for Secure Connections
If you need to cut and rejoin LED strips, using a soldering iron can create a more secure connection. This is particularly critical to ensure stable electrical connections and maintain a consistent lighting effect across all the strips. Soldering the connections can also help avoid any potential issues with loose wires or faulty connections.
Opting for High Quality LED Products
Investing in high quality LED products can ensure better performance and longevity. High quality LED strip lights provide brighter and more consistent lighting, are more energy-efficient, and have a longer lifespan compared to cheaper alternatives.
Experimenting With Placement and Direction
To achieve the desired mood lighting or specific lighting effects, experiment with the placement and direction of the LED tape.
Adjust the angle and position to highlight architectural features, create soft ambient lighting, or focus on particular areas of the room.
By following these tips, you can improve the effectiveness and durability of your LED strip light installation. Whether you aim for ambient lighting, mood lighting, or functional illumination, these best practices will help you achieve the perfect lighting setup for your space.
LED Strip Light Ceiling Installation – Conclusion
Mounting LED strip lights on the ceiling is a superb method to elevate the ambiance and functionality of any room. By following a step-by-step guide and preparing thoroughly, you can achieve a professional and long-lasting installation. Key tips such as ensuring compatibility with ceiling surfaces, using the right power supply, and experimenting with placement will help you achieve the desired lighting effects. Opting for high-quality LED products and utilizing various control options can further enhance the versatility and performance of your lighting setup. With these guidelines, your LED strips on the ceiling will provide beautiful and versatile illumination, transforming your space into a more inviting and aesthetically pleasing environment.