Fresh paint transforms your ceiling into a standout feature of your home. Proper preparation is the key to achieving a flawless finish. Let’s review the essential steps for getting your ceiling ready for painting.
First, to assess the condition of your ceiling. Look for cracks, peeling paint, or water stains before you begin. Conducting an initial inspection helps you determine how much work is needed. Whether you’re planning a complete makeover or just touching up the ceiling, preparing the surface is ideal for the best results.
For additional insight, you can explore our ceiling painting options to see how professionals handle this kind of work.
Step 1: Keep The Surface Clean
All kinds of dirt and debris can prevent paint from sticking to your ceiling. Start by dusting off the surface. Use a sponge, warm water, and mild detergent to wipe off some of the dirt. Rinse the surface with a cloth and let it dry.
Step 2: Repair The Ceiling
If your ceiling has damage, such as holes or cracks, it will need to be fixed. A putty knife is a great tool for this.
Smooth things out with a patching compound and allow it to dry. For more severe damage, you should work with professional house painters who specialize in residential projects.
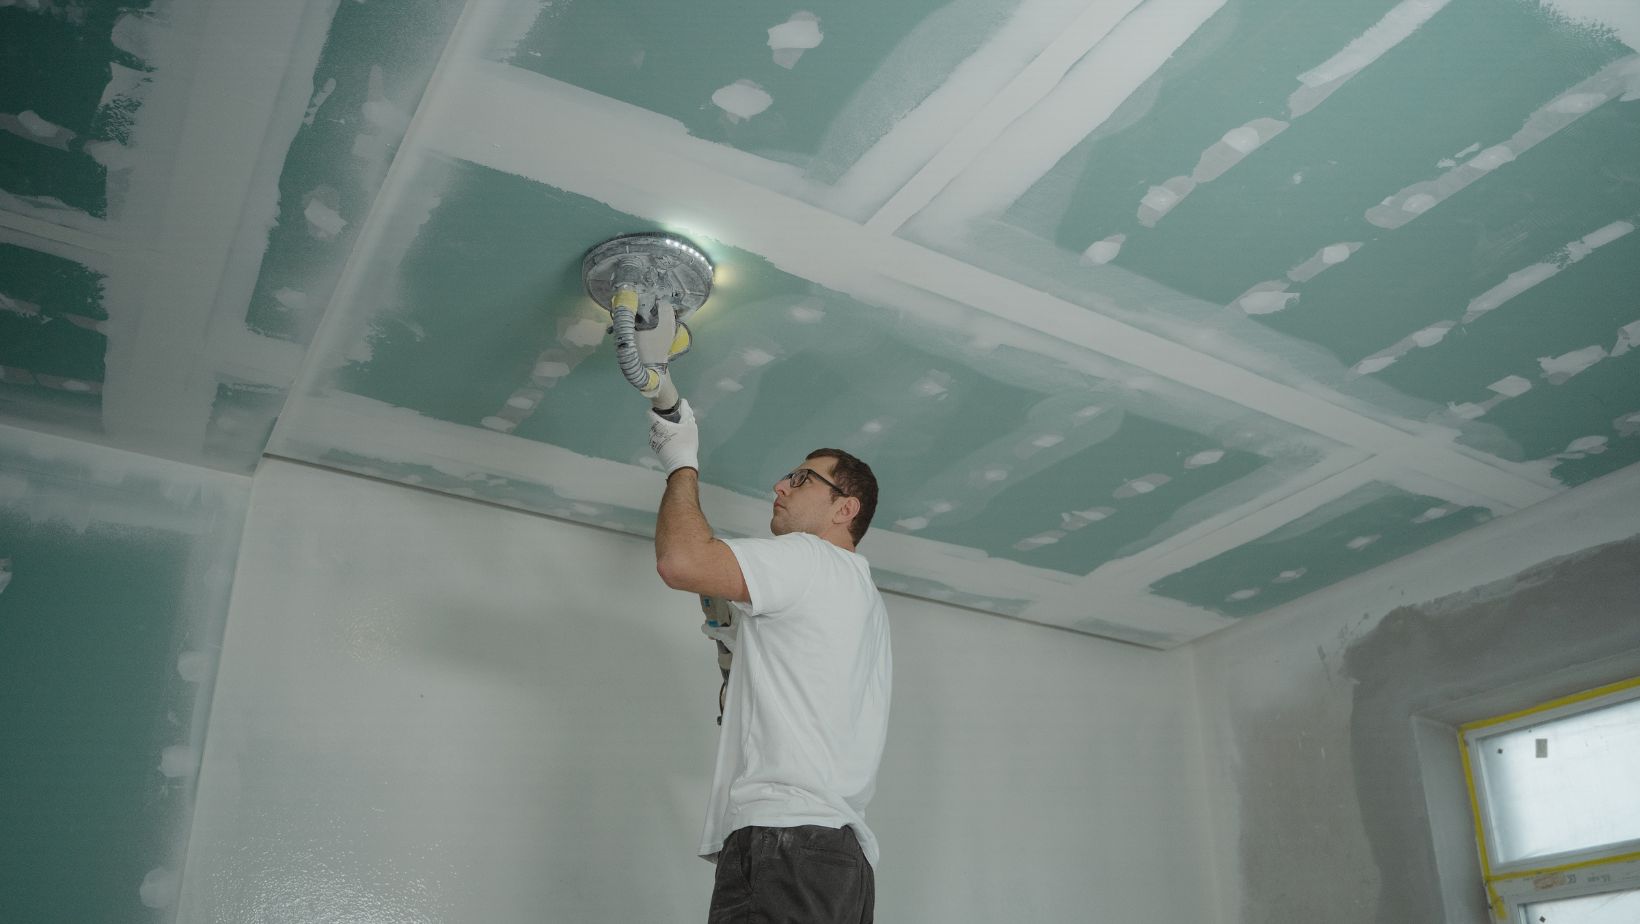
Step 3: Sand the Ceiling
Sanding the entire ceiling creates a smooth and even surface. This process removes residual texture from any repairs that were made, and it provides a slightly roughened surface for the new paint to stick to. Remove all the dust with a vacuum or a cloth once you’re done sanding. The sanding process is a critical step that greatly improves the final appearance of the paint.
Step 4: Priming the Surface
Priming the ceiling is something you can’t overlook. A good primer improves the adhesion of the paint and helps to make the color even. Choose a primer that goes with your paint type. For ceilings that have never been painted on, a stain-blocking primer might be the best. Apply the primer evenly across the ceiling before you start painting.
Step 5: Final Preparations Before Painting Your Ceiling
Before you start painting, make sure all of your equipment is ready and you have a clear plan. Lay down drop cloths to protect your flooring and furniture while you’re painting, and mask off any areas that you don’t want to be painted.

Use high-quality rollers and brushes designed for ceilings to get the best results. If you’re not sure about what techniques to use or you need additional advice, ask experienced professionals for tips. That can be really beneficial.
With the right preparation, your ceiling can become a focal point of your interior design that complements the overall aesthetics of your house. Whether you’re doing it as a DIY project or hiring expert house painters, following steps one through five here will go a long way to ensuring your painting project is a successful one. By taking the time to thoroughly clean, repair, sand, and prime the surface, you make a smooth and professional-looking finish, which is the most likely outcome, and help create a finishing touch that lasts for many years.
A well-prepared ceiling not only improves the appearance of your space. It also adds value to your house and makes home improvement a worthwhile investment. Happy painting!