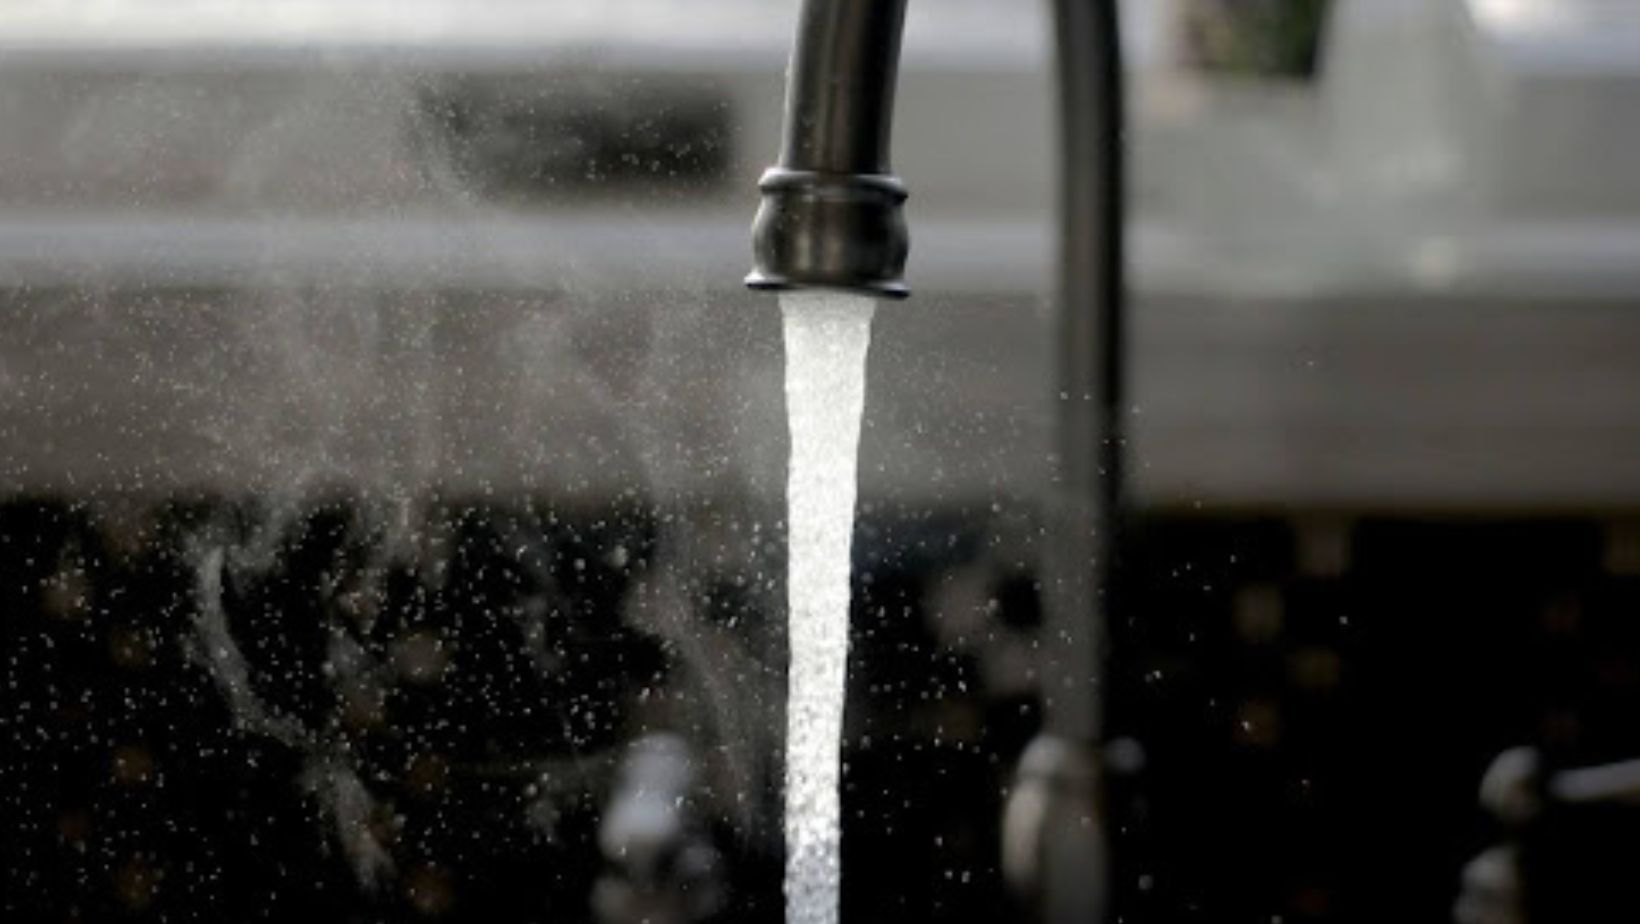
Have you ever experienced an unusual taste in your water from the kitchen sink? Or an odd smell in your shower? Well, these issues are not uncommon. This may happen since only 3% of the Earth’s water is fresh, and our tap water is sometimes not treated well.
Fortunately, a whole house water filter system can quickly address these issues. It ensures that every faucet in your home delivers fresh, clean water. But how does it work?
To know, you need to understand the specifics of water filtration design. This article will reveal how a well-planned filtration system design system can enhance your home’s water quality.
Ready to start? Let’s jump in
What is a Whole House Water System?
Also called a point-of-entry system, this is a filtration system installed where your main water line enters. It removes impurities like chlorine, iron, and sulfur, ensuring cleaner water from every faucet for drinking, cooking, and dishwashing.
Steps to Designing a Whole House Purifier System
Creating a whole-house purification system requires several steps to ensure it works efficiently.
Step 1: Assess Water Quality Issues
Water quality testing primarily involves physical examination, chemical testing, and biological assessment. These methods check factors like temperature, pH levels, dissolved oxygen, harmful chemical levels, and the presence of bacteria, algae, or viruses. Here’s how to do it
- Observe: Look out for strange tastes or smells in your H20.
- Test: Search for contaminants like chlorine, lead, bacteria, or sediment.
- Evaluate: Evaluate your current filters or treatment setup to see if they work.
- Consider: Note your special preferences, like wanting softer water or removing certain contaminants.
Step 2: Choose the Right Filters
A standard whole-house filter system is usually a 3-stage purifier with distinct phases.
- Pre-filtration: This initial phase uses a 5-micron carbon sediment pre-filter to catch visible impurities like sediment and silt.
- Core filtration: Here, an RO sub-micron membrane or a Kinetic Degradation Fluxion (KDF) purifier removes smaller contaminants such as heavy metals, chlorine, and dissolved matter. Ion exchange technology may also be used in this phase to ‘soften’ the water, which can extend the lifespan of your hot water system.
- Final polish: Post filters in this stage capture any remaining impurities and improve flavor. They often use activated carbon or other specialized materials to absorb odors and flavors.
However, your plumber might suggest different combinations for your water well system design based on test results and quality concerns, such as:
- Carbon filters: Great for improving taste and odor.
- UV disinfection: Effective against harmful bacteria and viruses.
- Reverse osmosis: Ideal for removing lead, arsenic, and dissolved solids.
Other combination options to consider are:
- Sediment Filter → Carbon Filter.Carbon Block Filter → Reverse Osmosis Membrane
- Sediment Filter → Carbon Block Filter → Reverse Osmosis Membrane
- Sediment Filter → Granular Activated Carbon Filter → Reverse Osmosis Membrane
Step 3: Filtration Design Layout
Deciding where to put your filtration parts is important for how well they work:
- Assess your home’s layout to determine the right spot for the filtration system. Think about ease of maintenance.
- Make sure the system fits well with your plumbing to prevent flow problems.
- Place pre-filters near the main supply line to catch large particles and sediment early.
- Position the core filtration units centrally to ensure all H20 passes through for thorough purification.
- Final polish filters should be strategically placed at points of use, like under sinks, for the freshest taste and odor removal.

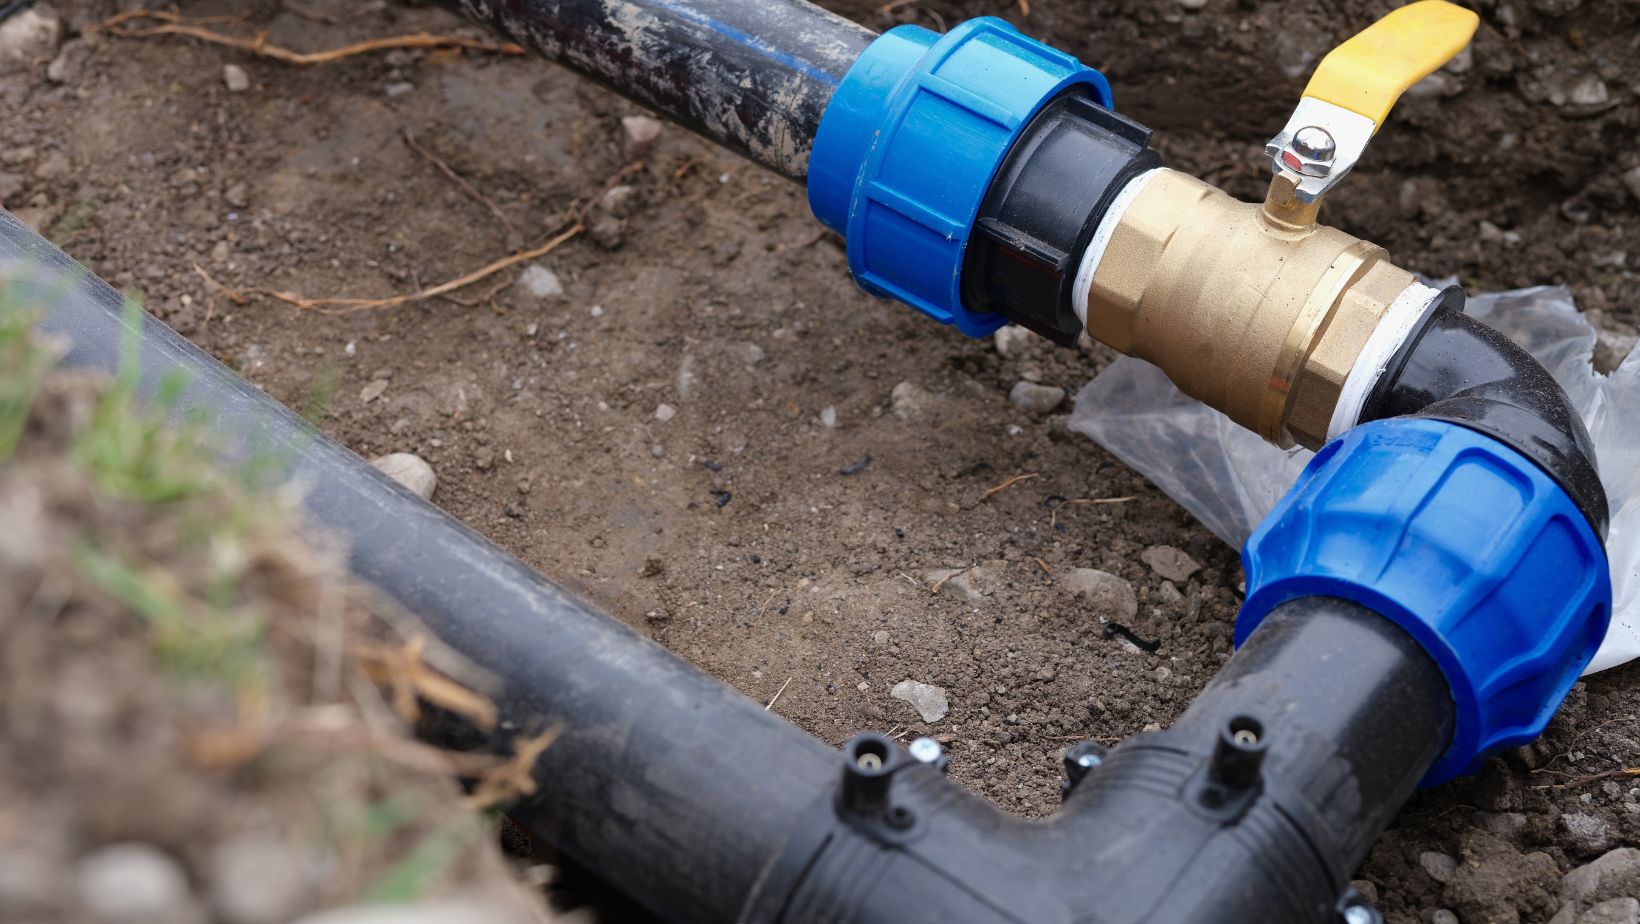
Step 4: Install Filtration System
To install a whole–house filtration system, we recommend engaging the services of a certified and experienced plumber. However, if you’re confident in your skills and want to make this a DIY project, along with your selected filter set, you should get a drill, assorted drill bits, and 2 adjustable wrenches. You’ll also need a tubing cutter, buckets for water, and a whole house water filter system.
Next is to install it efficiently.
- Find a spot near your main water supply. The location should be easy to reach for maintenance or filter replacement when needed.
- Cut the pipe and add a new shutoff valve.
- Assemble the filtering system for easy access and replacement.
- Mark the pipe and make an accurate cut.
- Install the new filter system, ensuring secure connections.
- Turn the water back on and check for leaks.
- If needed, add a jumper cable for grounding.
You’re done! Your whole house water filter system is ready to go.
Step 5: Test and Adjust
- Test water from various outlets, including faucets and showers, to ensure consistent purity.
- Compare the test results with pre-installation data to gauge the system’s effectiveness.
- Based on test results, adjust the filtration system as needed.
- Ensure proper pressure and flow rate throughout the system for efficient filtration.
Step 6: Regular Maintenance
Maintaining your whole-house purifier system ensures it continues to deliver clean, fresh H20r reliably. Here’s how to keep it running smoothly:
- Monitor low rate and pressure to detect any issues early.
- Test water quality periodically to ensure consistent purity.
- Replace pre-filters every 3 to 6 months to prevent clogging.
- Change core filters annually to maintain effective purification.
- Update final polish filters as the manufacturer recommends for optimal taste and odor removal.
- Address any leaks or plumbing concerns promptly to prevent damage to the system.
Conclusion
Having a reliable system for clean water is crucial to keeping your family healthy. A whole-house purifier is a dependable solution. It removes the need for many filters and gives peace of mind. Follow these steps to plan, install, and maintain a whole-house clean water system. This ensures fresh, clear water from every faucet. Stay hydrated and healthy!