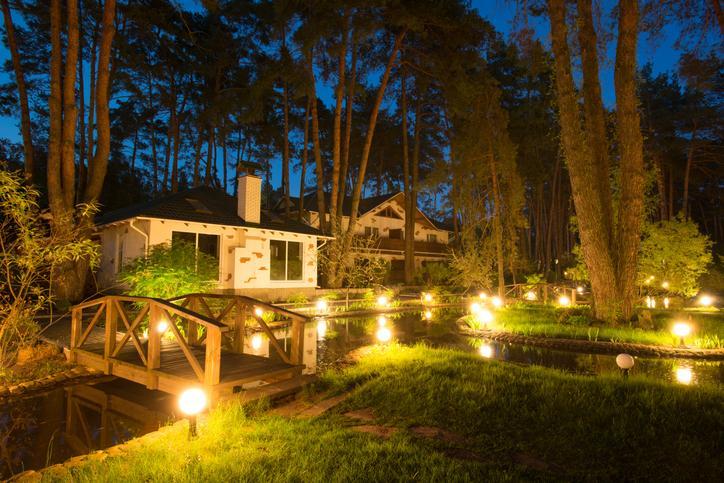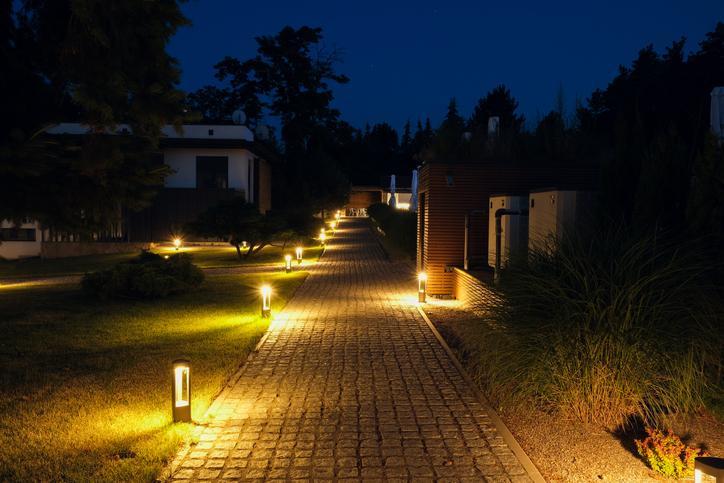
Installing landscape lighting can transform your outdoor space, enhancing its beauty and safety after dusk. This guide will walk you through the process, offering practical tips to illuminate your garden, pathways, or yard effectively.
Why Install Landscape Lighting?
Landscape lighting serves multiple purposes, and professional landscapers like Tazscapes Inc can help you achieve the perfect balance between beauty and functionality:
- Aesthetic Appeal
Highlights architectural features and landscaping, creating a welcoming ambiance.
- Safety
Illuminates pathways and steps, reducing the risk of accidents.
- Security
Deters potential intruders by lighting up dark areas around your property.
Types of Landscape Lighting
Understanding the different types of landscape lighting is crucial for a successful installation:
Solar-Powered Lights
Easy to install and energy-efficient, these lights rely on sunlight to charge. However, their brightness and reliability depend on the amount of daily sunlight they receive.
Low-Voltage Lighting (12V)
Offers consistent illumination and is safe for DIY installation. It requires a transformer to reduce the standard household voltage.
Line-Voltage Lighting (120V)
Provides high-intensity lighting but requires professional installation due to higher electrical risks.
Planning Your Landscape Lighting
Before purchasing and installing your lights, consider the following steps:
- Assess Your Needs: Identify areas that require lighting, such as walkways, driveways, gardens, or architectural features. For tips on creating an effective lighting plan, check out this comprehensive guide on lighting plans.
- Choose the Right Fixtures: Select fixtures that complement your landscape and meet your lighting objectives.
- Design a Layout: Sketch a plan indicating the placement of each light, ensuring even coverage and avoiding over-illumination.
Tools and Materials Needed
For a standard low-voltage lighting installation, gather the following:
- Transformer: To step down the voltage from 120V to 12V.
- Low-Voltage Electrical Cable: Suitable for outdoor use.
- Light Fixtures: Path lights, spotlights, or floodlights, depending on your design.
- Cable Connectors: Waterproof connectors to join cables.
- Timer or Photocell: To automate the lighting system.
- Tools: Shovel, wire strippers, and a voltage tester.
Step-by-Step Installation Guide
Install the Transformer
1.1 Select a Location: Mount the transformer near a GFCI outdoor outlet, at least 12 inches above the ground.
1.2 Mount the Transformer: Secure it to a wall or post using appropriate screws.
1.3 Connect to Power: Ensure the transformer is plugged into the GFCI outlet but keep it turned off during installation.
For a detailed walkthrough of installing your transformer and wiring, watch this step-by-step video tutorial.
Lay Out the Cable
2.1 Position the Fixtures: Place your light fixtures according to your design plan without securing them yet.
2.2 Run the Cable: Lay the low-voltage cable from the transformer to each fixture location, following the planned route.
2. 3 Leave Slack: Provide extra cable at each fixture point to allow for adjustments.
Connect the Fixtures
3.1 Prepare the Wires: Use wire strippers to remove about ½ inch of insulation from the cable ends.
3.2 Attach the Connectors: Use waterproof connectors to join the fixture wires to the main cable, ensuring a secure connection.
3.3 Position the Fixtures: Set the fixtures in their intended locations, adjusting angles as necessary.
Test the System
4.1 Power On: Turn on the transformer to test the lighting system.
4.2 Check Each Fixture: Ensure all lights are functioning correctly and adjust as needed.
4.3 Troubleshoot Issues: If a light isn’t working, check the connections and ensure the bulb is properly seated.
Bury the Cable
5.1 Dig Trenches: Create 3-6 inch deep trenches along the cable route.
5.2 Lay the Cable: Place the cable into the trenches, ensuring it’s not strained or kinked.
5.3. Cover the Trenches: Backfill with soil, tamping down gently to secure the cable.
Set Up Automation
6.1 Install Timer or Photocell: Follow the manufacturer’s instructions to set up automatic operation, ensuring your lights turn on and off at desired times.

Maintenance Tips
- Regular Cleaning. Wipe down fixtures to remove dirt and debris that can diminish light output.
- Check Connections. Periodically inspect cable connections for signs of wear or corrosion.
- Replace Bulbs as Needed. Keep spare bulbs on hand and replace any that burn out promptly.
Safety Considerations
- Use GFCI Outlets
Always plug the transformer into a Ground Fault Circuit Interrupter outlet to prevent electrical hazards.
- Avoid Overloading
Ensure the total wattage of your fixtures does not exceed the transformer’s capacity.
- Consult Professionals
For complex installations or if using line-voltage lighting, hire a licensed electrician.
Conclusion
By following this guide, you can successfully install landscape lighting that enhances your outdoor space’s beauty and functionality. Remember to plan carefully, use appropriate materials, and prioritize safety throughout the process.


