Renovating your home is exciting, but the aftermath can be daunting, especially when it comes to cleaning. Dust, grime, and construction residue often settle on your walls, making them look dirty even in a freshly upgraded space. Cleaning after a remodel may seem like a straightforward task, but there are key steps you should take to ensure your walls are spotless without causing any damage. Here’s a step-by-step guide to help you get it done efficiently.
Gather the Right Supplies
If you’ve decided to take on the clean up of your remodel, rather than having a professional assume the task, it’s important to have the proper tools on hand. Here’s what you’ll need:
- Soft microfiber cloths
- A vacuum cleaner with a brush attachment
- Mild dish soap or an all-purpose cleaner
- White vinegar (for tough spots)
- A bucket of warm water
- Dry towels
- Ladder (for high walls)
- Drop cloth or old towels (to protect the floor)
By gathering the correct supplies, you minimize the risk of doing damage or spreading dust and debris further around the room. Keep in mind that when you work with many professionals, like the ones at Mastered Home Renovations, you won’t have to do the clean up yourself – just check out their website to learn more: https://masteredhomerenovations.ca/
Start with Dusting
Renovations tend to leave a fine layer of dust on almost every surface. It’s important to start by removing as much dust as possible before getting the walls wet.
Vacuum First
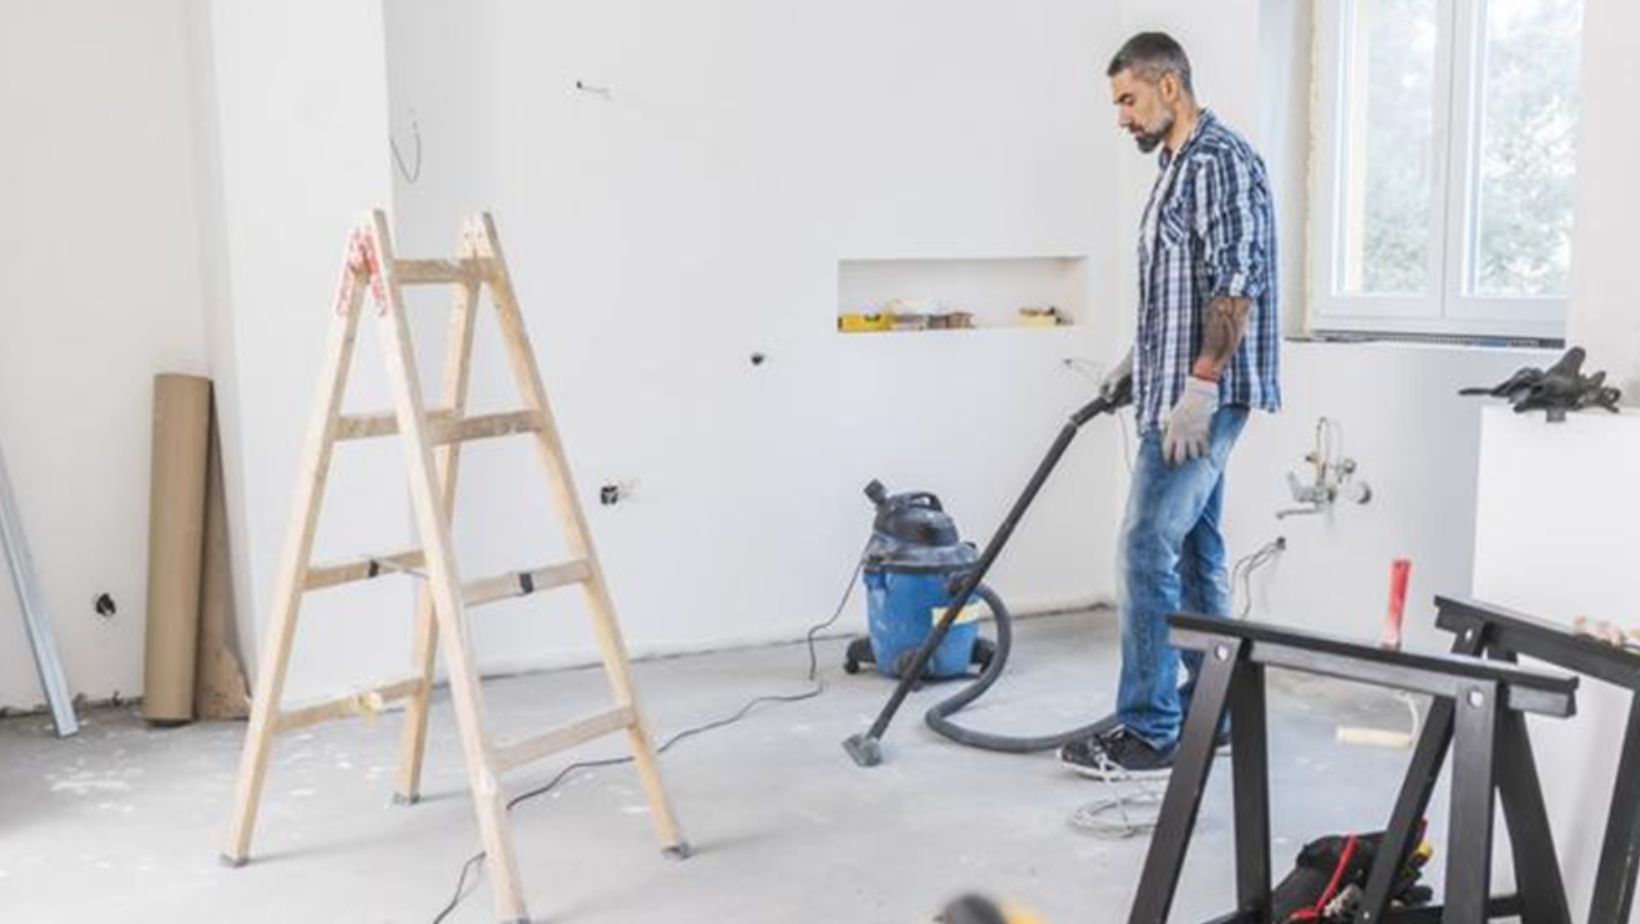
Use a vacuum cleaner with a soft brush attachment to gently remove dust from the walls. Work from the top down, as dust tends to settle, and make sure to vacuum any corners, baseboards, and trims.
Dry Wipe
After vacuuming, use a dry microfiber cloth to wipe down the walls. This will help catch any remaining dust particles that may have been left behind.
Avoid using feather dusters, as they tend to spread dust rather than removing it.
Prepare a Cleaning Solution
For most surfaces, a simple mixture of mild soap and water will do the trick.

However, if you’re dealing with specific materials like painted walls or wallpaper, you’ll need to be more cautious.
For Painted Walls
Use a mixture of mild dish soap and warm water. Avoid using harsh chemicals, which can strip the paint or leave residue behind. Test the solution in a small, inconspicuous area first to ensure it won’t damage the paint.
For Wallpapered Walls
Be extra careful when cleaning these surfaces. Avoid excess moisture, as it can cause wallpaper to peel or bubble. A lightly dampened cloth is typically sufficient.
Wipe Down the Walls
Dip a soft microfiber cloth into the cleaning solution, wring it out so it’s not dripping, and gently wipe down the surface. Work in sections, starting from the top and moving downward to avoid streaks.
For Stubborn Stains
If you encounter tougher spots, such as adhesive residue, scuff marks, or dried paint splatters, add a bit of white vinegar to your cleaning solution.

For particularly tricky areas, you can rub the spot gently using a soft sponge, but avoid scrubbing too hard to protect the finish.
Rinse the Walls
After wiping down the walls with the cleaning solution, rinse the cloth in clean water, wring it out, and wipe over again to remove any soap residue.
Dry the Walls
Once the walls are clean, it’s essential to dry them to prevent moisture damage. Use dry towels or clean microfiber cloths to pat them dry. Pay special attention to the edges and corners, where moisture might accumulate.
Check for Final Touch-Ups
After cleaning, give your walls a final inspection. If there are still spots of dust or grime, go over those areas again with a fresh microfiber cloth. Also, be sure to vacuum any remaining dust that may have settled on the floors or baseboards during the process.
Maintain Clean Walls Moving Forward
Post-renovation dust can continue to settle for days or even weeks. To keep your walls clean:
- Continue to dust them lightly every few days with a dry microfiber cloth.
- Use a vacuum with a brush attachment for any stubborn dust buildup.
- If you spot any new marks or smudges, address them quickly before they have a chance to set.
From Dusting to Drying Walls Post-Renovation
Cleaning after a renovation is a necessary task that ensures your newly revamped space looks fresh and polished. With the right tools and a little elbow grease, you can efficiently tackle this job without damaging your walls. By following these simple steps, you’ll be able to enjoy your remodeled home in a clean and dust-free environment!


